
An estimated forty percent of American households experience at least one oven malfunction every year, often leading to expensive service calls. For busy residents in Marlboro, NJ, tackling basic oven repairs yourself can save money and prevent disruption to your daily routine. This guide empowers homeowners and renters with step by step, safe DIY methods for diagnosing and fixing common oven problems before they escalate.
Table of Contents
- Step 1: Prepare And Inspect Your Oven For Safety
- Step 2: Identify Common Oven Problems Quickly
- Step 3: Test Electrical Connections And Power Supply
- Step 4: Replace Faulty Parts And Components
- Step 5: Verify Oven Functionality After Repair
Quick Summary
| Key Point | Explanation |
|---|---|
| 1. Disconnect power supply | Always unplug the oven or turn off the circuit breaker before inspections to avoid electrical shock. |
| 2. Inspect for visible damage | Check the oven and its components for wear or damage to prevent hazards during repairs. |
| 3. Log observed symptoms | Keep a notebook of symptoms and errors to assist technicians in diagnosing issues effectively. |
| 4. Test electrical connections | Use a multimeter to check voltage and ensure secure connections to maintain proper oven function. |
| 5. Verify functionality post-repair | Conduct a thorough performance test after repairs to confirm the oven is heating evenly and operating correctly. |
Step 1: Prepare and inspect your oven for safety
Before beginning any oven repair, safety is paramount. Taking time to properly inspect and prepare your appliance can prevent potential accidents and ensure a smooth repair process. Homeowners should always approach appliance maintenance with caution and systematic attention to detail.
Start by completely disconnecting your oven from its electrical source. This means unplugging the unit or turning off the circuit breaker to eliminate any risk of electrical shock. Next, carefully inspect electrical components for signs of wear, fraying, or damage. Look closely at the power cord, checking for any exposed wires, cracks, or melted sections that could indicate potential hazards.
Carefully examine the oven’s exterior and interior for any visible damage. Check the heating elements, door seal, and internal surfaces for signs of wear, rust, or potential structural issues. Pay special attention to areas around electrical connections and any components that might have sustained heat damage. Fire safety guidelines recommend maintaining a clear area around the appliance and removing any combustible materials that could pose a risk during your repair work.
Pro tip: Always keep a fire extinguisher nearby and wear protective gloves when working with electrical appliances to ensure your personal safety during the repair process.
This table summarizes essential safety precautions for oven repair:
| Safety Precaution | Purpose | When to Perform |
|---|---|---|
| Disconnect power supply | Prevent electrical shock | Before any inspection |
| Inspect power cord | Identify fire hazards | Before starting repairs |
| Use protective equipment | Reduce risk of injury | During all repair steps |
| Remove combustibles | Minimize fire risk | Before and during repairs |
Step 2: Identify common oven problems quickly
Identifying oven issues early can save you time, money, and prevent potential safety hazards. Understanding the most frequent problems homeowners encounter will help you diagnose and address potential malfunctions before they become serious repair challenges.
Common troubleshooting methods start with observing your oven’s performance during normal operation. Listen for unusual sounds like buzzing, clicking, or loud humming from electrical components. Watch for inconsistent heating patterns such as cold spots, uneven cooking, or longer than normal preheating times. These symptoms often indicate underlying issues with heating elements, temperature sensors, or electrical connections.
Check for visible signs of wear and potential malfunction. Examine the door seal for cracks or gaps that could indicate compromised insulation. Inspect heating elements for signs of damage like discoloration, warping, or visible breaks. Pay attention to error codes displayed on digital panels, as these provide specific diagnostic information about potential system failures. Pressure and temperature variations can also signal internal component problems that require immediate attention.
Pro tip: Keep a notebook near your oven to log specific symptoms, dates, and observations which can help technicians diagnose issues more accurately during professional inspections.
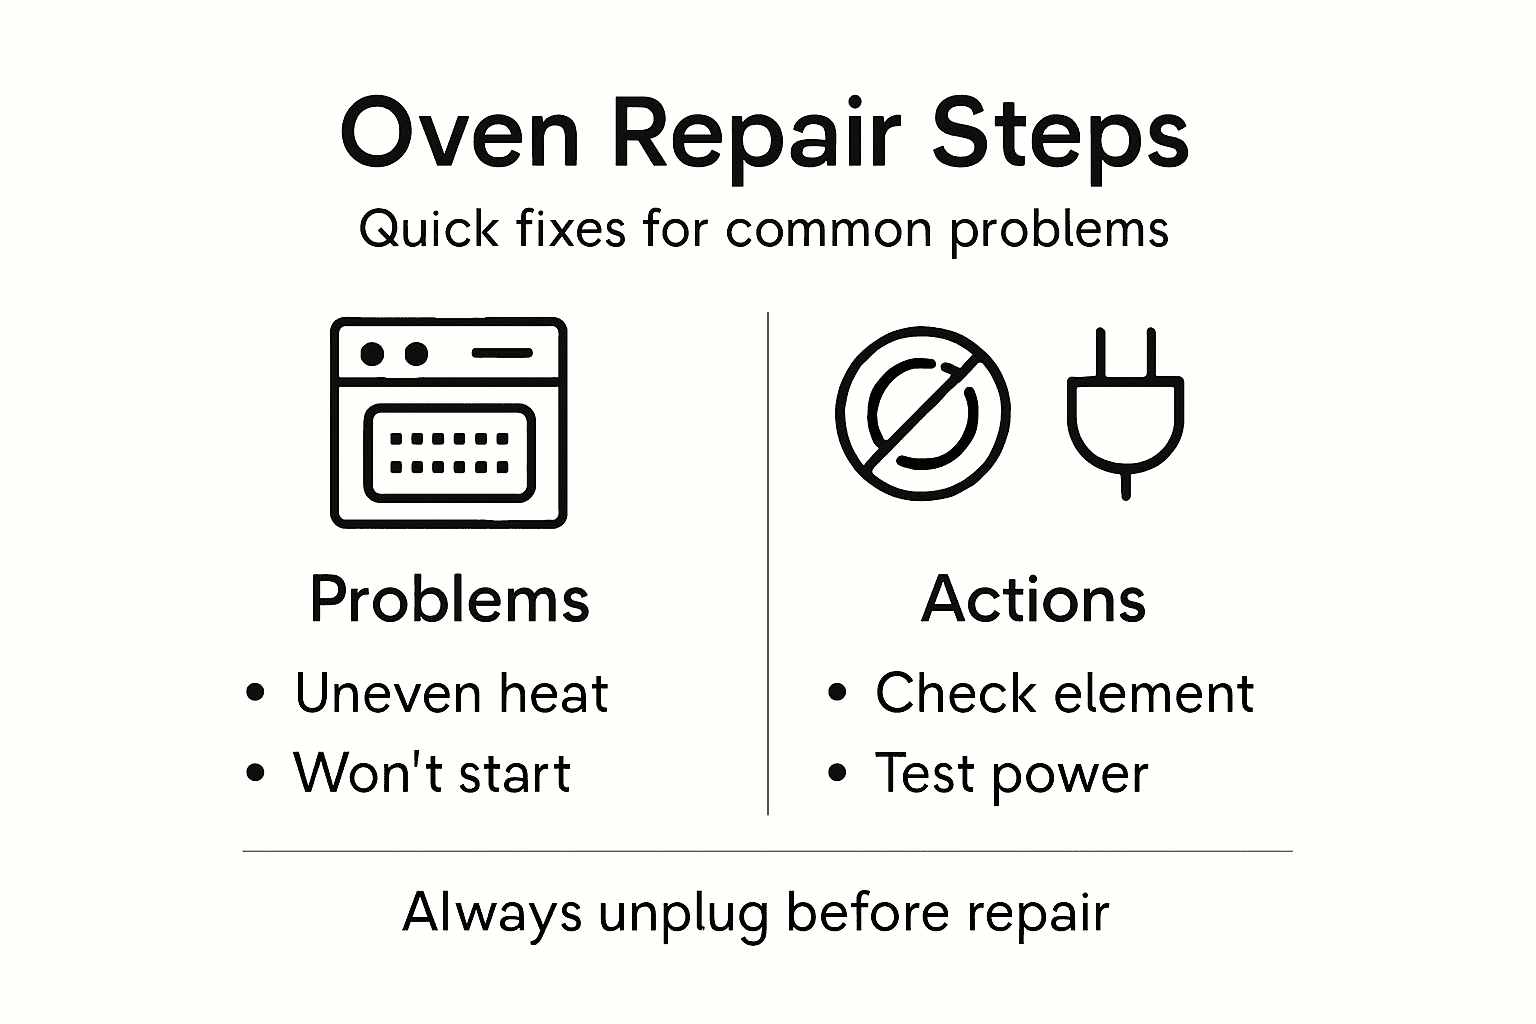
Here’s a quick reference for identifying oven problems and their possible causes:
| Symptom | Likely Cause | Recommended Action |
|---|---|---|
| Uneven heating | Failing heating element | Inspect and replace element |
| Loud buzzing sounds | Faulty electrical component | Check connections and wiring |
| Error codes on display | Sensor or board failure | Consult user manual or tech |
| Door not sealing | Damaged gasket | Replace door gasket |
Step 3: Test electrical connections and power supply
Proper electrical testing is crucial for ensuring your oven operates safely and efficiently. Understanding how to carefully examine power connections can help prevent potential electrical failures and protect your appliance from unexpected damage.
Electrical safety procedures begin with verifying your oven is plugged into a grounded outlet that matches local electrical codes. Use a multimeter to check voltage consistency and ensure the power supply matches the specifications listed on your oven’s data plate. Inspect the power cord carefully for any signs of fraying, cracking, or visible wear that could compromise electrical integrity. Look for any loose connections at the outlet, plug, or where the cord connects to the oven itself.
Carefully examine the electrical panel and circuit breaker related to your oven. Test the specific circuit to confirm it is functioning correctly and can handle the oven’s power requirements. If you detect any unusual resistance, sparking, or hear buzzing sounds when the oven is plugged in, discontinue use immediately and consult a professional electrician. Pay attention to any burning smells or discoloration around electrical connections, as these can indicate serious underlying electrical problems that require immediate attention.
Pro tip: Always use a non contact voltage tester as an additional safety measure when checking electrical connections to minimize direct contact risk.
Step 4: Replace faulty parts and components
Replacing damaged oven components requires careful precision and understanding of your specific appliance model. Knowing when and how to swap out faulty parts can restore your oven’s performance and prevent more extensive damage.
Part replacement procedures demand strict adherence to manufacturer guidelines. Always source factory approved replacement parts that match your oven’s exact make and model. Before beginning any replacement, disconnect the oven from its power source completely. Carefully remove the damaged component by following the manufacturer’s specific disassembly instructions. This might involve removing panels, unscrewing mounting brackets, or disconnecting electrical connections. Take photos of the original configuration to ensure accurate reinstallation.
After selecting the correct replacement part, install it methodically and verify all connections are secure. Component replacement techniques emphasize testing the new part immediately after installation. Check for proper fit, electrical continuity, and functional performance. Pay close attention to any unusual sounds, resistance, or performance changes that might indicate improper installation. If you feel uncertain about any step of the replacement process, consulting a professional technician is always the safest approach.
Pro tip: Organize all removed screws and parts in a magnetic parts tray to prevent losing small components during the repair process.
Step 5: Verify oven functionality after repair
After completing repairs, a thorough functionality test is crucial to ensure your oven operates safely and effectively. This final verification step helps confirm that all your hard work has successfully restored the appliance to its proper working condition.
Post repair testing protocols require a systematic approach to checking your oven’s performance. Begin by gradually powering on the oven and monitoring its initial startup. Set the oven to a moderate temperature and observe how quickly and evenly it heats. Listen carefully for any unusual sounds like grinding, buzzing, or clicking that might indicate remaining issues. Watch the temperature display to confirm it reaches and maintains the set temperature consistently without fluctuating wildly.
Operational verification steps involve running a complete performance test. Bake a simple item like cookies or a basic cake to check heat distribution and cooking performance. Observe how the item cooks notice if there are any cold spots or uneven heating. Check all controls including temperature settings, timer functions, and any digital displays to ensure they respond correctly. If you notice any persistent problems or feel uncertain about the oven’s performance, it is always recommended to consult a professional technician for a comprehensive evaluation.
Pro tip: Keep a log of your repair process and post repair test results to help track the oven’s performance and identify any recurring issues.
Get Professional Oven Repair Support When You Need It Most
Fixing your oven can be tricky when dealing with electrical connections, heating elements, and safety precautions. The step-by-step guide highlights how quickly identifying issues like faulty parts or uneven heating is vital to prevent further damage or hazards. If you find yourself overwhelmed by technical testing or unsure about replacing components safely, Expert Appliance Repair in Marlboro, NJ, offers trusted solutions you can count on. Our experienced team understands the importance of proper diagnostics and repairs to restore your oven’s performance and keep your household safe.

Explore our comprehensive Appliance Archives – Expert Appliance for helpful tips or schedule reliable oven repair service today. With same-day appointments, 24/7 emergency support, and upfront pricing, let the local experts take the stress out of oven repairs. Visit https://expertapplianceinc.com now and ensure your oven operates safely and efficiently with professional help.
Frequently Asked Questions
How do I safely prepare my oven for repairs?
To safely prepare your oven for repairs, begin by disconnecting it from its power source. Unplug the unit or turn off the circuit breaker to eliminate the risk of electrical shock.
What are common problems I should look for when troubleshooting my oven?
Common issues include uneven heating, unusual sounds, or error codes on the display. Observe your oven’s performance and inspect components like heating elements and door seals for visible signs of damage.
How can I test the electrical connections in my oven?
Start by ensuring your oven is plugged into a grounded outlet. Use a multimeter to check the voltage and inspect the power cord for any fraying or cracks.
What is the proper way to replace faulty parts in my oven?
Always disconnect the power before beginning any replacement. Follow the manufacturer’s guidelines to remove the damaged part, take photos for reference, and securely install the new component.
How can I verify if my oven is functioning correctly after repairs?
To verify your oven’s functionality, perform a comprehensive test by setting it to a moderate temperature and monitoring how well it heats. Bake a simple item and check for even cooking to confirm effective performance.
What should I do if my oven still shows problems after repairs?
If your oven continues to exhibit issues after repairs, consult a professional technician for a thorough evaluation. This step ensures all potential problems are diagnosed and managed appropriately.
Recommended
- Stove Repair Instructions: Step-by-Step Fixes for Your Home – Expert Appliance
- How to Repair Refrigerator: Step-by-Step Guide for Fast Results – Expert Appliance
- 7 Essential Types of Appliance Repairs for Every Homeowner – Expert Appliance
- 7 Essential Emergency Appliance Repair Tips for Homeowners – Expert Appliance