Most American households will face a sudden appliance breakdown at least once every three years, disrupting daily routines and creating urgent stress for Marlboro property owners. When every minute of downtime can mean spoiled food or inconvenienced tenants, fast and organized appliance repair becomes a top priority. This guide highlights the essential steps and tools needed to diagnose and revive your appliances efficiently while keeping your workflows smooth and stress-free.
Table of Contents
- Step 1: Gather Essential Information and Tools
- Step 2: Diagnose the Appliance Problem Accurately
- Step 3: Perform Targeted Repairs Safely
- Step 4: Test Appliance Function and Performance
- Step 5: Document Service Details and Provide Follow-Up
Quick Summary
| Key Insight | Explanation |
|---|---|
| 1. Gather Appliance Information | Record make, model, and serial numbers to streamline diagnosis and find parts effectively. |
| 2. Assemble a Complete Toolkit | Include essential tools like multimeters and safety gear to improve repair efficiency and safety. |
| 3. Diagnose Systematically | Use a methodical approach to identify symptoms and their root causes for precise troubleshooting. |
| 4. Test Thoroughly After Repairs | Run comprehensive tests to ensure the appliance functions correctly and safely post-repair. |
| 5. Document Your Work | Maintain detailed repair logs and photographs for future reference and quality assurance. |
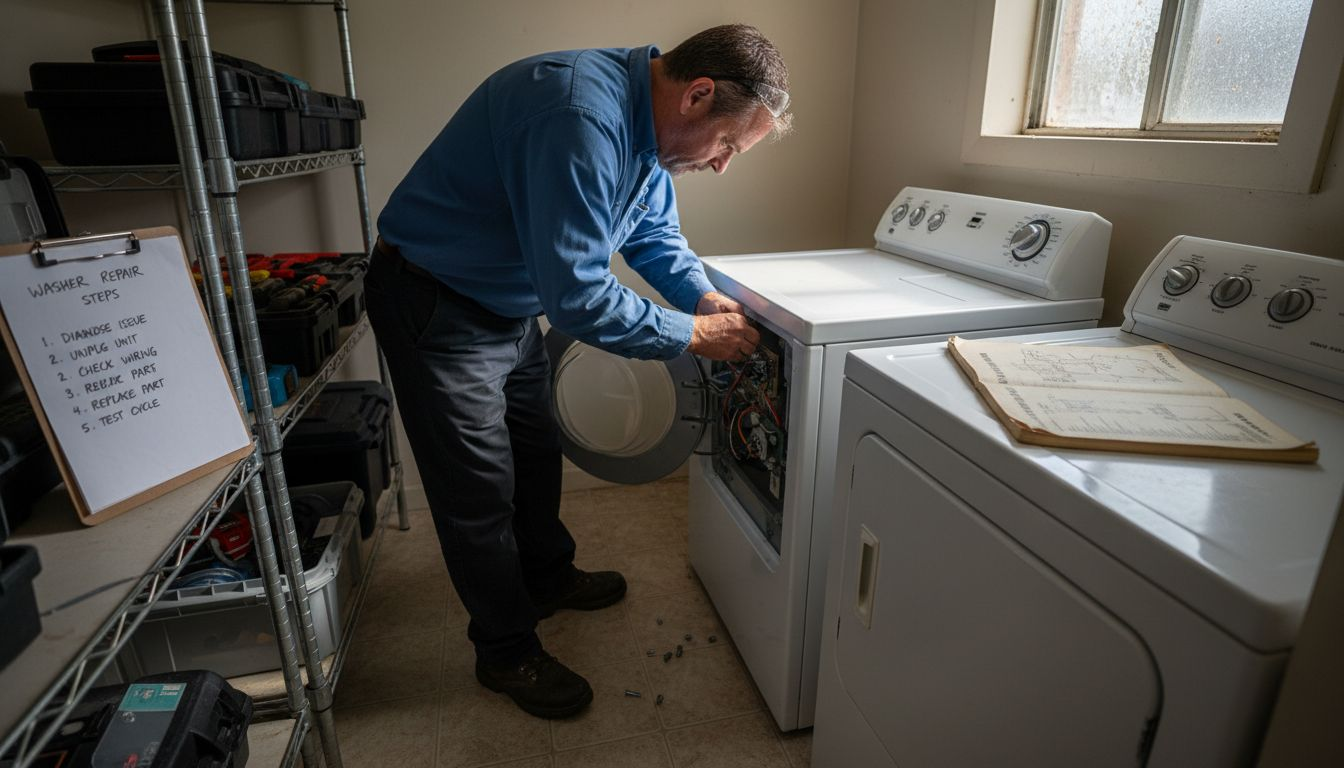
Step 1: Gather Essential Information and Tools
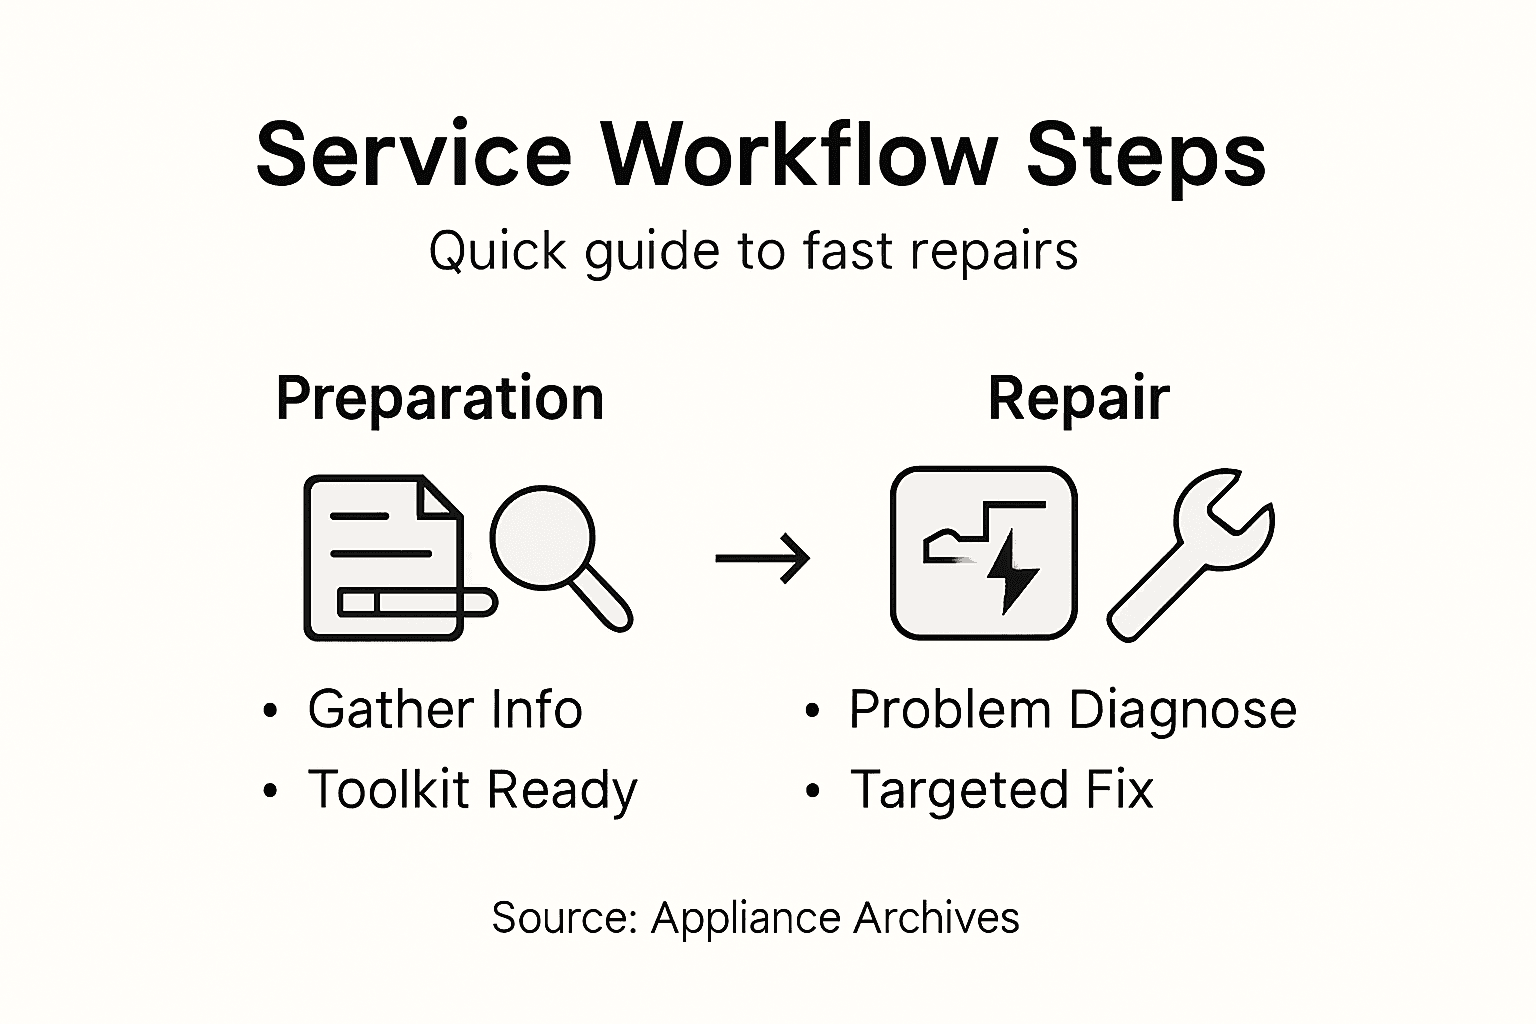
Successful appliance repair starts with comprehensive preparation. In this critical first phase, you’ll collect the necessary diagnostic information and assemble a toolkit that transforms complex repair challenges into manageable tasks.
Begin by gathering specific details about your malfunctioning appliance. Note the make, model number, and serial number usually found on a metal plate or sticker located inside the door, back panel, or bottom of the unit. These identifiers are crucial for understanding potential issues and sourcing replacement parts. Repair experts recommend having these details ready before starting any diagnostic process, as they provide essential context for troubleshooting.
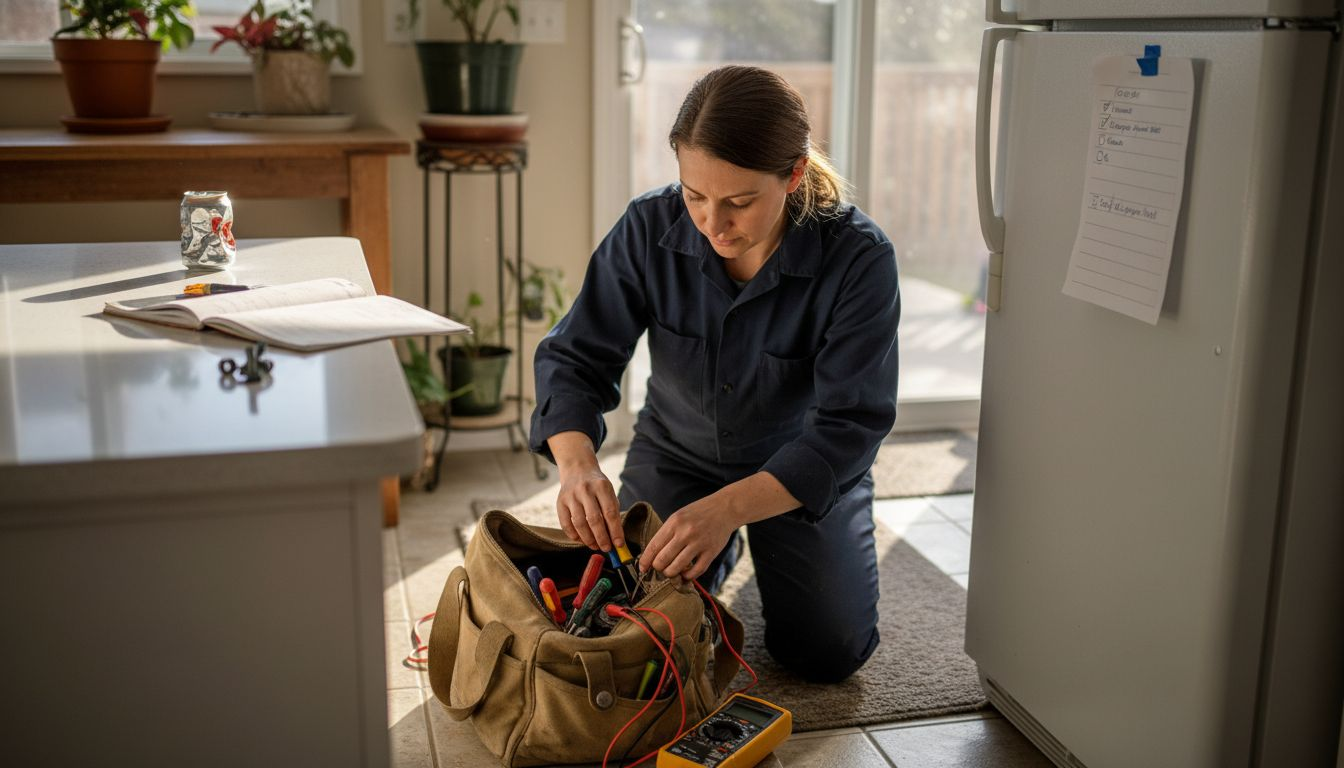
Next, compile your repair toolkit. A comprehensive kit should include essential tools like precision screwdrivers, adjustable wrenches, needle-nose pliers, electrical multimeters, and safety equipment such as work gloves and protective eyewear. Industrial maintenance technicians know that having the right diagnostic tools can dramatically improve repair efficiency and accuracy.
Your toolkit should also include manufacturer documentation if available. Repair manuals, online support resources, and schematic diagrams can provide invaluable guidance during the repair process. Organize these materials systematically to ensure quick reference when needed.
Here’s a summary of essential repair tools and their specific purpose:
| Tool | Primary Function | Business Impact |
|---|---|---|
| Precision Screwdriver | Access small fasteners | Enables detailed, non-destructive disassembly |
| Digital Multimeter | Measures electrical values | Diagnoses electrical faults quickly |
| Needle-Nose Pliers | Manipulates fine components | Prevents damage during wiring tasks |
| Adjustable Wrench | Fits multiple bolt sizes | Reduces need for multiple tools |
| Safety Glasses | Protects eyes from debris | Ensures technician safety and reduces accident risk |
Pro Tip: Take clear, well-lit photos of the appliance and its internal components before disassembly to help you remember exact placement and configuration during reassembly.
Step 2: Diagnose the Appliance Problem Accurately
Diagnosing an appliance issue requires a methodical approach that transforms uncertainty into clear understanding. Your goal is to identify the root cause of the malfunction with precision and confidence.
Start by gathering critical information about the appliance’s symptoms. Listen carefully to any unusual sounds, observe performance irregularities, and note exactly when and how the problem occurs. Systematic problem solving techniques emphasize distinguishing between actual facts and mere opinions. Pay attention to specific indicators like strange noises, unexpected shutdowns, or performance declines that might signal underlying mechanical or electrical issues.
Compare common appliance symptoms and their likely root causes:
| Symptom | Possible Electrical Cause | Possible Mechanical Cause |
|---|---|---|
| Unusual noises | Faulty wiring or motor | Worn bearings or mounts |
| Unexpected shutdown | Power supply interruption | Broken latch or relay |
| Performance decline | Control board failure | Blocked filter or vent |
Next, use diagnostic tools to investigate the problem more deeply. A digital multimeter becomes your primary investigative instrument for electrical diagnostics. Diagnostic tools like multimeters and oscilloscopes help you trace electrical pathways, measure voltage, and identify potential circuit interruptions or component failures. Carefully test electrical connections, inspect wiring for damage, and measure resistance across key components to pinpoint exactly where the malfunction originates.
Document your findings meticulously. Create a detailed log of your observations, measurements, and test results. This systematic approach not only helps you understand the current issue but also provides valuable information for future troubleshooting or potential professional repair scenarios.
Pro Tip: Always disconnect the appliance from power before conducting any diagnostic tests to ensure your personal safety and prevent potential electrical damage.
Step 3: Perform Targeted Repairs Safely
Successful appliance repair requires more than technical skill. Your primary goal is to complete repairs efficiently while protecting yourself and preserving the integrity of the appliance.
Begin by preparing a clean organized workspace with adequate lighting and room to maneuver. Safety protocols for repair work emphasize creating an environment that minimizes risks and supports precise technical interventions. Lay out your tools systematically, ensuring each component has a designated space. Wear appropriate personal protective equipment including safety glasses, work gloves, and closed toe shoes to guard against potential electrical or mechanical hazards.
Proceed with careful component removal and replacement. Use specialized tools designed for your specific appliance model, applying gentle consistent pressure to avoid damaging delicate internal mechanisms. Repair service safety standards recommend systematic approaches that prioritize controlled movements and precise technical intervention. Double check connections before reassembling, ensuring each component sits correctly and securely.
Document your repair process by taking clear photographs at each stage. This practice helps you track your progress, remember component placement, and provides a valuable reference if you need to backtrack or seek professional assistance.
Pro Tip: Keep a small container nearby to organize screws and small parts during disassembly, preventing loss and maintaining an orderly workspace.
Step 4: Test Appliance Function and Performance
After completing your repair, thorough testing becomes critical to verify the appliance operates correctly and safely. Your goal is to confirm that the repair has fully resolved the original issue and restored optimal performance.
Begin with a comprehensive portable appliance testing protocol that goes beyond simple visual inspection. Start by checking all electrical connections, ensuring they are secure and free from any potential short circuit risks. Plug in the appliance and run a complete performance cycle, monitoring for any unusual sounds, unexpected pauses, or inconsistent operation that might indicate lingering problems.
Performance testing services recommend a systematic approach to evaluating appliance functionality. Simulate the appliance’s typical usage conditions carefully and thoroughly. For instance, if repairing a refrigerator, check temperature consistency across different compartments. For a washing machine, run multiple cycles at various settings to confirm complete resolution of the original mechanical or electrical issue.
Take detailed notes during your testing process. Record the duration of operation, any observed performance variations, and compare the current performance against the appliance’s standard specifications. This documentation serves as both a personal reference and a valuable record of the repair work completed.
Pro Tip: Run your initial performance tests gradually and incrementally to catch any potential issues before committing to full operational use.
Step 5: Document Service Details and Provide Follow-Up
Documenting your appliance repair is more than record keeping. It creates a comprehensive history that protects your work, supports future maintenance, and provides valuable insights into the repair process.
Service specification guidelines recommend creating a detailed repair log that captures every critical aspect of the service. Include specific information such as the appliance model, serial number, date of repair, identified problems, components replaced, and testing results. Photograph key repair stages and note any unique challenges encountered during the process. These comprehensive records become your personal reference and potential diagnostic tool for future maintenance.
Workplace process improvement strategies emphasize the importance of systematic follow-up. Schedule a brief check-in within one to two weeks after the repair to confirm the appliance continues to function correctly. During this follow-up, verify that the original issue has been fully resolved and no new complications have emerged. This proactive approach demonstrates your commitment to quality service and helps identify any potential recurring problems early.
Consider creating a simple digital or physical folder to store all repair documentation. This organized approach ensures you can quickly reference past repairs, track maintenance history, and provide evidence of your technical interventions if needed.
Pro Tip: Use a smartphone to take clear, well-lit photographs of repair stages and document serial numbers to create a digital backup of your service record.
Take Control of Appliance Repairs With Expert Help in Marlboro, NJ
Mastering the appliance service workflow means knowing how to quickly diagnose issues and perform targeted repairs safely. If you find yourself overwhelmed by the technical steps or pressed for time, Expert Appliance Repair is here to help homeowners and small businesses in Marlboro and Monmouth County restore their essential appliances fast. We understand the frustration of unexpected breakdowns and the importance of efficient, reliable service. Our team uses proven diagnostic techniques and repair processes similar to those detailed in this article to ensure your refrigerator, washer, dryer, or other appliances are back up and running without delay.

Don’t let appliance problems disrupt your day longer than necessary. Visit our Appliance Archives to learn more or schedule same-day service directly at Expert Appliance Repair. With decades of experience and 24/7 emergency support, we provide trusted solutions with upfront pricing. Act now to get the quality, professionalism, and peace of mind you deserve in New Jersey’s local appliance service.
Frequently Asked Questions
How can I gather the necessary information before starting appliance repairs?
Start by noting down the specific details like the make, model number, and serial number of the appliance. This information is critical for understanding issues and sourcing replacement parts, so compile it before beginning the repair process.
What tools should I include in my appliance repair toolkit?
Your toolkit should consist of precision screwdrivers, digital multimeters, needle-nose pliers, and adjustable wrenches, among others. Ensure you also have personal protective equipment like safety glasses and work gloves to prioritize safety during repairs.
What steps should I follow to accurately diagnose an appliance issue?
Begin by observing the appliance’s symptoms and noting any unusual sounds or performance issues. Use diagnostic tools like a digital multimeter to test electrical connections and create detailed documentation of your findings for future reference.
What safety measures should I take while performing appliance repairs?
Prepare a clean and organized workspace, and wear appropriate safety gear, including glasses and gloves. Always disconnect the appliance from power before conducting any tests to ensure your safety and prevent electrical damage.
How do I test the appliance after completing repairs?
After repairs, check all electrical connections and run a full performance cycle of the appliance. Monitor for any unusual operation or sounds, and take detailed notes of the appliance’s performance to confirm it operates correctly.
Why is it important to document service details after repairs?
Documenting your repair creates a comprehensive history that aids in future maintenance and troubleshooting. Include the appliance’s model, serial number, and a summary of problems and repairs in your records to ensure an organized approach for any subsequent repairs.
Recommended
- Same Day Appliance Repair Tips for Fast Home Fixes – Expert Appliance
- What Is Smart Appliance Repair and Why It Matters – Expert Appliance
- Master the Reliable Appliance Repair Process for Fast Results – Expert Appliance
- Role of Appliance Repair for Businesses: Protecting Productivity – Expert Appliance