
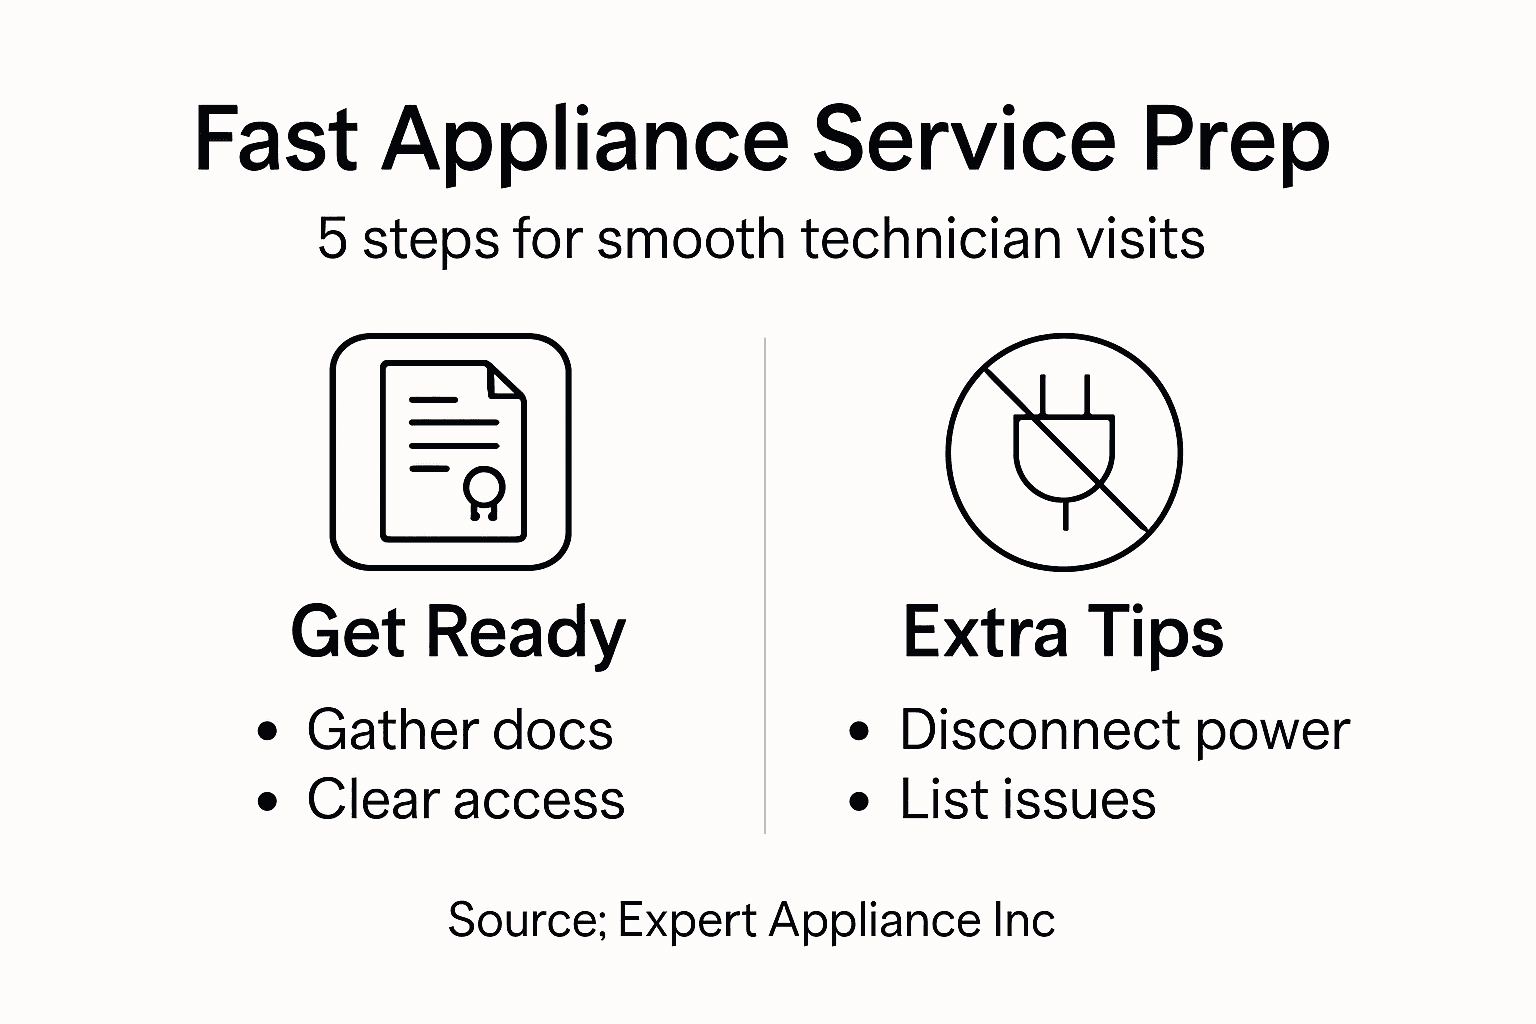
Nothing disrupts daily life quite like a broken refrigerator or malfunctioning washer in your Marlboro, NJ home. Facing urgent appliance trouble, you want solutions that speed up repairs instead of causing extra delays and costs. With some smart preparation—like gathering appliance documentation, clearing work areas, and disconnecting safely—you can help technicians from Expert Appliance Inc resolve issues faster and avoid costly surprises. Prepared homeowners experience smoother service calls and less stress.
Table of Contents
- Step 1: Gather Appliance Information and Documentation
- Step 2: Clear Access Paths and Work Areas
- Step 3: Disconnect and Safeguard Your Appliance
- Step 4: List Observed Issues and Symptoms
- Step 5: Verify Service Readiness and Await Technician
Quick Summary
| Key Insight | Explanation |
|---|---|
| 1. Gather All Appliance Documents | Collect manuals, model numbers, and warranties for quick technician diagnosis. |
| 2. Create Unobstructed Work Areas | Clear at least 3 feet around the appliance for safe and efficient repairs. |
| 3. Safely Disconnect Your Appliance | Turn off power, gas, and water supplies to prevent hazards during the service. |
| 4. Document Appliance Issues Clearly | List detailed symptoms and capture visuals to aid technicians in diagnosing problems. |
| 5. Verify Readiness Before Technician Arrives | Ensure all preparations are complete and maintain accessible contact information. |
Step 1: Gather Appliance Information and Documentation
Preparing for an appliance service call requires having all your documentation ready. This crucial first step helps technicians diagnose problems quickly and accurately. By collecting your appliance records, manuals, and specific details, you can streamline the repair process and potentially save time and money.
Start by locating your appliance’s original user manual. If you cannot find the physical copy, most manufacturers provide digital versions online that you can print or save electronically. Gather important details like the model number, serial number, and purchase date. These specifics are critical when scheduling service with Expert Appliance Inc. You can typically find model and serial numbers on a metal plate or sticker located inside the appliance door, back panel, or bottom surface. For major appliances like refrigerators or washers, these identifiers are often clearly visible when you open the door or remove a panel.
Additionally, keep track of any warranty information or previous repair records. The U.S. Department of Energy recommends tracking energy usage details which can help technicians understand your appliance’s performance history. Organize these documents in a folder or digital file so they are easily accessible during the service appointment.
Here is a quick reference comparing how to locate key appliance identifiers:
| Appliance Type | Common Model Number Location | Common Serial Number Location |
|---|---|---|
| Refrigerator | Inside door frame | On back panel |
| Washer/Dryer | Inside door or lid | Bottom surface |
| Oven/Stove | Around oven door | Inside storage drawer |
| Dishwasher | Door edge or side | Side or back wall |
Pro tip: Take clear photos of your appliance’s model and serial number tags before the technician arrives to ensure you have accurate information readily available.
Step 2: Clear Access Paths and Work Areas
Preparing a clear and accessible workspace is crucial for efficient appliance repair. Your technician needs unobstructed access to diagnose and fix your appliance quickly and safely. By creating a well organized work area, you help streamline the service process and ensure the repair goes smoothly.
Begin by removing all items from around and near the appliance. This includes moving furniture, boxes, rugs, or any decorative items that might block the technician’s path. ADA accessibility standards recommend maintaining clear floor space to ensure technicians can move freely and position their tools effectively. Aim to create at least 3 feet of clear space around the appliance on all sides. If the appliance is in a tight space like a closet or narrow kitchen area, consider temporarily relocating items to provide maximum working room.
For larger appliances like refrigerators or washers, ensure you can fully open doors and access panel areas without obstruction. Check that electrical outlets are accessible and any nearby cabinets or wall fixtures will not impede the technician’s movement. If you have floor mats or area rugs near the appliance, roll them up and move them out of the way to prevent tripping hazards or workspace limitations.
Pro tip: Take a quick smartphone photo of the area before clearing it to help you remember exactly how to reset everything after the repair is complete.
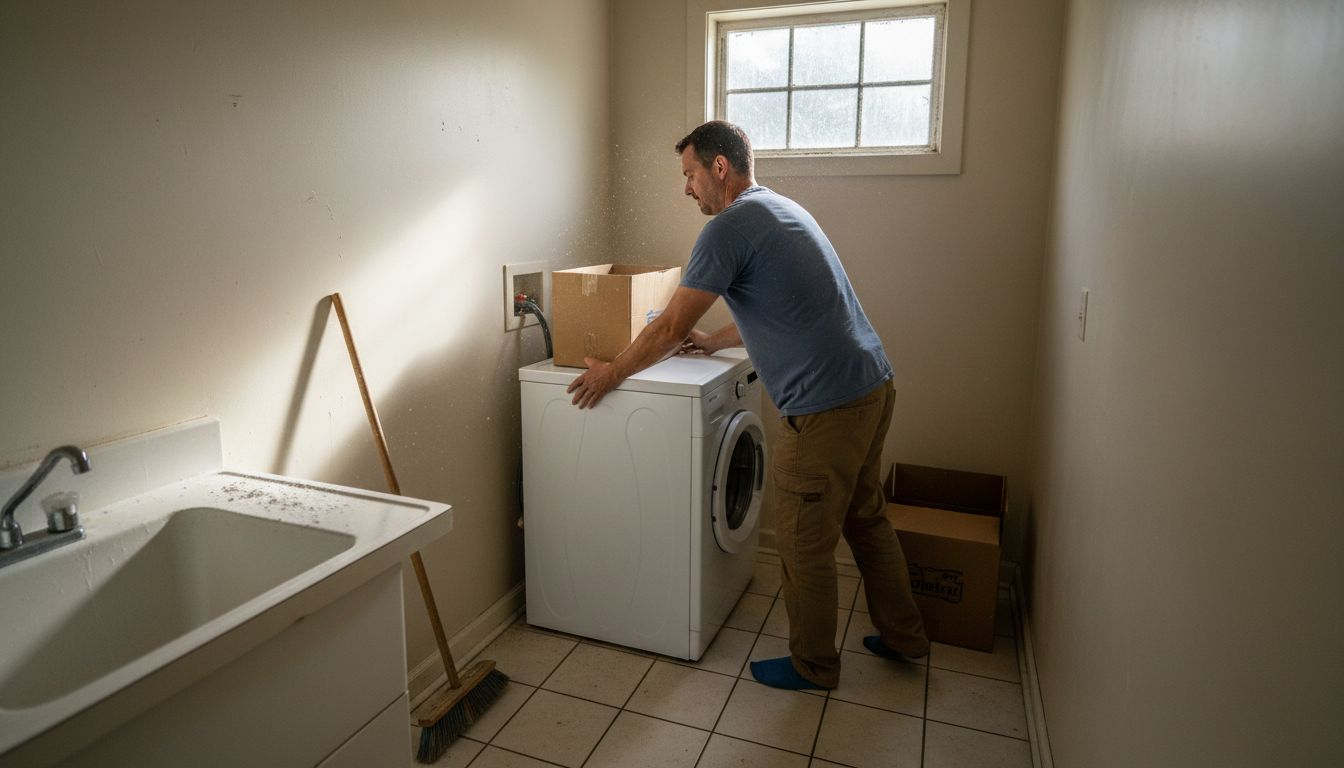
Step 3: Disconnect and Safeguard Your Appliance
Before any technician arrives, disconnecting and safeguarding your appliance is a critical safety step. This process protects both your equipment and the repair professional by eliminating potential electrical hazards and creating a secure working environment.
Electrical safety standards recommend proper disconnection methods for all major household appliances. For electrical appliances, locate the dedicated circuit breaker in your home’s electrical panel and switch it to the off position. If you are unsure which breaker controls the specific appliance, turn off the main circuit breaker to completely cut power. For gas appliances like stoves or dryers, shut off the gas valve located near the appliance or at the main gas line to prevent any potential gas leaks during servicing.
Additionally, unplug the appliance from its electrical outlet and carefully wrap the cord to prevent any damage. If the appliance has water connections like a refrigerator or washing machine, shut off the water supply valves to prevent potential leaks or flooding during the repair process. Take care to protect surrounding areas by placing a towel or drop cloth underneath the appliance to catch any potential water or debris during the service.
This summary outlines important safety steps for different types of appliance disconnection:
| Appliance Type | Power/Utility to Disconnect | Common Precaution |
|---|---|---|
| Electrical | Dedicated circuit breaker | Unplug and label breaker |
| Gas | Shut off gas valve | Close valve, check for leaks |
| Water-connected | Turn off water supply valve | Use towel for spills |
Pro tip: Label the circuit breaker or take a photo of its location to make it easy to restore power after the repair is complete.
Step 4: List Observed Issues and Symptoms
Documenting the specific problems you are experiencing with your appliance is crucial for helping technicians diagnose and resolve issues quickly. A clear and detailed description can save time and potentially reduce the cost of your repair service.
Consumer Reports highlights the most common appliance problems that homeowners encounter. Start by making a comprehensive list of symptoms you have noticed. For refrigerators, this might include unusual noises, temperature inconsistencies, or problems with ice and water dispensers. For washers and dryers, note issues like unusual sounds during operation, failure to start, incomplete cycles, or visible wear and tear on components. Be as specific as possible about when and how often these problems occur.
Take time to write down exactly what you have observed including the frequency of the issue, any error codes displayed, and specific circumstances that trigger the problem. If possible, take clear photos or videos of the appliance during the malfunction to provide visual evidence for the technician. This documentation helps Expert Appliance Inc technicians prepare more effectively and potentially diagnose the problem before arriving at your home.
Pro tip: Keep a smartphone timer running when recording an appliance issue to provide precise documentation of how long and under what conditions the problem occurs.
Step 5: Verify Service Readiness and Await Technician
As you approach the final stages of preparing for your appliance repair, verifying service readiness becomes critical to ensuring a smooth and efficient repair experience. This step involves creating an environment that allows the technician to work quickly and effectively.
Operational readiness practices help ensure successful service preparation by confirming all necessary conditions are met before the technician arrives. Double check that you have completed all previous preparation steps such as clearing access paths, disconnecting power, and documenting specific appliance issues. Make sure your contact information is current and easily accessible. If you will not be home during the service, arrange for a trusted family member or friend to provide access and communicate any specific instructions.
Prepare a dedicated workspace near the appliance with good lighting and minimal distractions. Have your list of observed symptoms and documentation ready to share with the technician. Keep your phone nearby in case the technician needs to contact you about any questions or additional details. Expert Appliance Inc recommends having a notepad and pen available to record any specific instructions or follow up recommendations the technician might provide during the service call.
Pro tip: Create a small welcome folder with all your appliance documentation that the technician can easily reference during the service visit.
Prepare Smart and Get Expert Appliance Repairs Fast
Facing appliance breakdowns can be stressful. The detailed steps in “How to Prepare for Appliance Service and Ensure Fast Repairs” highlight common challenges like locating model numbers, clearing workspace, and safely disconnecting appliances. These pain points often delay repair times and add frustration for homeowners and small businesses.
Expert Appliance Inc understands your goal to get fast, reliable fixes without hassle. With our family-owned experience since 1988 and focus on same-day service across Marlboro and Monmouth County, we’re ready to turn your preparation efforts into speedy solutions. We specialize in major appliance repairs including refrigerators, washers, dryers, ovens, stoves, dishwashers, and even vacuums. Let us handle the technical details so you can get back to your routine quickly.
Looking for trusted advice on prepping your appliance or need help scheduling your service? Explore our Appliance Archives – Expert Appliance for more helpful tips and trusted repair insights.

Don’t wait until your appliance problems worsen. Contact Expert Appliance Inc at https://expertapplianceinc.com right now for fast and professional repair services in New Jersey. Clear your space, gather your appliance info, then leave the rest to us. Schedule your appointment today and experience the difference of expert repair backed by local trust.
Frequently Asked Questions
What information do I need to gather before the appliance service?
To prepare for the appliance service, gather your user manual, model number, serial number, and purchase date. Ensure you have any warranty information and previous repair records by organizing them in a folder or digital file for easy access during the appointment.
How can I create a clear workspace for the technician?
To create a clear workspace, remove all items around the appliance, ensuring at least 3 feet of open space on all sides. This allows the technician to move freely and safely, reducing disruption during the repair process.
What should I do to disconnect my appliance safely?
Before the technician arrives, safely disconnect your appliance by turning off the circuit breaker or unplugging it from the electrical outlet. For gas appliances, shut off the gas valve to prevent hazards, ensuring a secure working environment for the technician.
How do I document issues I’ve noticed with my appliance?
Document the specific problems by making a list that includes symptoms, any error codes, and the frequency of issues. This detailed description helps the technician diagnose and resolve the problem faster, potentially reducing repair costs.
How do I prepare for the technician’s arrival?
Before the technician arrives, confirm that all preparation steps are completed, such as creating a clear workspace and gathering documentation. Additionally, have your list of appliance issues ready and ensure your contact information is accessible for effective communication during the service visit.
What materials should I prepare for the technician?
Prepare a notepad, pen, and a welcome folder with all your appliance documentation for the technician. This organization helps facilitate a smooth service visit and allows you to easily record any follow-up recommendations from the technician.