Few situations disrupt daily life faster than a broken appliance in your Marlboro, NJ home. Safe and efficient installations are not just about plugging in a new device—they depend on careful environment assessment and following recognized safety standards. Professional installers follow the National Electrical Code to prevent risks and ensure every new appliance works flawlessly. Discover how a thorough step-by-step approach can make replacements and urgent setups secure and reliable, protecting your household and investment.
Table of Contents
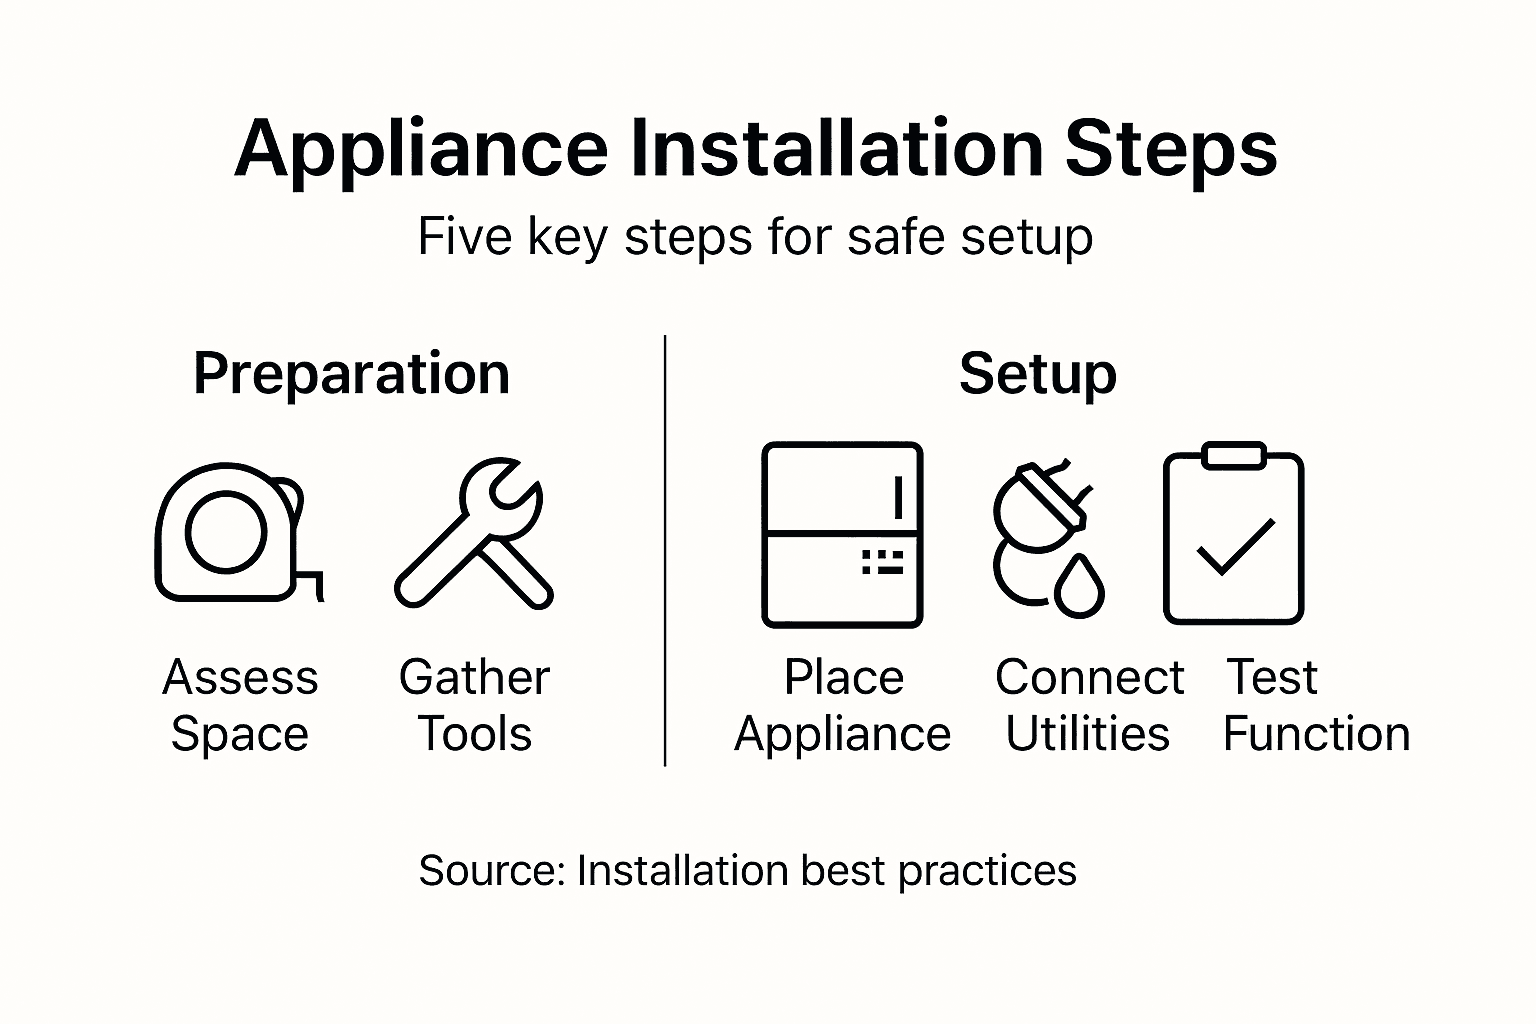
- Step 1: Assess the Installation Environment
- Step 2: Gather Essential Tools and Materials
- Step 3: Position the Appliance Correctly
- Step 4: Connect to Power and Utilities
- Step 5: Test Functionality and Safety
Quick Summary
| Key Insight | Explanation |
|---|---|
| 1. Assess installation environment | Evaluate electrical load, ventilation, and flooring stability before installation to prevent hazards and ensure performance. |
| 2. Gather the right tools | Collect essential tools like wrenches, screwdrivers, and safety gear for an efficient and safe installation process. |
| 3. Position appliance accurately | Ensure proper clearance around the appliance for optimal performance and safety, adhering to manufacturer’s requirements. |
| 4. Verify utility connections | Check all electrical and water connections for compatibility and secure fittings to avoid electrical hazards. |
| 5. Conduct thorough testing | Test all electrical safety and functionality aspects after installation to ensure reliable operation and safety standards. |
Step 1: Assess the Installation Environment
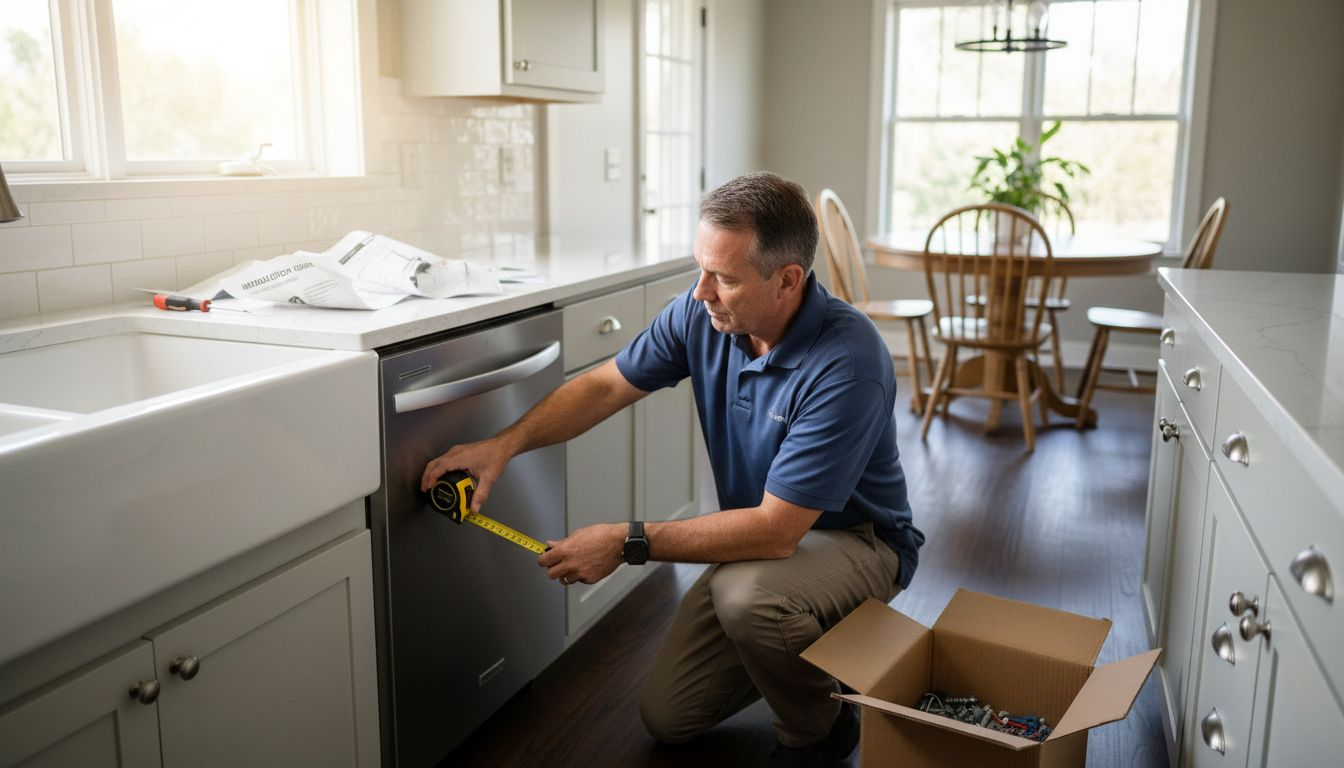
Before diving into your appliance installation, you need to carefully evaluate the surrounding environment to ensure safe and successful setup. This crucial step involves examining electrical, spatial, and safety conditions that will impact your installation process.
Start by thoroughly inspecting your designated installation area. You’ll want to check several key factors that can significantly influence your appliance’s performance and safety. Electrical installation guidelines recommend a comprehensive assessment that covers multiple dimensions:
- Electrical Load Capacity: Verify that your current electrical system can handle the new appliance’s power requirements
- Ventilation Space: Ensure adequate clearance around the appliance for proper air circulation
- Flooring Stability: Confirm the floor can support the appliance’s weight without risk of damage
- Proximity to Water Sources: Check for potential water connection requirements or risks
According to the National Electrical Code, professional installers must evaluate environmental conditions meticulously. This means measuring precise electrical specifications, assessing potential interference from nearby equipment, and confirming that your installation location meets all safety standards.
Here’s a summary of key environmental factors and their impact on appliance installation:
| Environmental Factor | Why It Matters | Potential Risk if Ignored |
|---|---|---|
| Electrical Load Capacity | Prevents overloads and outages | Fire hazard or circuit failure |
| Ventilation Space | Ensures proper air circulation | Reduced appliance lifespan |
| Flooring Stability | Supports safe appliance operation | Uneven performance or damage |
| Proximity to Water | Enables safe water connections | Leaks or electrical shock |
Safety starts with thorough preparation. A comprehensive environment assessment can prevent costly mistakes and potential hazards.
Pro tip: Always keep a measuring tape, voltage tester, and notebook handy during your initial assessment to document critical installation details.
Step 2: Gather Essential Tools and Materials
Before beginning your appliance installation, collecting the right tools and materials is crucial for a smooth and safe process. Your preparation will determine the efficiency and success of the entire project.
According to electrical installation design methodology, professional installers must strategically assemble specialized equipment. You’ll need a comprehensive toolkit that ensures both functionality and safety:
-
Hand Tools:
- Adjustable wrench
- Screwdriver set (Phillips and flathead)
- Wire strippers
- Measuring tape
- Level
-
Power Tools:
- Drill with various drill bits
- Electric screwdriver
-
Safety Equipment:
- Protective eyewear
- Work gloves
- Voltage tester
Electrical installation resources emphasize the importance of gathering specific materials tailored to your appliance’s requirements. This means understanding the precise electrical specifications, connection types, and potential environmental challenges.
Professional preparation prevents poor performance. Having the right tools at your fingertips can make the difference between a smooth installation and a frustrating experience.
Pro tip: Organize your tools and materials before starting the installation, and always keep a digital or physical checklist to ensure you don’t miss any critical components.
Step 3: Position the Appliance Correctly
Precise appliance positioning is more than just finding a convenient spot—it’s about ensuring optimal performance, safety, and long-term functionality. Your careful placement will directly impact the appliance’s efficiency and your home’s overall operational harmony.
Kitchen planning guidelines highlight critical considerations for strategic appliance placement. You’ll need to focus on several key dimensions:
-
Spatial Allowances:
- Maintain recommended clearance around the appliance
- Check manufacturer’s specific spacing requirements
- Consider adjacent furniture and workflow patterns
-
Utility Accessibility:
- Position near appropriate electrical outlets
- Ensure convenient water and drainage connections
- Allow sufficient cord and hose length for connections
According to energy efficiency standards, correct positioning isn’t just about convenience—it directly influences performance and energy consumption. Professional installers recommend measuring twice and moving once to guarantee perfect placement.
Strategic positioning transforms an appliance from merely functional to optimally integrated within your living space.
Pro tip: Use painter’s tape to outline the appliance’s footprint on the floor before final positioning, helping you visualize spatial requirements and potential obstacles.

Step 4: Connect to Power and Utilities
Connecting your new appliance to power and utilities requires precision, patience, and a keen understanding of electrical safety protocols. This critical step transforms your newly positioned appliance from a standalone item into a fully functional component of your home’s infrastructure.
Electrical installation standards emphasize the importance of meticulous utility connections. Before proceeding, you’ll need to verify several crucial elements:
-
Electrical Requirements:
- Confirm voltage compatibility
- Check amperage and circuit capacity
- Verify grounding connections
- Inspect outlet type and condition
-
Utility Connection Checklist:
- Match appliance plug with appropriate outlet
- Ensure cord length accommodates placement
- Check for potential interference with other devices
- Verify water line connections (if applicable)
According to the National Electrical Code, professional installers must adhere to strict safety guidelines. This means carefully examining each connection point, testing electrical continuity, and ensuring that every component meets rigorous safety standards.
Proper utility connections are not just about functionality—they’re about protecting your home and family from potential electrical hazards.
Pro tip: Always use a multimeter to test electrical connections and verify proper voltage before completing the final installation.
Step 5: Test Functionality and Safety
After installation, thorough testing becomes your final checkpoint to ensure your appliance operates safely and efficiently. This critical phase validates all your previous careful preparation and confirms the appliance’s proper functionality.
Appliance safety testing involves a comprehensive evaluation of multiple critical elements. You’ll need to systematically verify several key performance indicators:
-
Electrical Safety Checks:
- Test ground fault circuit interrupter (GFCI)
- Verify voltage stability
- Check for proper electrical continuity
- Confirm circuit breaker compatibility
-
Functional Performance Tests:
- Run initial operational cycles
- Monitor temperature and power consumption
- Listen for unusual sounds or vibrations
- Check all control mechanisms and settings
According to electrical installation safety standards, professional installers must conduct rigorous initial compliance assessments. This means methodically examining every aspect of the appliance’s operation to guarantee both immediate and long-term safety.
The following table compares key testing areas to ensure safe appliance operation:
| Testing Area | What to Check | Why It’s Important |
|---|---|---|
| Electrical Safety | GFCI, voltage, continuity | Prevents electrical hazards |
| Functional Performance | Initial cycles, controls | Validates appliance reliability |
| Energy Consumption | Power draw, temperature | Confirms efficiency and savings |
Comprehensive testing isn’t just a recommendation—it’s your first line of defense against potential electrical hazards and performance issues.
Pro tip: Keep the manufacturer’s manual nearby during testing and document any observations or unusual behaviors for future reference.
Get Expert Help for a Smooth Appliance Installation
Mastering appliance installation means tackling challenges like proper positioning, electrical safety, and utility connections. If you want to avoid costly mistakes and protect your home from potential hazards, trust local pros who understand the unique demands of New Jersey households. Our team knows how critical the right tools, detailed environment assessments, and thorough testing are for long-lasting appliance performance.

Take the stress out of installation and repairs by choosing Expert Appliance Repair. With fast same-day service, 24/7 emergency support, and upfront pricing, we make sure your appliances run safely and efficiently. Discover more helpful tips in our Appliance Archives and see why Marlboro and Monmouth County homeowners rely on us to keep their homes running smoothly. Ready to schedule your service or get a consultation visit expertapplianceinc.com now for trusted, professional support.
Frequently Asked Questions
How can I assess the installation environment for my appliance?
Begin by thoroughly inspecting the designated installation area, checking for electrical load capacity, ventilation space, flooring stability, and proximity to water sources. This will help identify any potential risks and ensure safe installation.
What tools will I need to properly install an appliance?
Gather essential tools such as an adjustable wrench, screwdriver set, wire strippers, measuring tape, and a level. Organize these items before starting to streamline your installation process.
How should I position my appliance for optimal performance?
To ensure optimal performance, maintain the recommended clearances around the appliance and check for utility accessibility, such as electrical outlets and water connections. Utilize painter’s tape to visualize the appliance’s footprint before final placement.
What are the steps to connect my appliance to power and utilities?
Follow these steps: verify the electrical requirements, match the appliance plug to the appropriate outlet, and check water line connections if necessary. Use a multimeter to test electrical connections and ensure they’re safe before completing the installation.
How can I test my appliance to ensure it operates safely and efficiently?
Thoroughly test the appliance by checking electrical safety features, running initial operational cycles, and monitoring for any unusual sounds or behaviors. Document your observations to address any issues promptly, ensuring both performance and safety.