Every homeowner in Marlboro, NJ knows the frustration when an appliance breaks down unexpectedly. Staying ahead with routine maintenance not only saves money but also builds peace of mind. This guide outlines a comprehensive appliance maintenance checklist designed to help you organize your tools, inspect vital connections, and keep your appliances running smoothly for years to come.
Table of Contents
- Step 1: Gather Essential Tools and Safety Gear
- Step 2: Inspect Power, Hoses, and Connections
- Step 3: Clean Key Components and Surfaces
- Step 4: Test Appliance Operation and Functions
- Step 5: Record Findings and Schedule Future Maintenance
Quick Summary
| Important Insight | Clarification |
|---|---|
| 1. Assemble Quality Tools | Use professional-grade tools to ensure reliability and safety during appliance maintenance. |
| 2. Inspect Connections Thoroughly | Check power cords and hose connections for damage or wear to prevent safety hazards. |
| 3. Clean Regularly | Maintain cleaning routines to remove buildup and extend the lifespan of appliances. |
| 4. Conduct Comprehensive Testing | Test appliances after maintenance to identify and resolve any functionality issues. |
| 5. Document Your Maintenance | Keep detailed records of maintenance tasks to track appliance health and planning. |
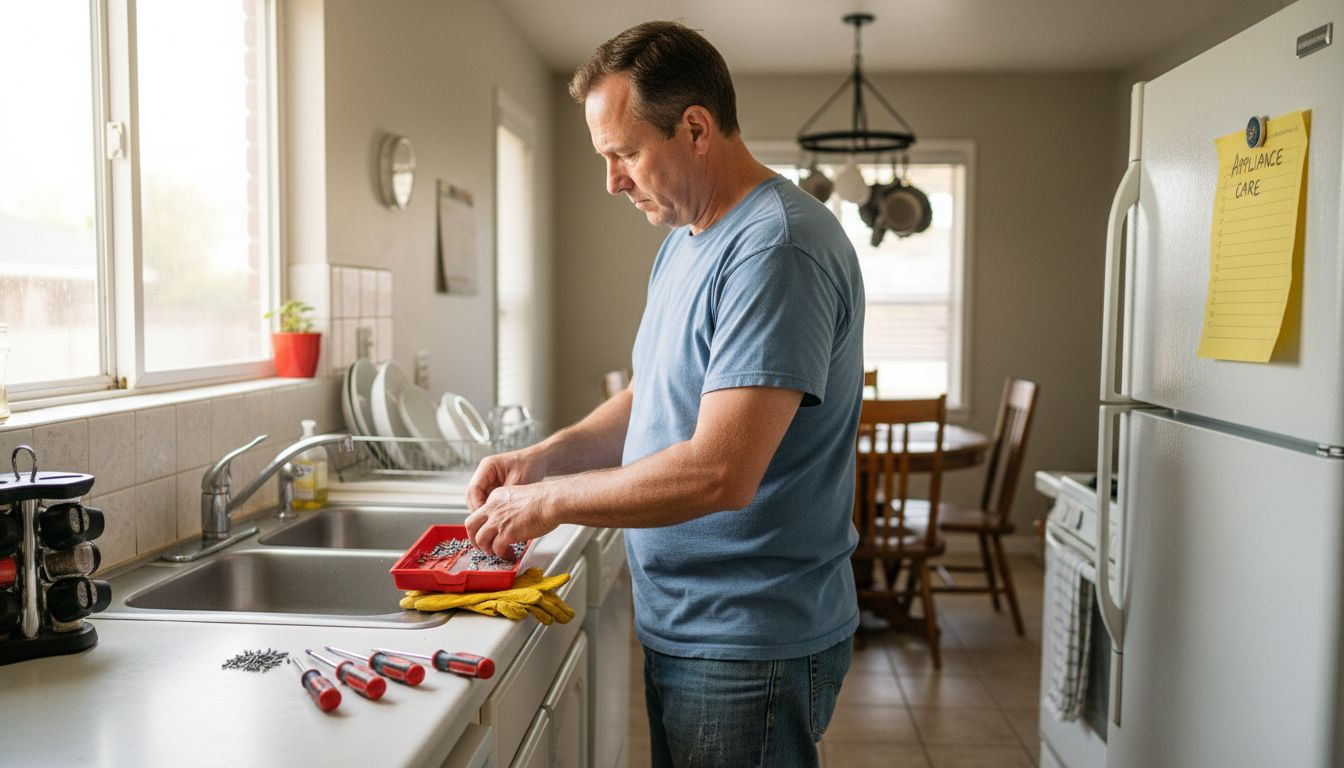
Step 1: Gather Essential Tools and Safety Gear
Preparing for appliance maintenance begins with assembling the right tools and safety equipment. Your success and personal protection depend on having a well-organized toolkit that includes both specialized and standard maintenance items.
Your essential toolkit should include the following key categories of tools:
-
Hand Tools:
- Screwdrivers (flathead and Phillips head)
- Adjustable wrench
- Pliers (needle-nose and channel lock)
- Allen key set
- Utility knife
-
Measuring and Diagnostic Tools:
- Multimeter
- Tape measure
- Digital thermometer
- Voltage tester
-
Safety Personal Protective Equipment:
- Safety glasses
- Work gloves
- Non-slip closed-toe shoes
- Protective ear coverings (for loud appliance work)
Always inspect tools for damage before use to prevent potential accidents during maintenance.
When selecting tools, prioritize quality and compatibility with your specific appliance models. Professional-grade tools might cost more upfront but provide better long-term reliability and precision. Consider purchasing a dedicated toolbox or carrying case to keep your equipment organized and protected.
Pro tip: Invest in a magnetic parts tray to prevent losing small screws and components during appliance repairs.
Here’s how tool quality impacts appliance maintenance:
| Tool Type | Impact on Performance | Impact on Safety |
|---|---|---|
| Professional-grade | Enables precise adjustments | Minimizes risk of injury |
| Budget/basic | May cause improper fitting | Increases accident chances |
| Damaged/old tools | Can damage appliances | Higher likelihood of failure |
Step 2: Inspect Power, Hoses, and Connections
Before diving into appliance maintenance, a thorough inspection of power supplies, hoses, and electrical connections is crucial for ensuring safety and preventing potential equipment failures. This step will help you identify potential risks and maintain your appliances in top condition.
Key areas to inspect during your maintenance routine include:
-
Electrical Connections:
- Check power cords for fraying or exposed wires
- Verify plug integrity and grounding
- Ensure outlets are not overloaded
- Look for signs of heat damage or discoloration
-
Hose and Fluid Connections:
- Examine hoses for cracks or wear
- Check connection points for leaks
- Verify proper attachment and tightness
- Look for signs of corrosion or degradation
Always disconnect power before performing detailed inspections to prevent accidental electrical shock or equipment start-up.
Pay special attention to connection points that experience frequent stress or movement. Loose or damaged connections can lead to significant performance issues and potential safety hazards. Take your time and use proper lighting to conduct a detailed visual examination of all critical connection points.
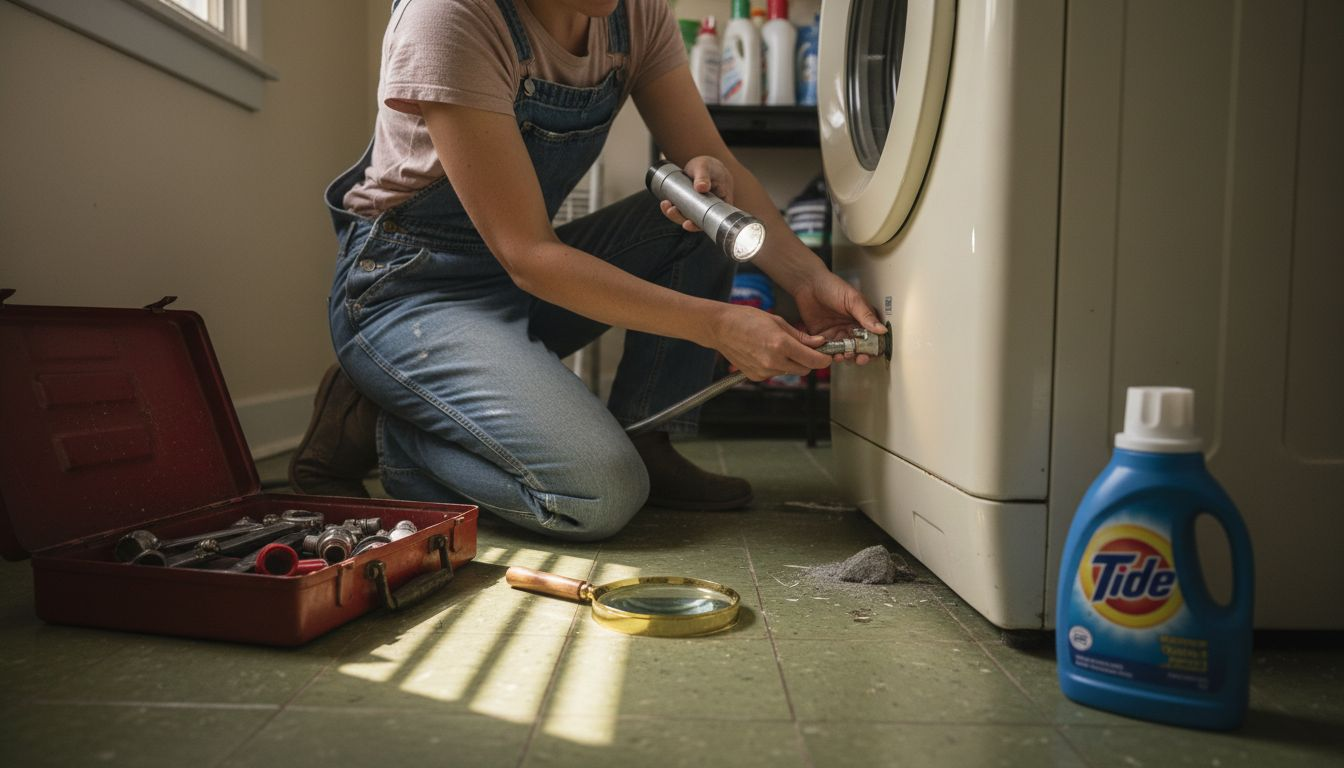
Pro tip: Use a flashlight and magnifying glass to spot small cracks or wear that might be invisible to the naked eye.
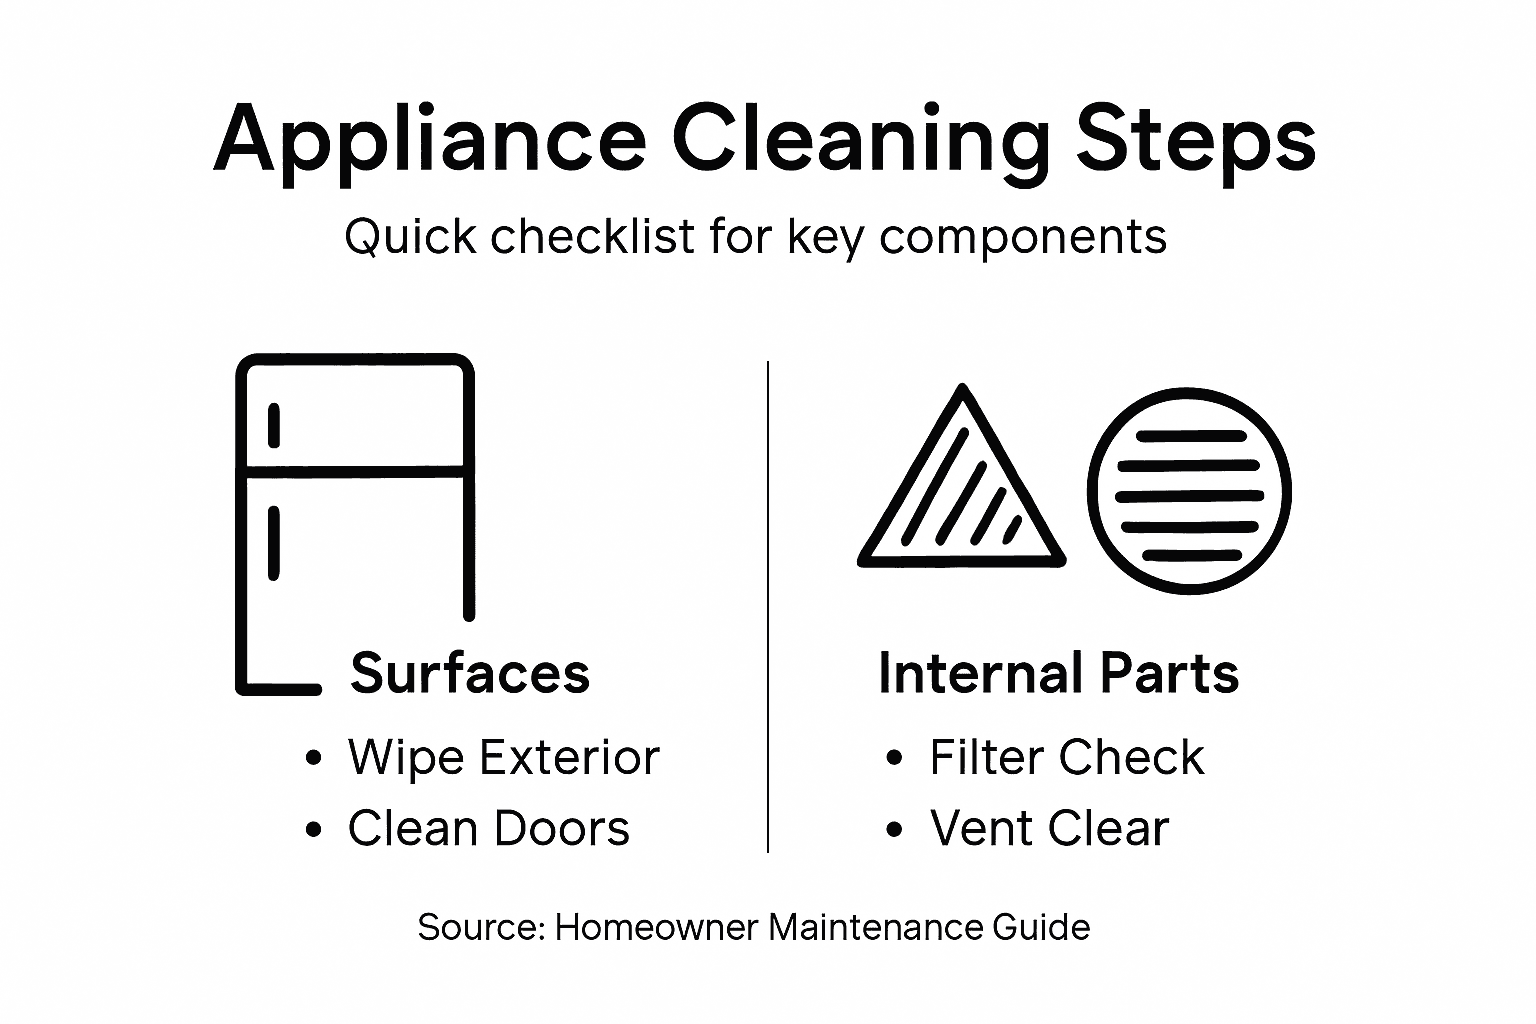
Step 3: Clean Key Components and Surfaces
Cleaning is a critical step in appliance maintenance that prevents performance degradation and extends the life of your equipment. By systematically addressing key components and surfaces, you’ll remove dirt, grime, and potential performance-reducing buildup.
When cleaning your appliances, follow these essential guidelines:
-
Cleaning Preparation:
- Unplug appliance before cleaning
- Wear protective gloves
- Select appropriate cleaning solutions
- Use soft, non-abrasive cloths
-
Surface Cleaning Techniques:
- Use approved cleaning protocols
- Clean from top to bottom
- Wipe in consistent, gentle motions
- Pay attention to hard-to-reach areas
-
Specific Surface Considerations:
- Stainless steel: Use microfiber cloth
- Electronic components: Use electronics-safe cleaners
- Rubber seals: Clean with mild detergent
- Interior surfaces: Remove and wash removable parts
Always check manufacturer instructions before applying any cleaning solution to ensure you don’t damage sensitive components.
Precision matters when cleaning appliances. Avoid harsh chemicals that could corrode or damage delicate surfaces. Instead, opt for manufacturer-recommended or specialized cleaning products designed for specific appliance materials.
Pro tip: Create a dedicated cleaning kit with microfiber cloths, soft brushes, and appliance-specific cleaning solutions to streamline your maintenance routine.
Step 4: Test Appliance Operation and Functions
After completing maintenance and cleaning, thoroughly testing your appliance ensures everything functions correctly and safely. This critical step helps identify any potential issues before they become major problems that could compromise performance or lead to costly repairs.
Use the following comprehensive testing approach:
-
Initial Power-On Checks:
- Plug in the appliance
- Verify stable power connection
- Listen for unusual sounds
- Check display panel functionality
-
Functional Performance Tests:
- Verify complete operational cycle
- Test all preset modes and settings
- Monitor temperature or performance indicators
- Run full diagnostic sequence
-
Detailed Operational Inspection:
- Check temperature consistency
- Evaluate mechanical movements
- Inspect seals and connections
- Confirm all buttons and controls work
Always start testing at low settings and gradually increase to full operation to minimize potential risks.
Systematic testing helps catch subtle performance issues that might not be immediately apparent. Pay close attention to any variations in normal operation, strange noises, or unexpected behaviors during your comprehensive test cycle.
Pro tip: Keep a maintenance log documenting each test’s results to track your appliance’s performance over time and identify emerging patterns.
Step 5: Record Findings and Schedule Future Maintenance
Documenting your appliance maintenance process is crucial for tracking performance, identifying potential issues, and ensuring long-term equipment reliability. By creating a systematic record of your maintenance activities, you’ll develop a comprehensive understanding of your appliance’s health and maintenance needs.
Use these guidelines for effective maintenance documentation:
-
Maintenance Log Details:
- Date of current maintenance
- Specific appliance model
- Technician or homeowner name
- Maintenance tasks performed
- Parts inspected or replaced
-
Documentation Strategies:
- Create comprehensive maintenance records
- Use digital or physical log formats
- Include detailed observations
- Note any unusual findings
-
Future Maintenance Planning:
- Determine next service date
- Set calendar reminders
- Track maintenance intervals
- Estimate potential repair costs
Consistent documentation transforms reactive repairs into proactive maintenance strategies.
Systematic record-keeping helps you anticipate potential problems before they escalate. Review your maintenance logs periodically to identify patterns, recurring issues, or signs that suggest more comprehensive servicing might be necessary.
Pro tip: Photograph key components during maintenance to create a visual reference for future comparisons and track gradual wear or changes.
Review this sample maintenance log structure for better equipment tracking:
| Log Entry Detail | Example Entry | Reason to Record |
|---|---|---|
| Service Date | 2024-07-12 | Tracks timing and intervals |
| Appliance Model | Whirlpool WRT311FZDW | Identifies equipment maintained |
| Tasks Performed | Replaced water filter | Documents specific actions taken |
| Unusual Findings | Door seal slightly worn | Flags parts for future attention |
Keep Your Appliances Running Smoothly with Expert Assistance
Maintaining your home appliances involves detailed inspections, careful cleaning, and precise testing to avoid unexpected breakdowns and costly repairs. If you find the comprehensive checklist overwhelming or face challenges like detecting small cracks in hoses or ensuring safe electrical connections, you are not alone. Many homeowners struggle with timely maintenance and miss early warning signs that can lead to bigger problems.

Experience peace of mind with professional appliance repair and maintenance services from a trusted local provider. At Expert Appliance Inc, serving Marlboro and Monmouth County, NJ, we specialize in fast, reliable repairs for refrigerators, washers, dryers, ovens, and more. With 24/7 emergency support and upfront pricing, you can rely on us when you need it most. Visit our Appliance Archives to learn more tips or schedule a service through our main site Expert Appliance. Don’t wait until a small issue turns into a costly emergency – contact us today and keep your appliances performing at their best.
Frequently Asked Questions
What tools are essential for appliance maintenance?
To effectively maintain appliances, gather a toolkit that includes screwdrivers, adjustable wrenches, pliers, and measuring tools like a multimeter. Invest in quality hand tools to ensure precision and safety during repairs.
How can I safely inspect electrical connections on my appliances?
Always disconnect the power before conducting any inspection. Visually check for frayed wires, secure connections, and signs of heat damage, ensuring all outlets are not overloaded for safe operation.
What cleaning supplies should I use for appliance maintenance?
Use soft, non-abrasive cloths and manufacturer-recommended cleaning solutions to prevent damage while cleaning. Prepare a dedicated cleaning kit to simplify your maintenance routine, focusing on those surfaces that are vulnerable to wear and tear.
How do I test if my appliance is functioning correctly after maintenance?
After completing maintenance, plug in the appliance and check for stable power connection, unusual sounds, and operational functionality. Conduct a full cycle test on all modes, ultimately monitoring performance indicators for accuracy.
Why is it important to document my appliance maintenance activities?
Recording maintenance details helps track performance and schedule future services, allowing you to anticipate potential problems. Keep a detailed log of tasks performed, issues observed, and the next service dates to ensure optimal appliance reliability.
When should I schedule future appliance maintenance?
Set maintenance intervals based on usage patterns and appliance age to optimize performance. Create calendar reminders every 6-12 months for general upkeep, adjusting as needed if problems are noted during inspections.