Your oven suddenly refuses to heat, leaving dinner plans in chaos. You wonder if this means an expensive replacement or if there’s a simpler fix hiding beneath the surface. Most oven problems stem from identifiable causes like worn heating elements, faulty sensors, or control panel glitches. Understanding these common issues empowers you to troubleshoot effectively and decide when professional repair makes sense. This guide walks you through frequent oven malfunctions, practical diagnostic steps, and maintenance strategies that keep your appliance running reliably in Monmouth County homes.
Table of Contents
- Key takeaways
- Understanding common oven issues
- Troubleshooting and diagnosing oven problems at home
- When professional oven repair is necessary
- Maintenance tips to prevent oven problems
- Learn professional oven repair solutions in Monmouth County
- FAQ
Key Takeaways
| Point | Details |
|---|---|
| Common oven failure causes | Oven problems frequently arise from worn heating elements, faulty sensors, or control panel issues. |
| Regular maintenance matters | Routine upkeep helps prevent frequent breakdowns and costly repairs. |
| Early warning signs | Recognizing issues early can save time and money by guiding timely troubleshooting. |
| Pro repair benefits | Professional repair services ensure safe, effective fixes. |
| Know limits of DIY | DIY troubleshooting is helpful but knowing your limits prevents unsafe or incorrect repairs. |
Understanding common oven issues
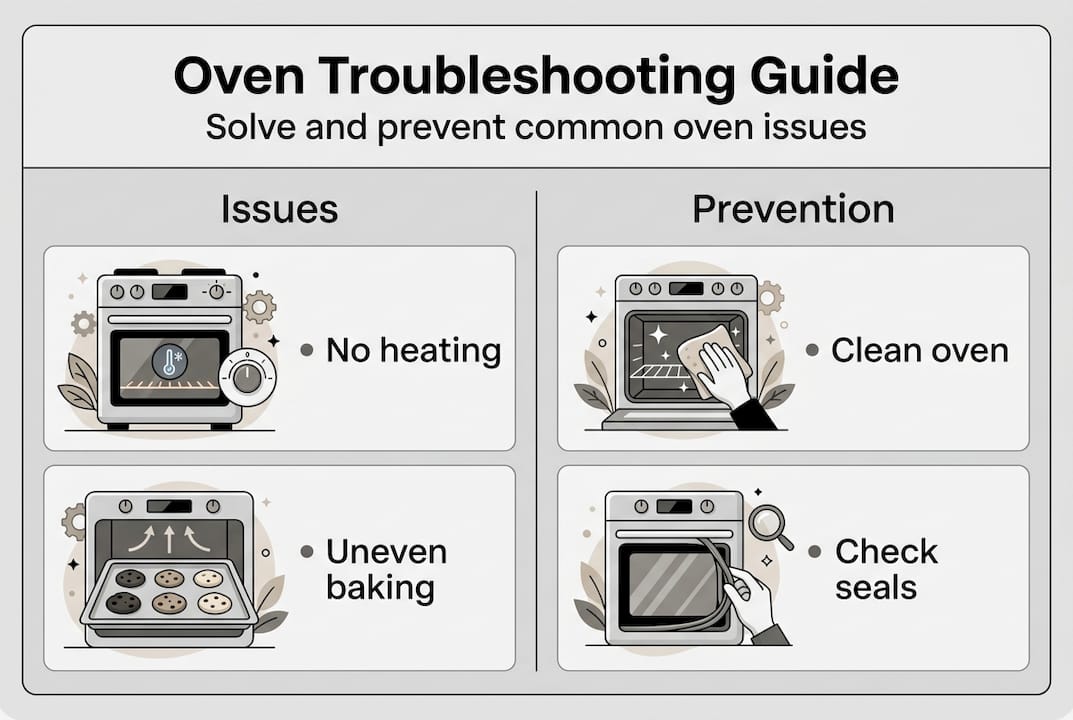
Oven malfunctions disrupt daily routines, but most problems fall into predictable categories. Recognizing these patterns helps you respond quickly and appropriately.
The most frequent complaint involves ovens that won’t heat at all. This typically signals a broken heating element or electrical fault preventing power from reaching the element. Electric ovens rely on bake and broil elements that glow red when functioning properly. When these elements crack or burn out, your oven stays cold no matter how high you set the temperature.
Uneven baking frustrates home cooks trying to achieve consistent results. This issue usually stems from malfunctioning temperature sensors that misread internal heat levels. Your oven might display 350 degrees while actually running at 320 or 380 degrees. Faulty burners in gas ovens create similar problems, with hot spots in some areas and cool zones in others.
Control panel glitches create unpredictable behavior and cryptic error codes. Modern ovens use electronic control boards that manage heating cycles, timers, and temperature regulation. When these boards fail, you might see random error messages, buttons that don’t respond, or displays that flicker and reset. These electronic issues often require professional diagnosis because multiple components interact in complex ways.
Door seal deterioration allows heat to escape during cooking. The rubber gasket around your oven door creates an airtight seal that traps heat inside. Over time, this gasket becomes brittle, tears, or loses flexibility. You’ll notice longer preheating times, temperature fluctuations, and higher energy bills as your oven works harder to maintain set temperatures.
Gas ovens face unique ignition challenges. The igniter must glow bright enough to open the gas valve and light the burner. Weak igniters glow orange instead of white, failing to generate sufficient heat for ignition. Gas flow problems also occur when debris clogs burner ports or regulators malfunction. These issues require immediate attention because gas leaks pose serious safety risks.
- Heating elements fail from normal wear or electrical surges
- Temperature sensors drift out of calibration over years of use
- Control boards suffer damage from power spikes or moisture exposure
- Door gaskets crack from repeated heating and cooling cycles
- Igniters weaken gradually until they can’t open gas valves
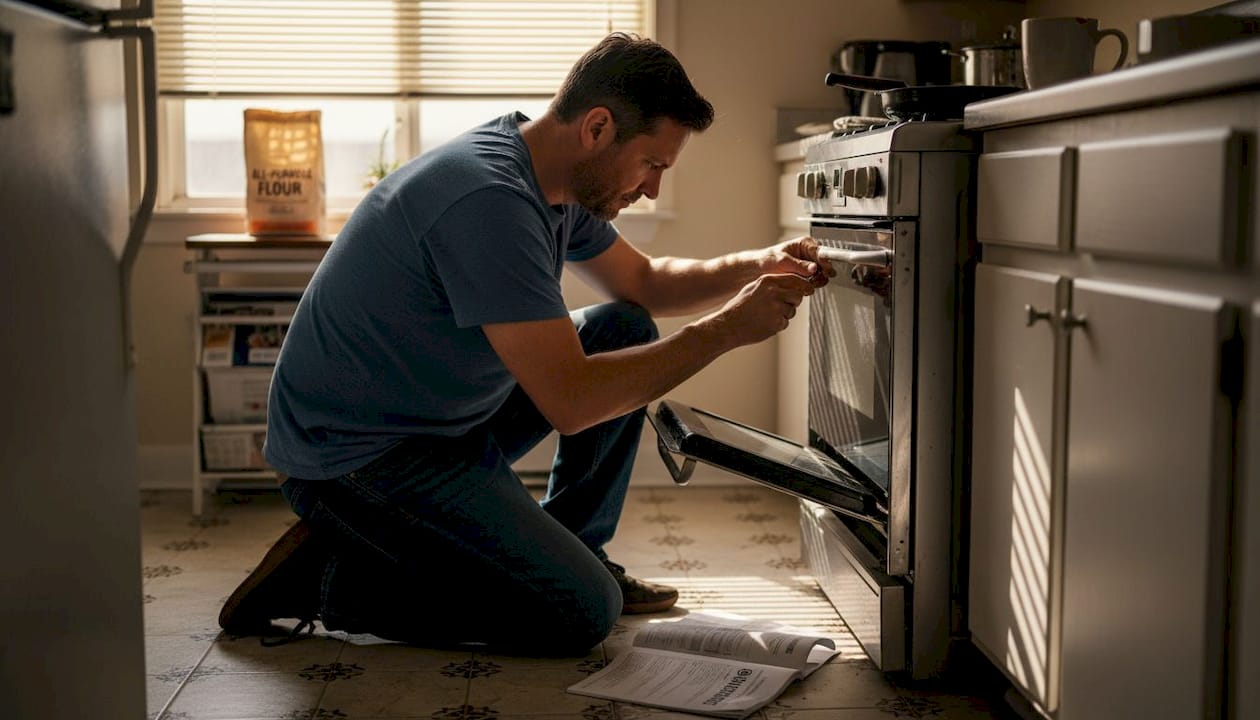
Troubleshooting and diagnosing oven problems at home
Before calling for repairs, you can perform safe diagnostic checks that often reveal the root cause of oven troubles.
-
Check your home’s electrical system first. Verify that the circuit breaker hasn’t tripped and the oven receives power. Electric ovens typically use 240-volt circuits with double breakers that can trip independently. Reset any tripped breakers and test the oven again.
-
Reset the oven’s control panel to clear temporary errors. Most models have a reset procedure involving turning off the circuit breaker for 60 seconds, then restoring power. This simple step resolves many electronic glitches without requiring repairs.
-
Inspect visible heating elements for damage. Turn on the bake function and observe whether the bottom element glows evenly. Look for dark spots, breaks, or blistering on the element surface. The broil element at the top should also glow uniformly when activated. Any visible damage means replacement is necessary.
-
Test the door latch and seal integrity. Close the oven door and check for gaps around the perimeter. Run your hand along the door edges while the oven heats to feel for escaping air. A properly sealed door should feel uniformly hot on the outside without drafts.
-
Use an oven thermometer to verify temperature accuracy. Place an accurate thermometer in the center of the oven and set the temperature to 350 degrees. After 20 minutes, compare the thermometer reading to the display. Differences greater than 25 degrees indicate sensor or calibration problems.
Pro Tip: Document error codes by photographing your display screen before resetting. These codes help technicians diagnose issues quickly and may reveal patterns if problems recur.
Gas oven owners should listen for clicking sounds during ignition attempts. A clicking noise without flame indicates the igniter is trying to work but lacks sufficient strength. If you smell gas without ignition, immediately turn off the oven, ventilate your kitchen, and call for emergency service.
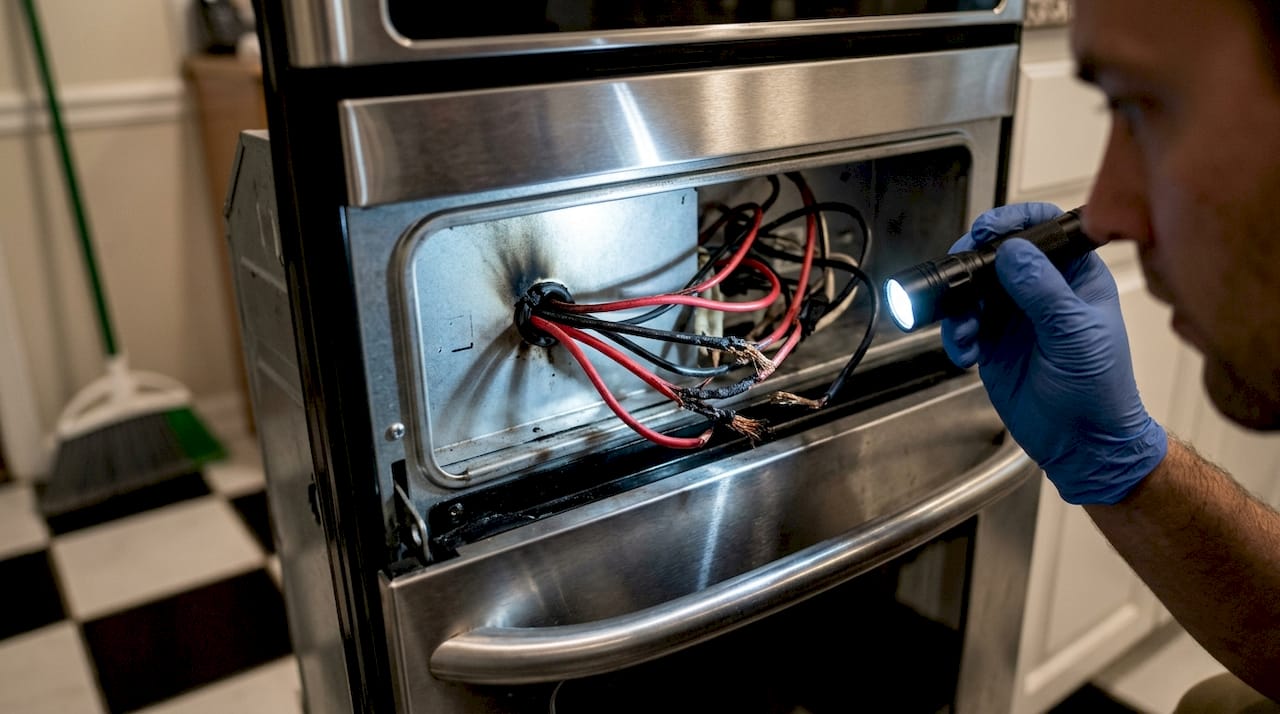
Visual inspections reveal many common problems without tools. Shine a flashlight inside the oven cavity to check for loose wires, burned insulation, or foreign objects blocking vents. Look underneath and behind the oven for disconnected plugs or damaged power cords.
Timing your observations provides valuable diagnostic information. Note whether the oven fails immediately upon starting or after running for a period. Intermittent problems that come and go suggest loose connections or components that fail when heated. Consistent failures point to permanent damage requiring replacement parts.
Consult your oven’s repair manual for model-specific troubleshooting steps. Manufacturers often include diagnostic modes that display sensor readings and test individual components. These built-in tests can pinpoint failing parts without disassembly.
When professional oven repair is necessary
Certain oven problems exceed safe DIY troubleshooting and require trained technician expertise to resolve properly.
Persistent heating failures despite basic troubleshooting indicate deeper electrical or mechanical issues. If resetting breakers, checking connections, and inspecting elements don’t restore function, internal wiring or control board problems likely exist. These components carry high voltage that poses electrocution risks to untrained individuals.
Visible damage to electrical wiring demands immediate professional attention. Frayed insulation, burned wire connectors, or melted plastic around terminals create fire hazards. Never operate an oven showing these warning signs. The underlying cause might be a short circuit, overloaded circuit, or manufacturing defect requiring expert diagnosis.
Unusual smells signal potentially dangerous conditions. A burning plastic odor suggests overheating components or melting insulation. Gas odors indicate leaks that could lead to explosions or carbon monoxide poisoning. Sulfur or rotten egg smells from gas ovens mean the odorant added to natural gas is escaping somewhere in the system.
Control panel malfunctions with error codes need professional interpretation. While you can reset displays, recurring error messages indicate failing components that require testing equipment to diagnose. Modern ovens use proprietary diagnostic codes that only trained technicians can properly decode and address.
Signs of carbon monoxide or fire hazards require urgent professional response. Yellow or orange flames in gas ovens instead of blue flames indicate incomplete combustion producing carbon monoxide. Soot buildup around burners, excessive heat on external surfaces, or sparking inside the oven all warrant immediate service calls.
- Electrical repairs involve high voltage requiring specialized training and safety equipment
- Gas system repairs demand certification and leak detection tools for safe completion
- Control board diagnosis needs multimeters and manufacturer-specific testing procedures
- Heating element replacement requires proper electrical disconnection and installation techniques
- Door hinge and spring repairs involve mechanical components under tension
Pro Tip: Never attempt gas oven repairs yourself unless you’re a certified gas technician. Even small mistakes can create life-threatening leaks or combustion problems.
Professional repair services provide warranties on parts and labor that protect your investment. Attempting DIY repairs on complex issues often voids manufacturer warranties and can cause additional damage that increases final repair costs. Technicians carry specialized tools, replacement parts, and diagnostic equipment that ensure accurate fixes the first time.
Insurance considerations also favor professional repairs. Homeowner’s insurance policies typically cover appliance-related damage only when repairs are performed by licensed contractors. DIY electrical or gas work that causes fires or explosions may result in denied claims and personal liability.
Time value matters when weighing DIY versus professional repair decisions. Spending hours researching, ordering parts, and attempting fixes might save money initially but costs you valuable time. Expert technicians diagnose and repair most oven problems in a single visit, restoring your kitchen to full function quickly.
Maintenance tips to prevent oven problems
Proactive care dramatically reduces oven breakdowns and extends appliance lifespan through simple routine practices.
Clean spills and food debris promptly after each use. Baked-on residue creates insulation that makes heating elements work harder and less efficiently. Grease buildup also poses fire risks when it ignites during high-temperature cooking. Wipe down interior surfaces weekly using mild dish soap and water, avoiding harsh chemicals that damage protective coatings.
Inspect and replace worn door gaskets before they fail completely. Check the rubber seal every few months by closing the door on a dollar bill. If you can pull the bill out easily, the gasket no longer seals properly. Replacement gaskets cost far less than the energy wasted by poor seals and prevent more serious heating problems.
Schedule professional tune-ups annually for gas ovens and every two years for electric models. Regular maintenance visits include safety checks, calibration adjustments, and early detection of wearing components. Technicians can spot problems before they cause breakdowns, saving you from inconvenient failures and emergency repair costs.
Avoid harsh chemical cleaners that corrode oven components. Commercial oven cleaners containing lye or ammonia damage heating elements, sensors, and electronic connections. Stick to manufacturer-recommended cleaning products or natural alternatives like baking soda paste for tough stains.
Maintain proper ventilation to prevent overheating and component stress. Ensure at least three inches of clearance around oven sides and back for airflow. Clean or replace range hood filters monthly to remove grease and moisture that can damage electronic controls. Good ventilation also prevents heat buildup that accelerates component aging.
- Remove oven racks and clean separately in soapy water every month
- Test oven temperature accuracy quarterly using an independent thermometer
- Check door alignment and adjust hinges if gaps appear around seal
- Clean burner ports on gas ovens to prevent clogged flames
- Vacuum dust and debris from underneath and behind oven twice yearly
| Maintenance Task | Frequency | Time Required | Prevents |
|---|---|---|---|
| Interior cleaning | Weekly | 10 minutes | Fire hazards, element damage |
| Gasket inspection | Monthly | 5 minutes | Heat loss, efficiency problems |
| Temperature calibration check | Quarterly | 15 minutes | Uneven cooking, energy waste |
| Professional tune-up | Annually | 60 minutes | Major breakdowns, safety issues |
| Ventilation cleaning | Monthly | 20 minutes | Control board failures, overheating |
Pro Tip: Keep a maintenance log noting cleaning dates, repairs, and observations. Patterns in your notes help identify recurring issues and provide valuable information to technicians during service calls.
Consistent maintenance practices pay dividends through reliable performance and lower lifetime costs. Ovens receiving regular care typically last 15-20 years compared to 10-12 years for neglected units. The small time investment in routine cleaning and inspections prevents the frustration and expense of unexpected breakdowns.
Seasonal considerations affect oven maintenance needs. Before holiday cooking seasons, perform thorough cleaning and testing to ensure your oven handles increased use. Summer months offer ideal times for professional tune-ups when repair services face lighter demand and faster scheduling.
Document your oven’s model number, serial number, and purchase date in an easily accessible location. This information speeds up parts ordering and warranty claims if repairs become necessary. Take photos of your oven’s data plate and store them digitally for quick reference.
Learn professional oven repair solutions in Monmouth County
When your oven needs expert attention beyond basic troubleshooting, local professional services provide reliable solutions that restore your kitchen’s functionality quickly. Expert Appliance has served Monmouth County residents since 1988, building a reputation for fast, effective appliance repairs that keep homes running smoothly.

Their technicians repair all major appliance brands using manufacturer-approved parts and proven techniques. Whether you’re dealing with a stubborn heating element, mysterious error codes, or complete oven failure, their team diagnoses problems accurately and implements lasting fixes. Same-day service availability means you won’t wait days for essential repairs, and transparent pricing eliminates surprise costs.
Comprehensive oven and stove repair services cover both gas and electric models, from simple element replacements to complex control board repairs. Beyond immediate fixes, they offer guidance on preventive maintenance schedules that protect your investment and minimize future problems. Their local Marlboro location ensures fast response times throughout Monmouth County when you need help most.
FAQ
What are the most common reasons an oven stops heating?
Broken heating elements cause most residential oven heating failures, along with electrical wiring problems that prevent power from reaching the elements. Temperature sensor malfunctions also create heating issues by sending incorrect readings to the control board. In gas ovens, weak igniters that can’t open the gas valve represent the primary heating failure point. Control board failures occasionally prevent heating by disrupting the electronic signals that activate heating elements.
Can I safely repair my oven myself?
Simple diagnostic checks like resetting controls, inspecting visible elements, and testing door seals are safe for homeowners with basic precautions. Replacing accessible heating elements in electric ovens falls within DIY capability if you follow proper procedures and disconnect power completely. However, any repairs involving internal wiring, gas systems, or control boards require professional expertise due to electrocution and explosion risks. Diagnostic techniques help identify problems, but complex repairs exceed safe DIY limits.
When should I call a professional for oven repair?
Call a professional immediately if you smell gas, see sparking inside the oven, or notice burning odors that persist after cleaning. Persistent heating failures that don’t resolve through basic troubleshooting indicate internal electrical problems requiring expert diagnosis. Error codes that reappear after resetting, visible wire damage, or control panel malfunctions all warrant professional attention. Warning signs like unusual noises, excessive external heat, or safety feature failures require urgent service to prevent hazards.
How long should a residential oven last with proper maintenance?
Electric ovens typically last 13-15 years with regular maintenance and proper use, while gas ovens average 15-17 years due to simpler mechanical components. Consistent cleaning, prompt repairs of minor issues, and annual professional inspections can extend these lifespans by 3-5 years. Heavy use in large households may reduce longevity, while light use in smaller homes often exceeds average lifespans. Quality brands with robust construction generally outlast budget models even with identical maintenance practices.
What does professional oven maintenance include?
Professional maintenance visits include comprehensive safety inspections of electrical connections, gas lines, and ventilation systems. Technicians calibrate temperature sensors, test heating elements for proper function, and clean burner assemblies in gas ovens. They inspect door seals, hinges, and latches for wear, making adjustments to ensure proper closure. Control boards receive diagnostic testing to identify early signs of failure, and technicians lubricate moving parts while checking for loose fasteners or damaged insulation.
Recommended
- How to Fix Oven: Step-by-Step Guide for Quick Repairs – Expert Appliance
- Electric Oven Not Heating? Discover Expert Repair Solutions – Expert Appliance
- Stove Repair Instructions: Step-by-Step Fixes for Your Home – Expert Appliance
- Fast & Affordable Oven Repair in Newark, NJ – Expert Service – Expert Appliance