
Every parent knows the frustration of dealing with a dishwasher that just cannot seem to get dishes clean after a hectic week in Marlboro, New Jersey. When juggling chores piles up, an inefficient appliance quickly becomes another headache. Mastering efficient dishwasher cleaning methods means less stress, fewer unexpected repairs, and more time for what matters most. This guide shows you how to achieve a truly deep clean inside and out—keeping your dishwasher running smoothly and your family routine on track.
Table of Contents
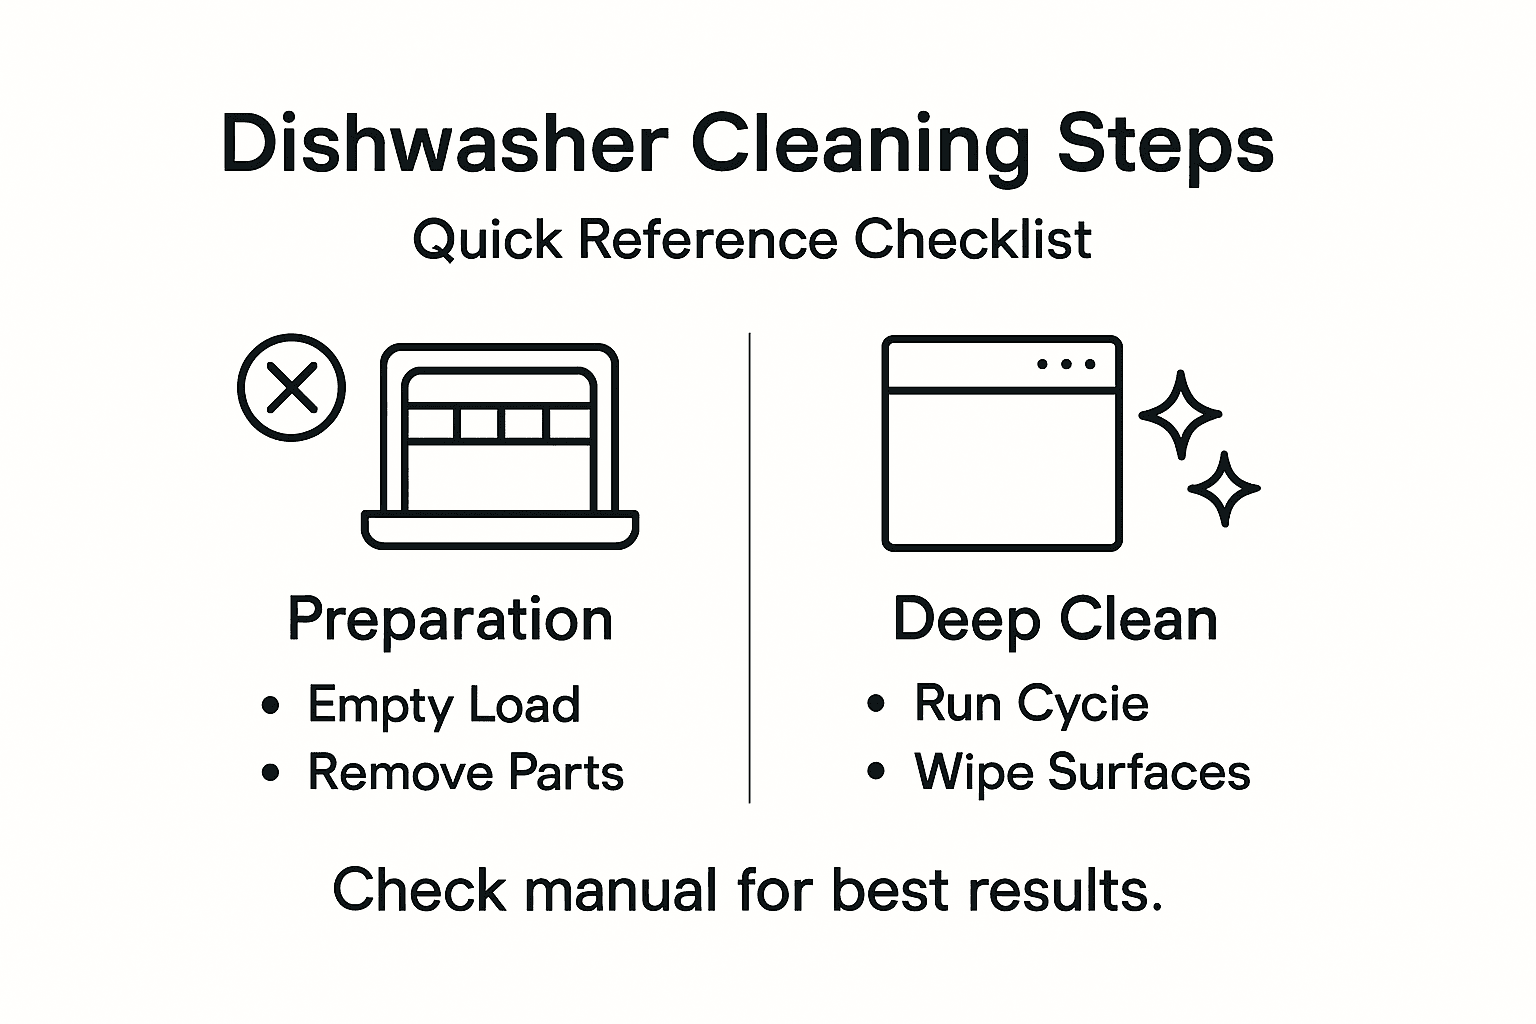
- Step 1: Prepare Dishwasher For Thorough Cleaning
- Step 2: Remove And Clean Key Components
- Step 3: Run A Deep Cleaning Cycle Safely
- Step 4: Wipe Down Interior And Exterior Surfaces
- Step 5: Inspect Results And Restore Functionality
Quick Overview
| Main Insight | Description |
|---|---|
| 1. Empty and Inspect First | Completely empty the dishwasher and inspect filters and spray arms for blockages. This prepares the appliance for an effective clean. |
| 2. Use Natural Cleaners | Utilize white vinegar and baking soda for safe, effective cleaning, eliminating odors and buildup without harsh chemicals. |
| 3. Deep Clean Regularly | Run a deep cleaning cycle every 2-3 months to maintain performance and cleanliness, using hot water and vinegar or commercial cleaners. |
| 4. Carefully Clean Components | Remove and clean key internal parts using warm soapy water, ensuring they are dry before reassembling to avoid rust. |
| 5. Inspect After Cleaning | Conduct a thorough inspection and run a test cycle to confirm all components function smoothly and effectively post-cleaning. |
Step 1: Prepare Dishwasher for Thorough Cleaning
Preparing your dishwasher for a deep clean involves strategic steps that ensure every nook and cranny gets attention. By systematically clearing out debris and accessing hard-to-reach areas, you’ll set the stage for a comprehensive cleaning process that maintains your appliance’s performance and longevity.
Start by completely emptying the dishwasher and removing all racks and utensil holders. This allows you to access hidden areas where grime and food particles accumulate. Inspect the filter and spray arms carefully, checking for any blockages or buildup that might impede water flow and cleaning effectiveness. Use warm soapy water to gently clean these components, paying special attention to:
- Filter screen at the bottom of the dishwasher
- Spray arm holes that distribute water
- Rubber seals around the door
- Tray runners and wheel mechanisms
When cleaning the exterior, select appropriate cleaning solutions based on your dishwasher’s surface material. Avoid spraying electronic components directly and instead use a soft, damp cloth for wiping down control panels and handles. Carefully clean exterior surfaces to prevent potential damage while removing fingerprints and accumulated grime.
Pro tip: Use a soft toothbrush to gently dislodge stubborn debris from spray arm holes and filter crevices without causing scratches or damage.
Step 2: Remove and Clean Key Components
Cleaning your dishwasher’s key components is crucial for maintaining its performance and preventing potential mechanical issues. This step involves carefully removing and thoroughly cleaning the most important internal parts that directly impact your dishwasher’s efficiency.
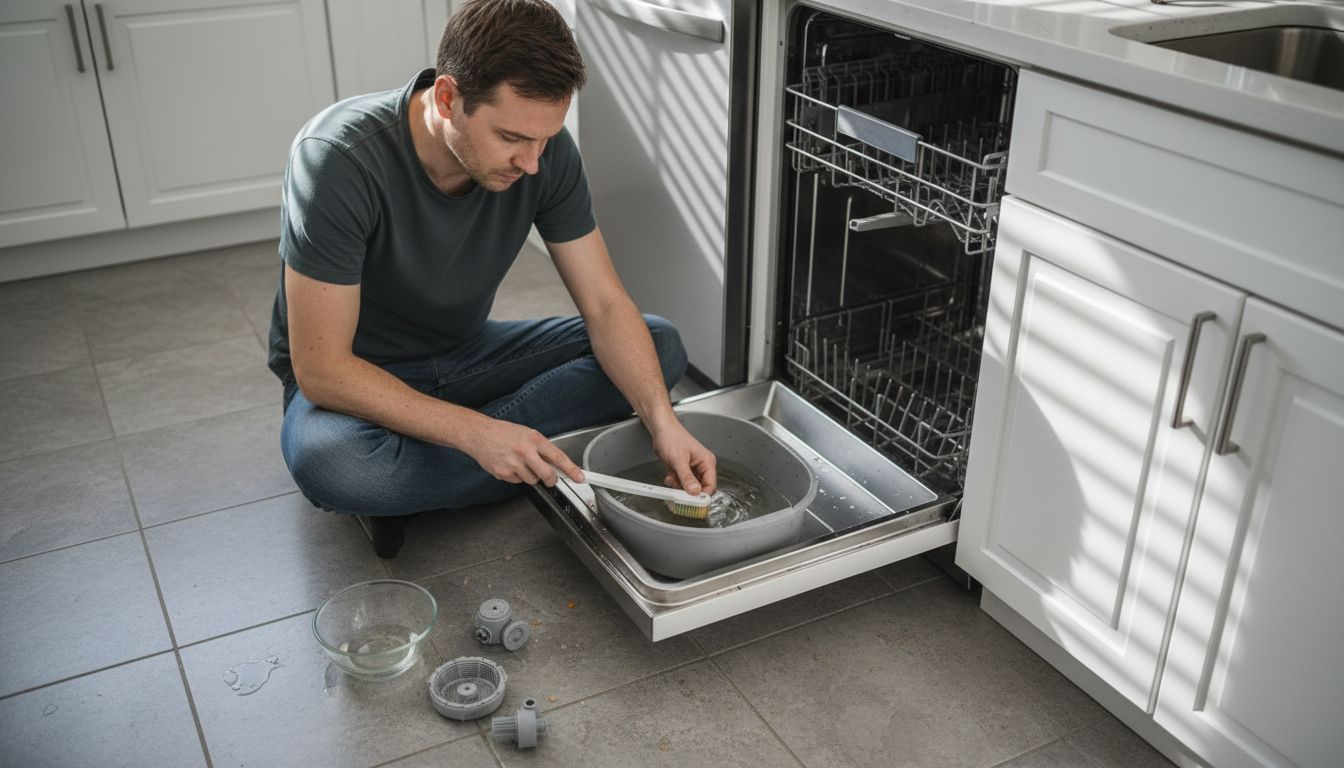
Removing critical dishwasher components requires a systematic approach. Start by carefully pulling out the bottom rack to expose the filter and spray arms. Most modern dishwashers have removable filters located at the bottom of the interior – gently twist and lift to extract the filter. Inspect it closely for trapped food particles and debris.
Prepare a cleaning solution using warm water and mild dish soap. For stubborn limescale and soap scum, consider adding white vinegar to your cleaning mixture. Clean dishwasher filters thoroughly using these methods:
- Soak the filter in hot soapy water for 10-15 minutes
- Use a soft brush to scrub away accumulated grime
- Rinse completely under running water
- Check spray arm holes for blockages
- Wipe down rack runners and mechanisms
Carefully inspect each component before reassembling. Ensure all parts are completely dry to prevent potential rust or bacterial growth. Pay special attention to small crevices where water and debris might hide.
Pro tip: Keep a small container of white vinegar nearby during cleaning to quickly dissolve mineral deposits and eliminate any lingering odors.
Step 3: Run a Deep Cleaning Cycle Safely
A deep cleaning cycle is your dishwasher’s ultimate reset button, eliminating hidden grime, neutralizing odors, and restoring your appliance’s optimal performance. This critical maintenance step goes beyond routine cleaning to address accumulated buildup and potential bacterial growth.
Deep cleaning cycles require specific techniques to ensure maximum effectiveness without damaging your appliance. Begin by ensuring the dishwasher is completely empty of dishes, utensils, and any removable components. Place a cup of white vinegar on the top rack – this natural cleaning agent will help break down grease and mineral deposits.
Select the appropriate cleaning method based on your dishwasher’s specifications:
- Use hot water cycle for maximum sanitization
- Choose the longest or most intensive wash setting
- Avoid harsh chemical cleaners that might damage internal components
- Consider commercial dishwasher cleaning tablets as an alternative
- Run the cycle on the hottest water setting
Commercial cleaning methods offer additional options for tackling stubborn buildup. After the vinegar cycle, sprinkle baking soda across the bottom of the dishwasher and run a short, hot cycle to neutralize any remaining odors and provide extra deodorizing power.
Pro tip: Consult your dishwasher’s manual before using vinegar, as some manufacturers recommend specific cleaning agents to prevent potential interior damage.
This table compares manual cleaning with running a deep cleaning cycle:
| Method | Main Benefit | Time Required | Typical Frequency |
|---|---|---|---|
| Manual hand cleaning | Precision on components | 15-25 minutes | Monthly or as needed |
| Deep cleaning cycle | Full interior sanitizing | 90-120 minutes | Every 2-3 months |
Step 4: Wipe Down Interior and Exterior Surfaces
Cleaning your dishwasher’s interior and exterior surfaces is the final step in restoring your appliance to its pristine condition. This meticulous process eliminates hidden grime, prevents bacterial growth, and maintains the overall hygiene and appearance of your dishwasher.
Cleaning interior surfaces requires careful attention to prevent potential damage and ensure thorough sanitization. Start by preparing a mild cleaning solution using warm water and a gentle dish soap. Use a soft, damp microfiber cloth to wipe down all interior surfaces, paying special attention to:
- Door gaskets and rubber seals
- Corners and hard-to-reach crevices
- Areas around spray arms and filter
- Bottom of the dishwasher interior
- Avoid abrasive cleaning materials
Exterior surface cleaning demands specific techniques based on the finish of your appliance. For stainless steel surfaces, use a specialized stainless steel cleaner and a soft cloth, wiping in the direction of the grain. For plastic or enamel exteriors, use a non-abrasive all-purpose cleaner that won’t scratch the surface.
Pro tip: Always use a clean, soft microfiber cloth and test any new cleaning solution on a small, inconspicuous area first to prevent potential discoloration or damage.
Here’s a summary of cleaning solutions and their best uses for dishwashers:
| Cleaning Solution | Best For | Key Advantage |
|---|---|---|
| Warm soapy water | Filters, racks, seals | Gentle and effective |
| White vinegar | Mineral buildup, odors | Natural deodorizer |
| Baking soda | Final deodorizing, stains | Neutralizes odors quickly |
| Stainless steel cleaner | Stainless dishwasher exteriors | Streak-free shine |
| Mild all-purpose cleaner | Plastic/enamel exteriors | Avoids surface scratches |
Step 5: Inspect Results and Restore Functionality
The final stage of your dishwasher cleaning process involves a comprehensive inspection to ensure every component functions perfectly and the entire system is restored to optimal performance. This critical evaluation will confirm the effectiveness of your cleaning efforts and prevent potential future issues.
Thorough component inspection requires careful attention to detail. Carefully reassemble all removed parts, ensuring each piece is completely dry and positioned correctly. Focus on these key areas during your inspection:
- Check filter for complete debris removal
- Verify spray arms spin freely
- Examine door seals for cleanliness and integrity
- Ensure no cleaning residue remains
- Confirm all components are securely replaced
Running a test cycle validates your cleaning process and reveals any potential problems. Start an empty short cycle to confirm water circulation, check for unusual noises, and verify that all components are working smoothly. Watch for proper water spray patterns and listen for consistent operational sounds that indicate everything is functioning correctly.
Pro tip: Keep a maintenance log documenting each cleaning session, noting any unusual observations or required repairs to track your dishwasher’s long-term performance.
Keep Your Dishwasher Running Like New With Expert Appliance Repair
If maintaining a spotless, efficient dishwasher feels overwhelming despite your best efforts with filters, spray arms, and deep cleaning cycles, you are not alone. Many homeowners in Marlboro, NJ and Monmouth County struggle with persistent build-up and mechanical issues that simple cleaning cannot fix. Expert Appliance Repair understands these challenges and offers trusted, fast solutions to keep your dishwasher performing at its best.

Discover how our family-owned service, established in 1988, combines deep appliance knowledge with same-day repair and 24/7 emergency support to eliminate your dishwasher headaches. From thorough inspections to restoring every component, we provide reliable, professional help when you need it most. Don’t let dishwasher troubles disrupt your routine—schedule service today through Expert Appliance Repair. While exploring, check out our Appliance Archives to learn more about keeping your home appliances in top shape.
Frequently Asked Questions
What steps should I follow in the dishwasher cleaning workflow?
To clean your dishwasher effectively, follow these steps: prepare the dishwasher by emptying it and removing components, clean key parts like the filter and spray arms, run a deep cleaning cycle with vinegar, wipe down all interior and exterior surfaces, and inspect all components for functionality. By performing these steps regularly, you can maintain your dishwasher’s performance and longevity.
How often should I clean my dishwasher for lasting results?
Clean your dishwasher manually every month and run a deep cleaning cycle every 2-3 months for maximum efficiency. This routine helps to remove stubborn buildup and ensures that your appliance operates at its best.
What ingredients can I use for cleaning my dishwasher?
You can use warm soapy water, white vinegar, baking soda, and a non-abrasive all-purpose cleaner based on your dishwasher’s material. For tough residues, vinegar and baking soda work wonders together, providing a natural and effective solution.
How can I ensure my dishwasher components are properly cleaned?
Inspect each component, such as the filter and spray arms, for blockages and buildup before reassembling. Make sure to scrub away grime with a soft brush, then rinse thoroughly to ensure everything is free from debris before putting the parts back.
What should I do if my dishwasher doesn’t seem to clean properly after following the cleaning workflow?
If your dishwasher still shows cleaning issues after you’ve cleaned it, run a test cycle to check for proper water flow and spray patterns. If problems persist, consider checking the filter and spray arms for blockages or potential mechanical issues that may require additional attention.
Recommended
- Why Dishwasher Maintenance Matters for NJ Homes – Expert Appliance
- Dishwasher Maintenance Workflow for Reliable Performance – Expert Appliance
- 7 Essential Steps for Your Dishwasher Repair Checklist – Expert Appliance
- How Dishwashers Work: Troubleshooting for NJ Homes – Expert Appliance
- 7 Essential Pest Control Tips for Restaurants in London