Over 2,900 home fires in American households are caused by dryers each year, many due to overlooked issues and missed safety steps. Taking a few careful minutes before inspection can make a big difference for your family’s safety and your dryer’s longevity. From the proper power checks to ventilation tips, you will discover practical ways to protect your investment and keep your American home worry free.
Table of Contents
- Step 1: Prepare Your Dryer for Safe Inspection
- Step 2: Check Power Supply and Basic Connections
- Step 3: Inspect Door Switch and Thermal Fuse
- Step 4: Examine Drum Belt and Motor Function
- Step 5: Verify Venting and Airflow Issues
- Step 6: Test Dryer Operation After Repairs
Quick Summary
| Key Point | Explanation |
|---|---|
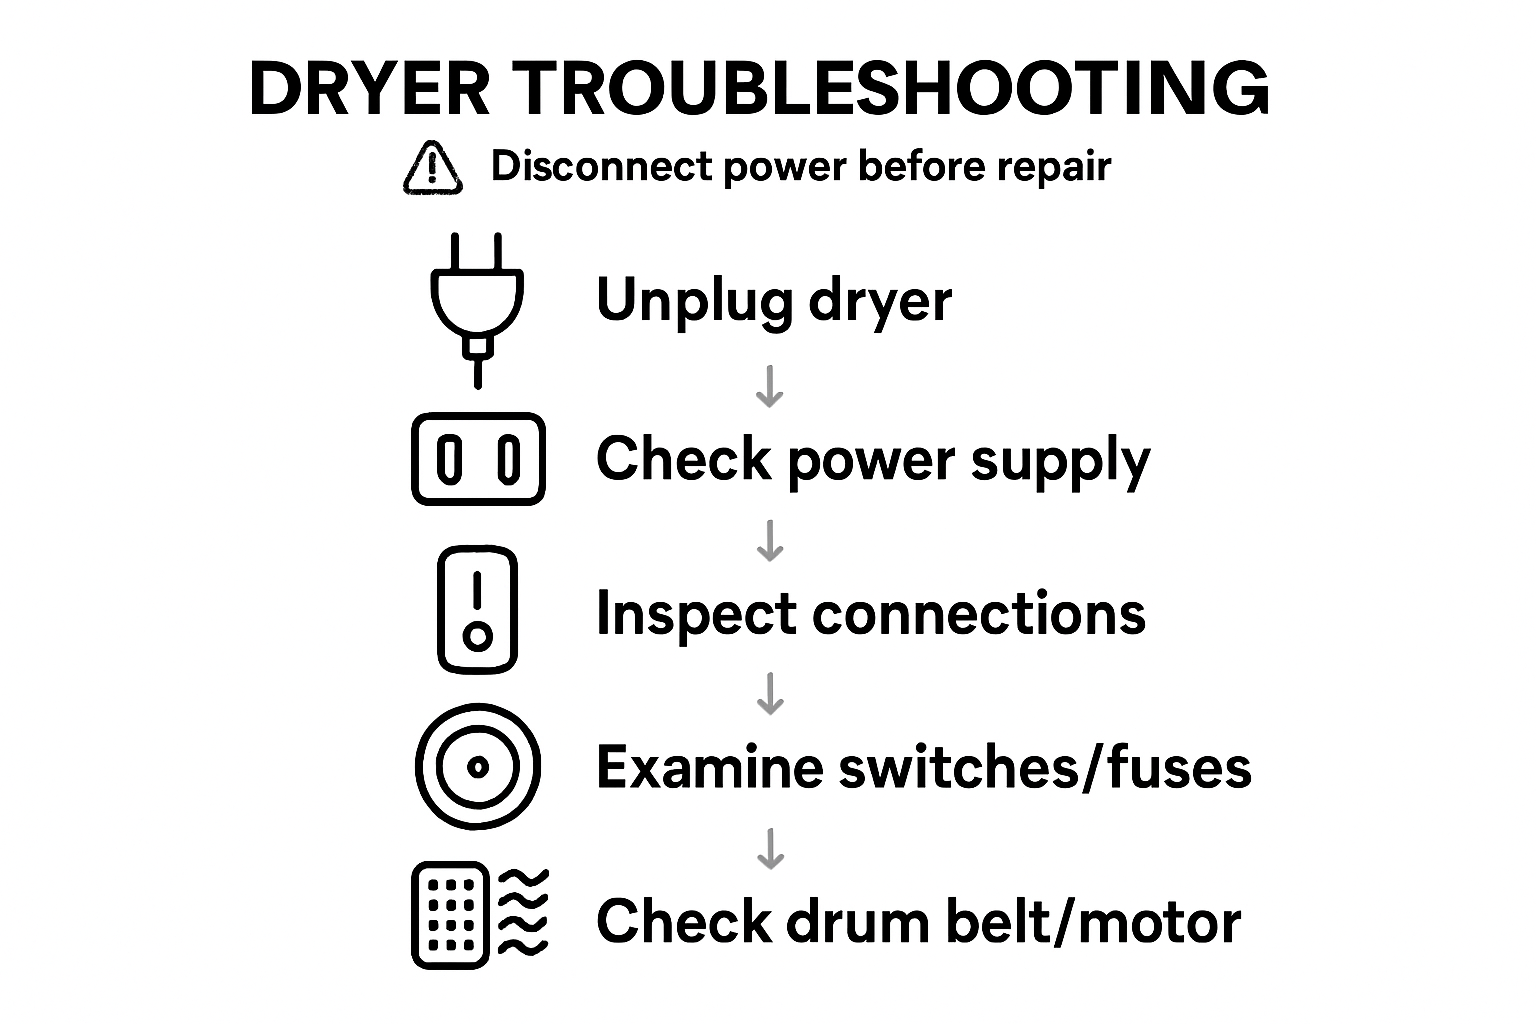
| 1. Always unplug the dryer first | Disconnecting the dryer from the power source prevents electrical shock during inspection and maintenance tasks. |
| 2. Inspect power supply connections | Ensure all power cords and connections are secure and free from damage, checking the circuit breaker if issues arise. |
| 3. Check door switch and thermal fuse | A faulty door switch or thermal fuse can prevent dryer operation; inspect for damage or failure signs. |
| 4. Examine the drum belt and motor | Inspect for drum belt wear and listen for unusual motor sounds, which may indicate mechanical issues needing repair. |
| 5. Ensure proper venting and airflow | A clear and efficient vent system is critical for dryer performance; check for blockages and clean regularly to avoid hazards. |
Step 1: Prepare Your Dryer for Safe Inspection
Before diving into a thorough dryer inspection, you need to set up a safe workspace that protects both you and your appliance. Safety comes first when examining any electrical equipment, and dryers are no exception.
Start by unplugging your dryer from its electrical outlet. This critical first step prevents any potential electrical shock while you investigate potential issues. Proper safety guidelines from home appliance manufacturers emphasize the importance of disconnecting power before performing any maintenance or inspection.
Next, pull the dryer away from the wall carefully to access the back panel and ventilation system. Look for any visible signs of damage such as frayed electrical cords, loose connections, or compressed vent hoses. Gently clean around the exterior, removing dust and lint that might have accumulated behind or underneath the unit. Pay special attention to the area around the lint trap and exhaust vent.
One crucial warning: if you notice any significant electrical damage, torn vent hoses, or suspect major mechanical issues, stop your inspection and contact a professional appliance repair technician. Some problems require specialized expertise to diagnose and resolve safely.
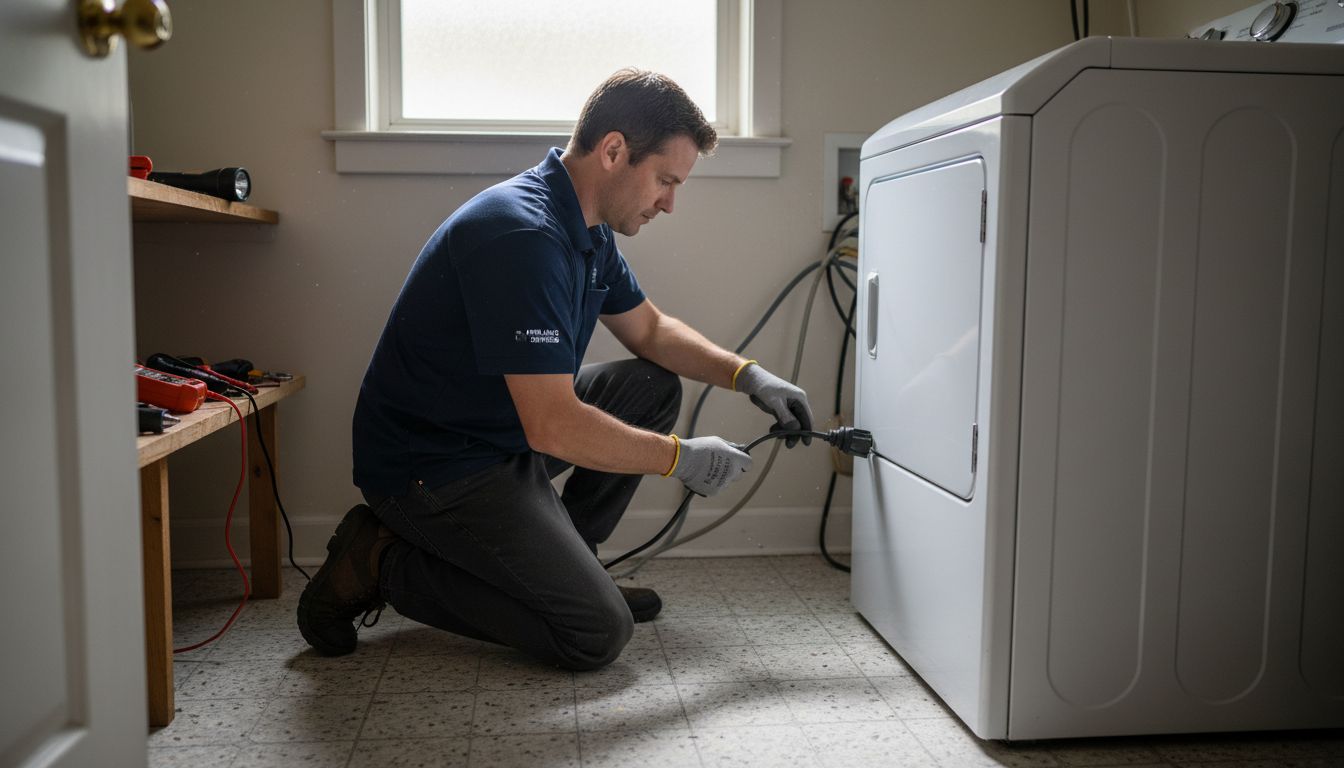
Step 2: Check Power Supply and Basic Connections
In this crucial stage of your dryer troubleshooting, you will verify the power supply and basic electrical connections that are essential for your appliance to function correctly. A seemingly complex problem often starts with something as simple as a power connection issue.
First, carefully examine the power cord and wall socket connections to ensure everything is securely plugged in. Look for any signs of wear or damage on the cord, and make sure the outlet is providing stable electrical current. Check your circuit breaker panel to confirm that the circuit supplying power to your dryer has not been tripped. Sometimes a simple reset can resolve power supply problems.
Pay attention to the plug prongs and socket interior. Look for any discoloration, signs of burning, or corrosion that might indicate an electrical problem. If you notice anything unusual such as scorch marks or loose connections, stop your inspection and contact a professional electrician. Electrical issues can pose serious safety risks and should not be handled without proper expertise.
If the power connections appear solid and undamaged, proceed to the next step of your dryer diagnostic process. Your careful examination of the power supply will help narrow down potential issues and get you closer to resolving your dryer malfunction.
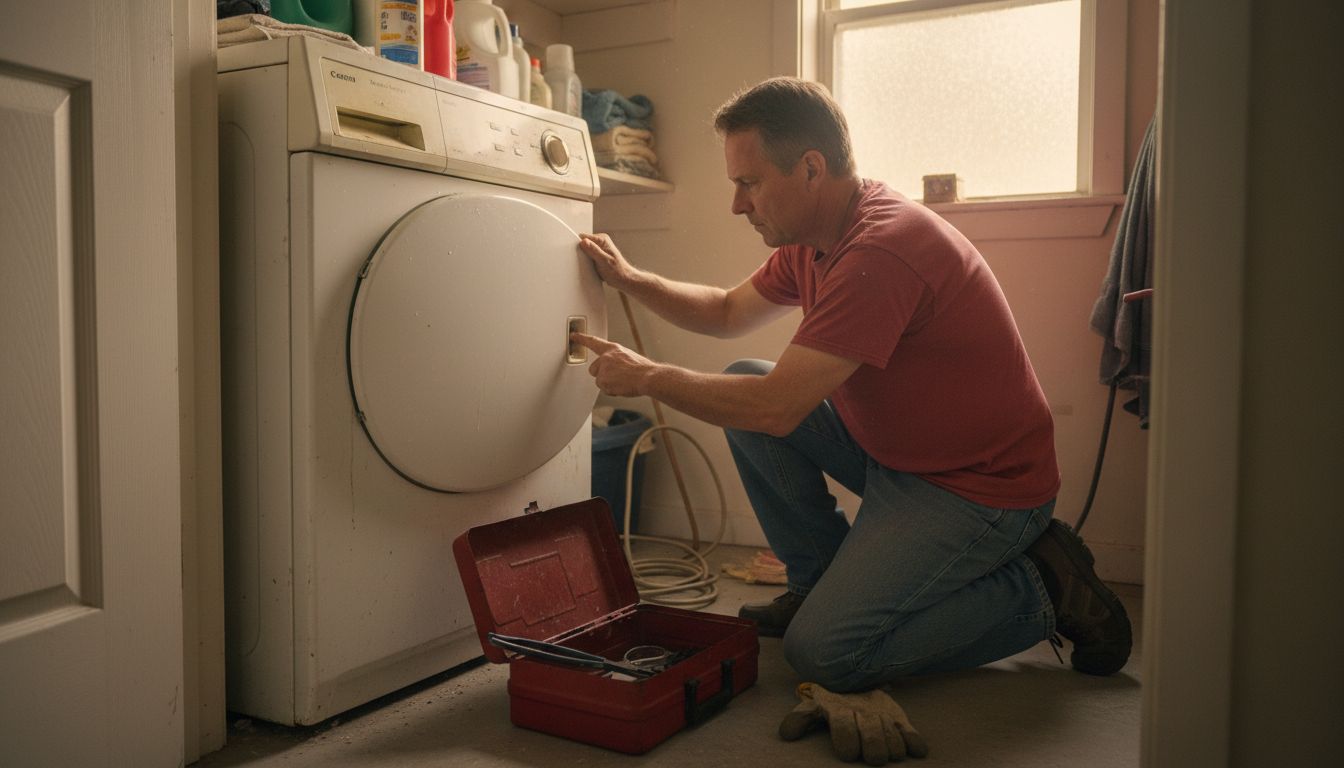
Step 3: Inspect Door Switch and Thermal Fuse
In this critical diagnostic step, you will examine two essential components that can prevent your dryer from operating correctly: the door switch and thermal fuse. Understanding how these parts function can help you quickly identify and potentially resolve performance issues.
Comprehensive dryer troubleshooting techniques recommend carefully inspecting the door switch first. Start by testing the door latch mechanism to ensure it closes completely and engages properly. An improperly functioning door switch can prevent the dryer from starting or running. Gently open and close the door multiple times, listening for a distinct clicking sound that indicates the switch is making proper electrical contact.
Next, locate the thermal fuse typically found near the heating element or blower housing. This safety device prevents overheating by cutting power if the dryer becomes too hot. Visual inspection can reveal signs of potential failure such as discoloration or physical damage. If the thermal fuse appears burned or shows any signs of wear, it likely needs replacement. Always exercise caution when working with electrical components and consider consulting a professional if you are unsure about the diagnosis or replacement process.
If both the door switch and thermal fuse seem intact, you will need to perform further diagnostic tests or electrical continuity checks. Your careful examination brings you one step closer to understanding and potentially resolving your dryer’s performance issues.
Step 4: Examine Drum Belt and Motor Function
This critical diagnostic step involves investigating the mechanical components responsible for your dryer’s movement and operation. Understanding how the drum belt and motor interact will help you identify potential performance issues that prevent your appliance from functioning correctly.
Comprehensive dryer troubleshooting techniques recommend first examining the drum belt for signs of wear or damage. Carefully reach inside the dryer and attempt to manually rotate the drum. A functioning belt should allow smooth rotation with some resistance. If the drum spins too easily or feels loose, this indicates a potentially stretched or broken belt that needs replacement. Look for visible signs of fraying, cracking, or significant wear along the belt surface.
Next, focus on the motor functionality. Listen carefully when you start the dryer for any unusual sounds such as grinding, squealing, or complete silence. These can indicate motor problems that require professional intervention. A healthy dryer motor should produce a consistent humming sound when activated. If you hear clicking or stuttering sounds, or if the motor seems to struggle to start, this suggests potential electrical or mechanical issues within the motor assembly.
Warning: Always disconnect power before performing any internal inspections. If you feel uncertain about diagnosing these components, consulting a professional appliance repair technician is the safest approach to resolving complex dryer mechanical issues.
Step 5: Verify Venting and Airflow Issues
This diagnostic step focuses on examining your dryer’s ventilation system, a critical component that directly impacts performance and safety. Poor airflow can lead to longer drying times, increased energy consumption, and potential fire hazards.
Home appliance safety guidelines recommend using rigid or semi rigid metal venting materials to ensure optimal airflow. Begin by disconnecting the dryer from the wall and carefully inspecting the entire length of the vent pipe. Look for any signs of crushing, kinking, or excessive lint buildup that could restrict air movement. Check that the vent pipe maintains a straight path with minimal bends, as each turn reduces airflow efficiency.
Next, examine the exterior vent opening. Go outside and verify that the vent flap opens and closes smoothly without obstruction. Remove any visible lint, debris, or potential blockages like bird nests or accumulated dust. A clear exterior vent is crucial for allowing moist air to escape and preventing potential moisture and heat buildup inside your dryer system. If you discover significant blockages or damage, consider professional cleaning or replacement of the vent system to ensure optimal dryer performance and safety.
Step 6: Test Dryer Operation After Repairs
After completing your diagnostic and repair work, the final crucial step is thoroughly testing your dryer to confirm that all issues have been successfully resolved. This verification process ensures your appliance is functioning safely and efficiently.
Comprehensive dryer troubleshooting techniques recommend running a complete test cycle that evaluates multiple aspects of dryer performance. Begin by setting the dryer to a standard heat setting and loading a small test batch of towels. Pay close attention to several key operational factors: consistent heating, smooth drum rotation, proper tumbling action, and absence of unusual noises. Monitor the entire cycle carefully, checking that the dryer heats evenly and the drum spins without hesitation or grinding sounds.
Watch for any warning signs during the test cycle such as inconsistent heating, strange mechanical sounds, or incomplete drying. If you notice any persistent problems, it may indicate that additional diagnostics or professional repair are necessary. Dryer repair services can provide expert assessment if you feel uncertain about the dryer’s performance. Remember that thorough testing is your final safeguard against potential future malfunctions and ensures the long term reliability of your appliance.
Fast and Reliable Dryer Repairs in Marlboro and Monmouth County
If your dryer is showing signs of trouble like power issues, faulty door switches, or poor airflow, you are not alone. Many homeowners face challenges identifying worn drum belts or blocked vents that cause longer drying times and safety concerns. These common problems require quick, professional attention to avoid further damage or risks.

Don’t let a malfunctioning dryer disrupt your daily routine. Trust the experienced team at Expert Appliance to provide same-day and emergency dryer repair services in Marlboro, NJ, and nearby Monmouth County areas. Visit our Appliance Archives – Expert Appliance for detailed information about our repair solutions and how we can restore your appliance’s performance. Act now to enjoy fast, honest service backed by over three decades of trusted local experience.
Frequently Asked Questions
How do I prepare my dryer for inspection?
Start by unplugging the dryer from the electrical outlet to prevent electrical shock. Then, carefully pull the dryer away from the wall to inspect the back panel and ventilation system for any visible signs of damage.
What should I check if my dryer won’t turn on?
Check the power supply, ensuring the power cord is securely connected and that the circuit breaker for the dryer has not tripped. Reset the circuit breaker if necessary, and look for any signs of damage on the plug or outlet.
How can I test the door switch and thermal fuse?
To test the door switch, open and close the door multiple times, listening for a clicking sound that indicates proper engagement. For the thermal fuse, visually inspect it for signs of discoloration or damage, as a burned-out fuse will need replacement.
What signs indicate that the drum belt or motor is malfunctioning?
If the drum spins too easily or produces unusual sounds like grinding or squealing, there may be a problem with the drum belt or the motor. Examine the drum belt for wear and listen for consistent humming from the motor when the dryer is turned on.
How do I check for venting and airflow issues in my dryer?
Disconnect the dryer and inspect the entire length of the vent pipe for any visible blockages or excessive lint buildup. Ensure the vent pipe has a straight path with minimal bends, and check that the exterior vent flap opens and closes easily without obstruction.
What should I do after making repairs to my dryer?
Run a complete test cycle using a small load to ensure the dryer operates correctly. Monitor the cycle for consistent heating and smooth drum rotation, and look for any unusual sounds or issues that may indicate additional repairs are needed.
Recommended
- Washing Machine Repair Workflow for Fast, Reliable Service – Expert Appliance
- Complete Guide to Common Washing Machine Issues – Expert Appliance
- Dryer Repairs | Dryer Repairman | Dryer Repair Services
- Common Appliance Problems: Troubleshooting Tips and Solutions – Expert Appliance
- How to Test Common Rail Diesel Injectors for Optimal Performance – My WordPress