Over 60 percent of American households experience refrigerator breakdowns every year, disrupting daily routines and creating unexpected stress. Reliable home appliances are essential for keeping food safe and fresh, so knowing how to handle common refrigerator repairs can save both time and frustration. This guide gives practical steps every American can follow, from basic safety gear to critical repair checks, helping you resolve issues confidently and prevent future mishaps.
Table of Contents
- Step 1: Gather Necessary Tools And Safety Gear
- Step 2: Diagnose Common Refrigerator Problems
- Step 3: Inspect And Clean Key Components
- Step 4: Replace Faulty Parts As Needed
- Step 5: Test Refrigerator Performance And Confirm Repair
Quick Overview
| Important Insight | Explanation |
|---|---|
| 1. Gather Essential Tools and Safety Gear | Assemble screwdrivers, a multimeter, gloves, and other safety equipment to ensure a safe repair process. |
| 2. Diagnose Common Refrigeration Issues | Identify unusual noises, temperature inconsistencies, or signs of wear to pinpoint potential problems before repairs. |
| 3. Clean and Inspect Key Components | Regularly maintain condenser coils and seals to enhance efficiency and prevent breakdowns in your refrigerator. |
| 4. Replace Faulty Parts Carefully | Ensure to identify the right components for replacement, and always use insulated tools while working with electrical parts. |
| 5. Test Refrigerator Performance After Repair | Monitor temperature and functionality over 24-48 hours to confirm repairs were successful and identify any remaining issues. |
Step 1: Gather Necessary Tools and Safety Gear
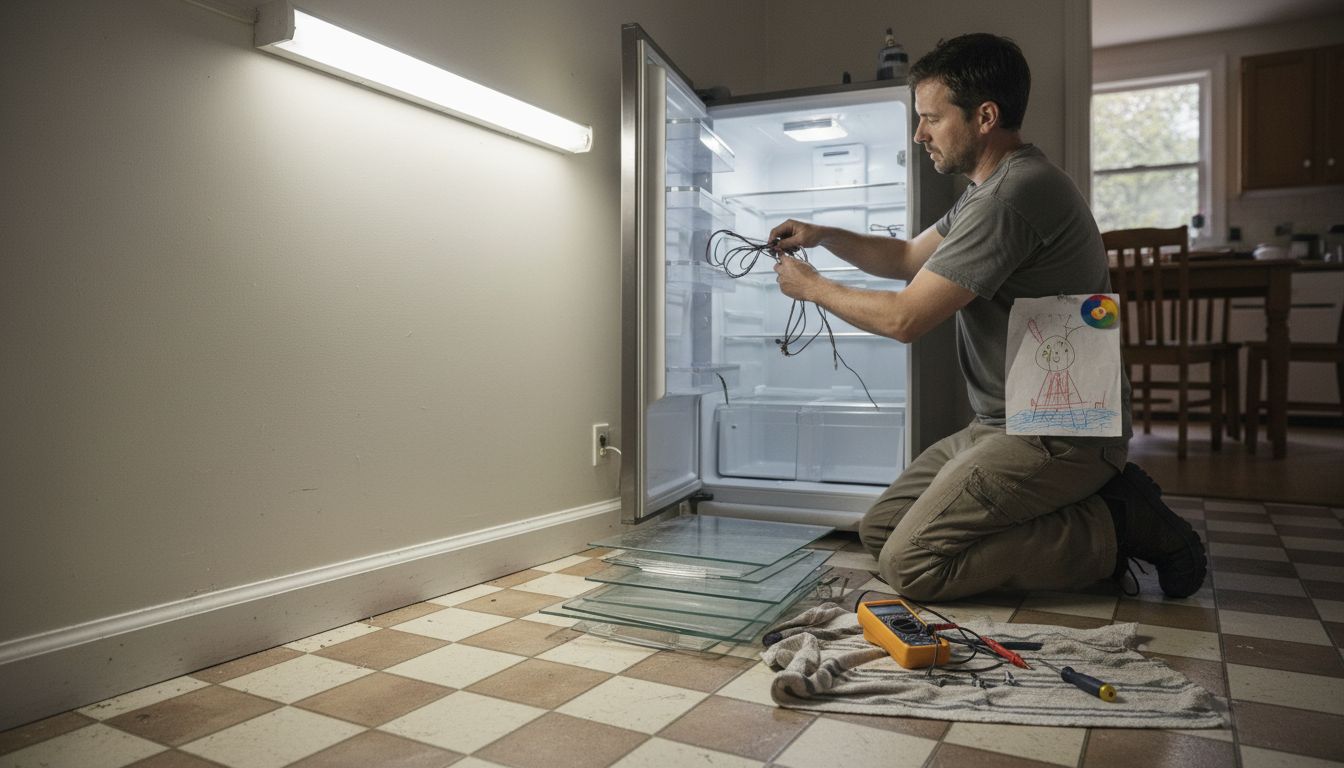
Before diving into refrigerator repair, you’ll want to assemble the right equipment to ensure a safe and efficient process. Essential safety gear and tools can make the difference between a smooth repair and a potential disaster.
Your toolkit should include precision screwdrivers with multiple head types standard flathead and Phillips head, adjustable wrench, multimeter for electrical testing, needle nose pliers, work gloves, safety glasses, and nonconductive rubber soled shoes. Additionally, grab a flashlight or headlamp to illuminate tight spaces inside the refrigerator. Pro tip: keep a clean workspace with a soft cloth or towel nearby to place removed components and prevent losing small parts.
Safety is paramount when working with electrical appliances. Always unplug the refrigerator before beginning any repair work and wear protective gear to prevent potential electrical shock or accidental injury. By preparing your workspace and gathering the right tools upfront, you’ll set yourself up for a successful refrigerator repair mission.
Step 2: Diagnose Common Refrigerator Problems
Understanding what’s wrong with your refrigerator is crucial before attempting any repairs. Common refrigerator problems can range from minor issues to more complex mechanical failures that require professional attention.
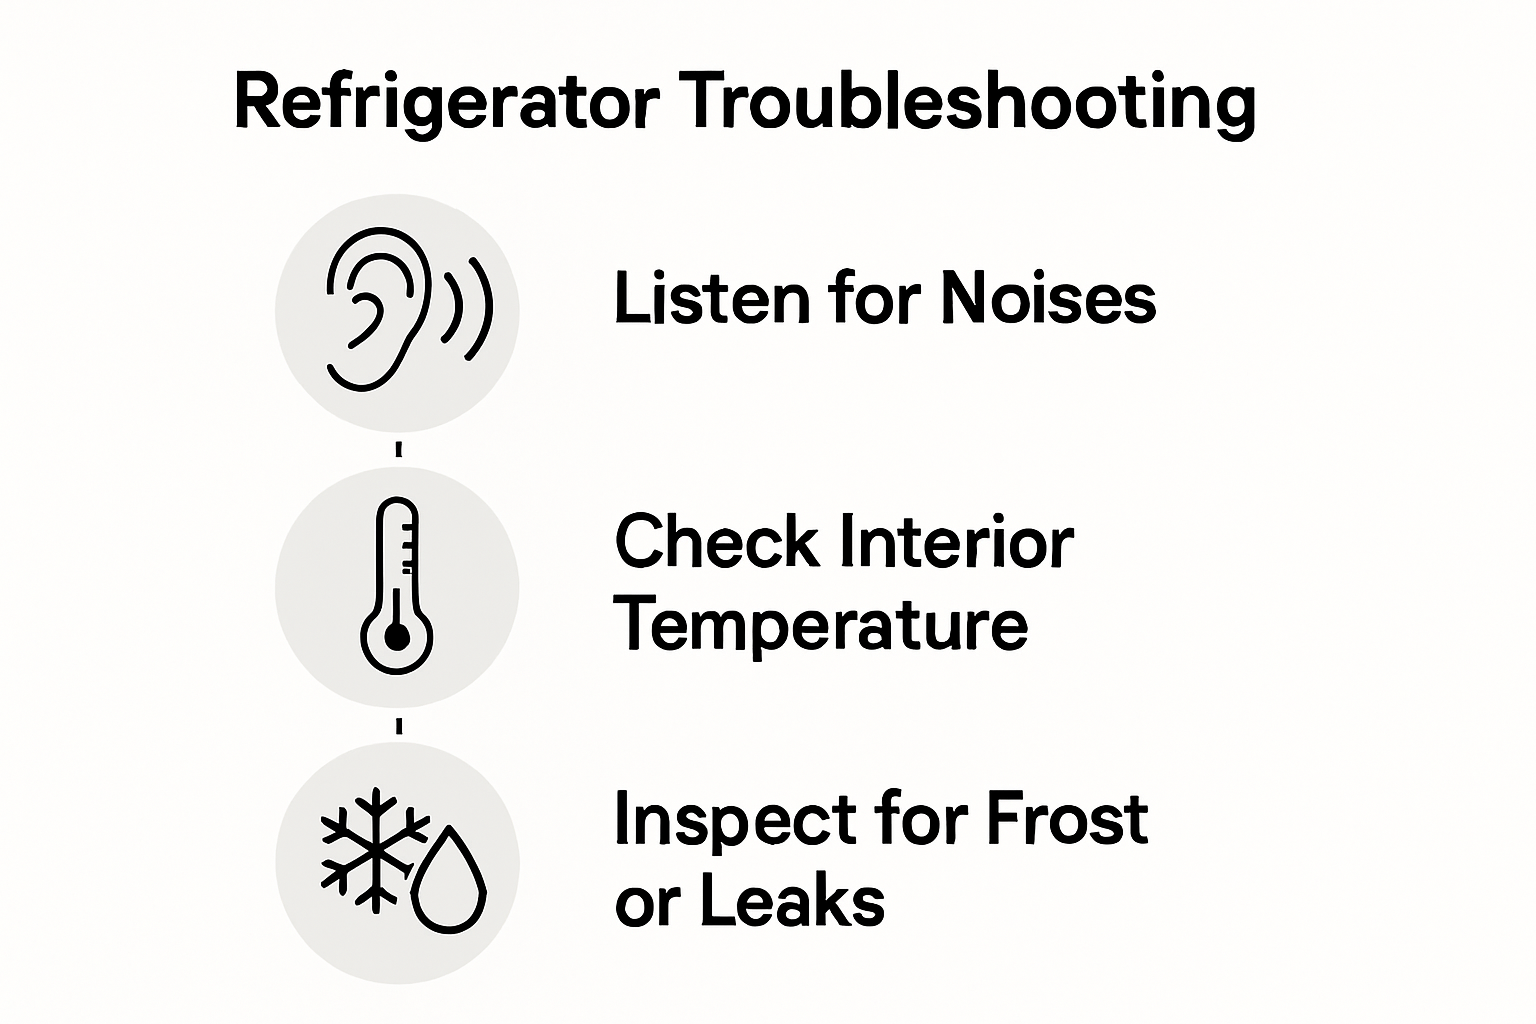
Start by checking the most frequent trouble spots. Listen for unusual noises like loud humming or clicking, which could indicate problems with the compressor or fan motors. Inspect the temperature inside both the refrigerator and freezer compartments using a standalone thermometer. Ideal refrigerator temperature should be around 37 degrees Fahrenheit, while the freezer should maintain 0 degrees. Look for signs of frost buildup, water leaks, or inconsistent cooling, as these can signal underlying mechanical issues.
Pay special attention to specific diagnostic indicators that might reveal your refrigerator’s specific problem. If the unit is not cooling properly, check the condenser coils for dust buildup, verify the door seals are intact, and ensure the thermostat is functioning correctly. Remember that some problems might look simple but could indicate more serious internal complications. When in doubt, it’s always safer to consult a professional technician who can provide a comprehensive assessment and prevent potential further damage.
Step 3: Inspect and Clean Key Components
Maintaining your refrigerator requires a thorough inspection and careful cleaning of its critical internal and external components. Preventive maintenance plays a crucial role in ensuring your appliance runs efficiently and avoids potential breakdowns.
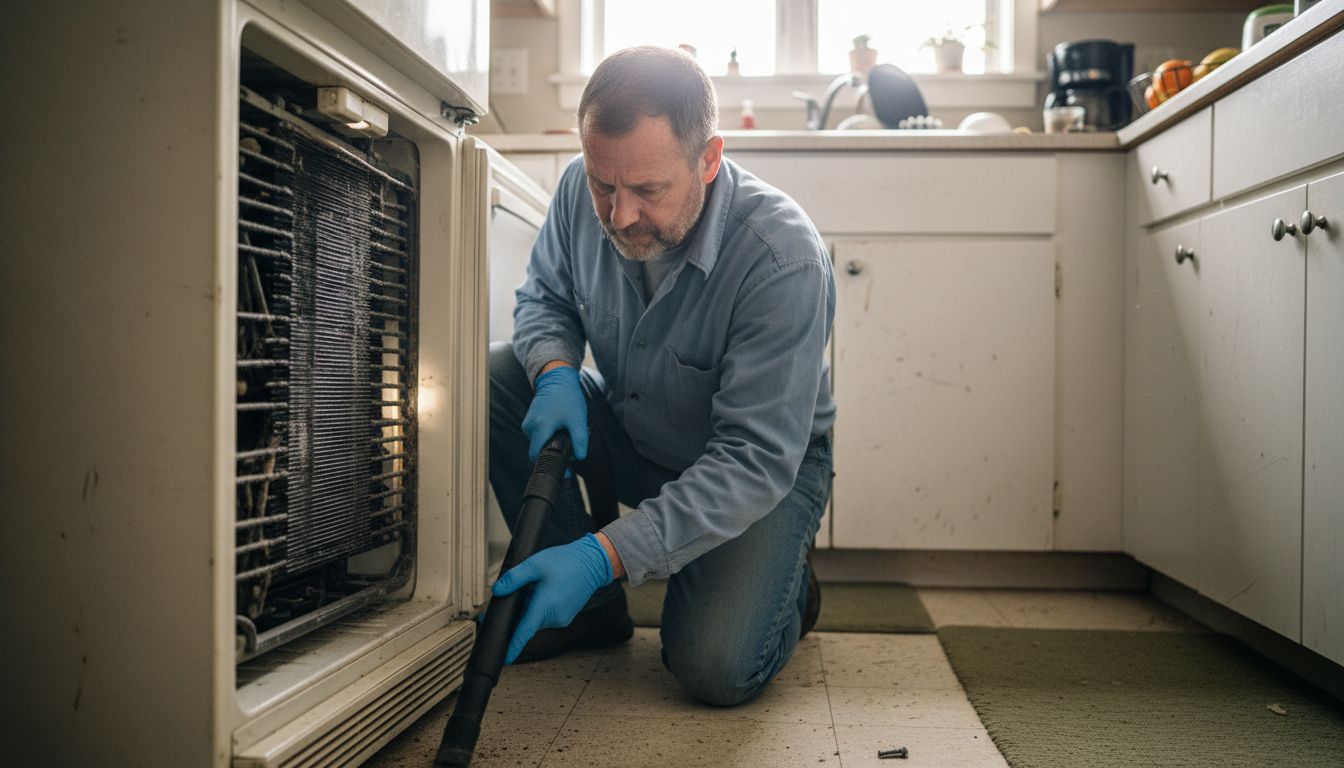
Begin by unplugging the refrigerator and carefully removing everything from inside. Focus first on the condenser coils located either behind or underneath the unit. Use a soft brush or vacuum attachment to gently remove dust and debris that can impede cooling performance. Next, inspect the door seals carefully for any signs of wear, cracking, or gaps that might compromise the unit’s temperature regulation. Check the evaporator fan and compressor for visible signs of damage or excessive wear. Pay special attention to the freezer temperature settings and components to prevent potential overfreezing issues.
A pro tip for maintaining your refrigerator is to clean the interior with a mild solution of baking soda and warm water, which helps eliminate odors and sanitize surfaces without using harsh chemicals. Wipe down all shelves, drawers, and interior walls thoroughly. After completing your inspection and cleaning, plug the refrigerator back in and monitor its performance closely over the next 24 hours to ensure everything is functioning correctly.
Step 4: Replace Faulty Parts as Needed
Replacing damaged refrigerator components requires precision and careful assessment to restore your appliance to full functionality. Sometimes identifying and swapping out specific malfunctioning parts can save you from costly full unit replacement.
Start by focusing on critical components like the thermostat, which can significantly impact your refrigerator’s performance. Carefully remove the old thermostat by disconnecting electrical connections and unscrewing mounting brackets. Before purchasing a replacement, ensure you have the exact model number and match the new part precisely. When working with electrical components, always disconnect power and use insulated tools to prevent potential shock. For more complex systems like water dispensers, test the switch mechanism and replace it if you notice inconsistent water flow or complete stoppage.
Pro tip: Take clear photos of the component and its connections before removal to help with reinstallation. If you feel uncertain about any repair step, consulting a professional technician is always the safest approach. Proper part replacement can extend your refrigerator’s life and prevent more expensive repairs down the line.
Step 5: Test Refrigerator Performance and Confirm Repair
After completing your repairs, thoroughly testing your refrigerator’s performance is crucial to ensure all components are functioning correctly. Preventive maintenance checks will help you verify the effectiveness of your repair work and catch any potential lingering issues.
Start by plugging the refrigerator back in and monitoring its temperature closely over the next 24 to 48 hours. Use a standalone thermometer to verify that both the refrigerator and freezer compartments reach and maintain their ideal temperatures refrigerator around 37 degrees Fahrenheit and freezer at 0 degrees. Listen carefully for any unusual sounds like grinding, clicking, or excessive humming that might indicate unresolved mechanical problems. Pay special attention to freezer temperature settings and cooling consistency, ensuring even cooling and preventing potential overfreezing.
A pro tip is to keep a detailed log of temperature readings and any observed performance changes during this testing period. If you notice persistent issues or significant temperature fluctuations, it might be time to consult a professional technician. Remember that successful refrigerator repair isn’t just about fixing the immediate problem but ensuring long term reliable performance.
Get Fast, Reliable Refrigerator Repairs from Local Experts
Facing refrigerator problems like inconsistent cooling or faulty thermostats can be frustrating and disrupt your daily routine. This step-by-step guide shows how important proper diagnosis and part replacement are, but when issues persist or feel overwhelming, you need trusted help. Our team at Expert Appliance Repair understands these challenges and is ready to provide fast, professional service with the care your home deserves.

Discover why households across Monmouth County trust our family-owned business established in 1988 for same-day appliance repairs. With 24/7 emergency support and upfront pricing, Expert Appliance Repair delivers quick solutions that get your refrigerator back to perfect condition without delay. Explore our Appliance Archives – Expert Appliance for more helpful tips and reach out through https://expertapplianceinc.com to schedule your service today.
Frequently Asked Questions
What tools do I need to repair my refrigerator?
To repair your refrigerator, gather precision screwdrivers, an adjustable wrench, a multimeter, needle nose pliers, work gloves, safety glasses, and nonconductive rubber-soled shoes. Ensure you also have a flashlight or headlamp for visibility and a soft cloth to keep your workspace tidy.
How can I diagnose common refrigerator problems?
Diagnose common problems by checking for unusual noises, measuring interior temperatures, and inspecting for frost buildup or water leaks. Use a thermometer to confirm the refrigerator is around 37 degrees Fahrenheit and the freezer is at 0 degrees.
What components should I clean in my refrigerator?
Focus on cleaning the condenser coils, door seals, evaporator fan, and compressor to maintain efficiency. Unplug the refrigerator first, and use a soft brush or vacuum to remove dust from the coils.
How do I know when to replace parts in my refrigerator?
Replace parts when you observe issues like inconsistent cooling, damaged door seals, or a malfunctioning thermostat. Focus on critical components and ensure you have the exact model number for replacements.
How do I test my refrigerator after making repairs?
To test your refrigerator, plug it back in and monitor the temperatures for 24 to 48 hours using a thermometer. Ensure both compartments reach their ideal temperatures and listen for unusual sounds that might indicate unresolved issues.
What should I do if my refrigerator still has problems after repairs?
If you continue to experience issues after your repairs, consider consulting a professional technician for a comprehensive assessment. This will help prevent further damage and save you from costly replacements.
Recommended
- Broken Fridge | Repair Refrigerator | Expert Appliance
- Refrigerator Repair | Home Appliance Repair | Fridge Repair
- Frigidaire Appliance Repair | Frigidaire Repair
- 7 Essential Emergency Appliance Repair Tips for Homeowners – Expert Appliance
- Akkus reparieren Guide: So bringen Sie Ihre Akkus zurück ins Leben – accu.blog