TL;DR:
- Most dryer issues are caused by minor electrical problems that a simple reset can fix quickly.
- If your dryer repeatedly shuts off or shows error codes, inspecting airflow and replacing blown thermal fuses are necessary for safety and reliability.
Your wet laundry is piled up, the dryer refuses to start, and you have somewhere to be in two hours. It’s one of those frustrating moments that seems small but throws off your entire day. The good news is that many dryer failures are not serious mechanical breakdowns — they’re triggered by minor electrical hiccups or safety shutoffs that a simple reset can clear in minutes. This guide walks Monmouth County homeowners through the fastest, safest reset steps for most dryer brands, plus the warning signs that tell you when it’s time to stop resetting and call a professional.
Table of Contents
- Before you begin: safety, tools, and what to check
- Step-by-step: how to reset your dryer
- Troubleshooting: when resetting isn’t enough
- Preventing future dryer problems
- Why resetting shouldn’t be your only strategy
- Need same-day dryer repair in Monmouth County?
- Frequently asked questions
Key Takeaways
| Point | Details |
|---|---|
| Unplug to reset | Turning your dryer off and unplugging it for 1–5 minutes is the fastest universal reset. |
| Check safety features | If a reset fails, thermal fuse or airflow issues are usually to blame and need attention. |
| Prevent future issues | Clean the lint trap and vent often to avoid problems and keep your dryer efficient. |
| Avoid repeat resets | Don’t keep resetting if issues persist—inspect for deeper problems or call a pro. |
Before you begin: safety, tools, and what to check
Jumping straight into a reset without any preparation is how simple fixes turn into bigger problems. Taking five minutes to set yourself up correctly protects both you and your appliance, and it also helps you spot whether the issue is something a reset can actually fix.
Start with these safety basics:
- Unplug the dryer before touching any part of it. Even if you’re only pressing a reset button, cutting power first eliminates any risk of electrical shock.
- Put on work gloves if you need to move the dryer or check the vent connection at the back. Dryer edges can be sharp.
- Grab a flashlight so you can see into the vent duct and check behind the unit clearly.
- Locate your home’s circuit breaker panel before you begin. Dryers run on a double-pole breaker (two switches linked together), and you may need to flip it as part of the reset.
- Find your dryer’s owner manual. If you don’t have a physical copy, search the model number printed inside the door frame online. The manual tells you exactly where the reset button is on your specific model.
One important thing to understand before you start: some dryers have a dedicated reset button on the control panel, but if you can’t find one, unplugging the dryer is the standard method to reset it. Don’t assume your model has a button just because a neighbor’s does. Check first.
Safety note: If you smell burning, see scorch marks near the cord or outlet, or notice the dryer is hot to the touch even though it hasn’t been running, stop. These are signs of a potentially dangerous electrical issue. This is not a DIY reset situation. Call a professional immediately.
For a thorough look at what the step by step dryer repair process looks like beyond a basic reset, it helps to understand what’s involved before deciding whether this is something you want to handle on your own.
Comparison: reset button vs. power cycling
| Method | Works on | How long it takes | Best for |
|---|---|---|---|
| Reset button | Select models only | Under 1 minute | Quick control panel errors |
| Power cycle (unplug) | Almost all dryers | 5 minutes | Most common reset needs |
| Breaker reset | All electric dryers | 5 minutes | When outlet/breaker is suspect |
| Manual override | Some newer digital models | Varies | Error code clearing |
Pro Tip: Take a photo of your dryer’s model and serial number label (inside the door) before you start. If you need to call for dryer repair services later, having this info ready speeds up the process considerably.
Knowing what to look for and having the right tools can prevent mistakes as you move to the reset steps.
Step-by-step: how to reset your dryer
With tools in hand and safety in mind, you can proceed to the main reset procedure. The good news is that it’s straightforward for most models. Follow these steps in order and don’t skip ahead.
Standard power reset (works on most dryers):
- Turn the dryer off using its power button or control knob. Do not just open the door.
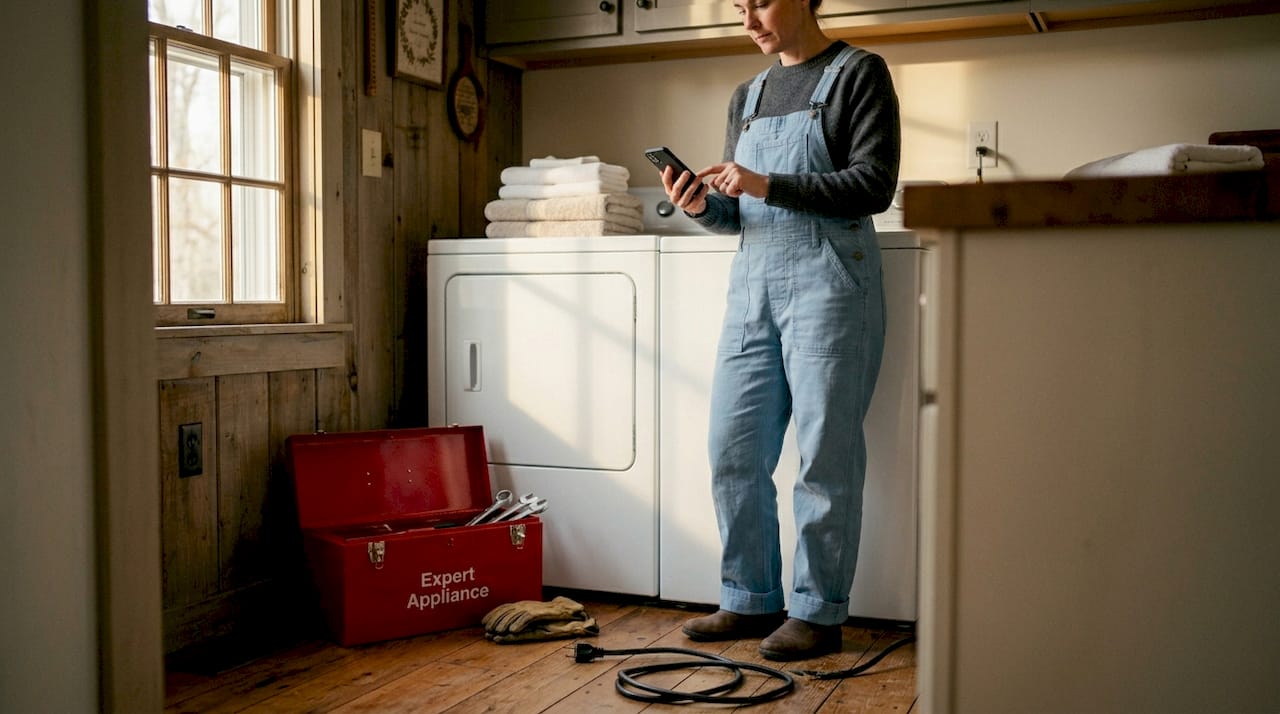
- Unplug the dryer from the wall outlet. Pull the plug, not the cord, to avoid damaging the wire.
- Wait at least 1 to 5 minutes. This gives the internal capacitors time to discharge and allows the control board to fully reset. Rushing this step is one of the most common mistakes homeowners make.
- Plug the dryer back in firmly into the outlet.
- Select a drying cycle and press Start. Listen for the drum to begin turning and feel for airflow at the exhaust vent outside your home.
Maytag’s guidance for resetting many dryers follows exactly this process: turn the dryer off, unplug it, wait 1 to 5 minutes, plug it back in, and turn it on. It sounds almost too simple, but it works for a large number of electronic glitches.
If your dryer has a reset button:
Some models, particularly older ones, feature a small red or black button on the back of the unit or on the control panel. Press it firmly until you feel a click, then try starting a cycle. If the button doesn’t click or won’t stay pressed, the underlying cause hasn’t been addressed and pressing it won’t help.
Breaker reset (for electric dryers):
- Go to your breaker panel and find the double breaker labeled “Dryer.”
- Flip both switches fully to the OFF position.
- Wait 30 seconds, then flip them back to ON.
- Return to the dryer and try starting a new cycle.
Dryer reset symptom guide:
| Symptom | Try reset? | Likely cause | Next step |
|---|---|---|---|
| Won’t turn on at all | Yes | Power glitch | Power cycle + breaker reset |
| Starts then stops mid-cycle | Yes, once | Thermal fuse or overheating | Check vent after reset |
| No heat but drum spins | Yes, once | Heating element or fuse | Professional inspection |
| Error code on display | Yes | Control board glitch | Check manual for code meaning |
| Burning smell | No | Wiring or lint blockage | Call a pro immediately |
Pro Tip: If the dryer starts normally after a reset but stops again within the same cycle, do not keep repeating the reset. That pattern points to a thermal fuse problem or serious airflow restriction. Repeated resets in this situation will not fix anything and may cause more damage.
A good dryer troubleshooting guide can help you identify what specific error codes or symptoms mean for your brand and model, especially if the reset doesn’t fully clear the problem.
Important stat: Most consumer dryers do not have a dedicated reset button. The power cycle method is the universal reset for the vast majority of brands, including Whirlpool, LG, Samsung, GE, and Maytag.

Troubleshooting: when resetting isn’t enough
If your dryer still won’t run or repeatedly shuts off after a reset, more troubleshooting is needed. This is where many homeowners make the mistake of continuing to reset, hoping something will change. It won’t. Here’s why.
The thermal fuse explained:
The thermal fuse is a small safety component inside your dryer. Its one job is to blow (like a circuit breaker) if the dryer gets too hot, cutting power to prevent a fire. Here’s the critical difference from a breaker: a thermal fuse is a one-time safety device and must be replaced once it trips. You cannot reset it. Pressing the reset button or unplugging the dryer does nothing if the thermal fuse is the problem.
Signs your thermal fuse has blown:
- The dryer won’t start at all, even after a reset
- The drum spins but there is zero heat
- The dryer shuts off within the first few minutes of every cycle
- You have already reset it twice with the same result
Important: Never simply replace a blown thermal fuse without finding out why it blew. If the vent is clogged or airflow is restricted, a new fuse will blow again quickly — sometimes within a single load.
Airflow is usually the real culprit. Before you or a technician replaces any parts, check these:
- Lint trap: Pull it out and look at it closely. A thick layer of lint is enough to cut airflow dramatically.
- Vent duct: Disconnect the flexible duct from the back of the dryer and shine a flashlight in. Look for lint buildup, kinks, or nesting animals (it happens more than you’d think in NJ).
- Outside vent cap: Go outside and locate where your dryer vents through the wall or roof. Make sure the flap opens freely when the dryer runs.
For practical tips specifically on dryer not heating situations, there’s a lot of useful guidance on what causes the heating element to fail and what homeowners can check themselves. Understanding why dryers overheat is equally valuable, because overheating is almost always an airflow problem at its root.
Pro Tip: You can test whether your vent is clear by running the dryer on air-only mode (no heat) and placing your hand near the outdoor exhaust cap. If you feel strong airflow, the duct is clear. Weak or no airflow means a blockage somewhere in the system.
Preventing future dryer problems
Once your dryer is running again, a few simple habits can save you serious headaches down the road. Most dryer repairs — including thermal fuse replacements, control board issues, and repeated shutoffs — trace back directly to poor maintenance. The fixes are easy and cost nothing beyond a few minutes of your time.
Restricted airflow from clogged vents is the leading cause of thermal fuse failure, and correcting that underlying airflow issue is essential to prevent it from happening again.
Your dryer maintenance checklist:
- Clean the lint trap after every single load. Not once a week. Every load. A clogged lint screen reduces airflow by up to 75%, forcing the dryer to work harder and run hotter.
- Inspect the vent duct every three months. Disconnect it from the back of the dryer, look inside with a flashlight, and remove any buildup you see.
- Check the outside vent cap seasonally. Birds and small animals can build nests inside vent openings during spring and fall.
- Watch for warning signs between service calls: longer drying times than usual, the dryer feeling unusually warm on the outside, a burning or musty smell during a cycle, or clothes coming out still damp after a full cycle.
- Schedule a professional vent cleaning at least once a year if your vent run is longer than 10 feet or makes several turns. Longer ducts accumulate lint faster and are harder to self-clean effectively.
The connection between vent blockages and house fires is not a minor concern. The U.S. Fire Administration has consistently identified dryer fire causes including lint buildup and restricted venting as the top factors in residential dryer fires. Keeping your vent clean is the single most impactful safety step you can take as a homeowner.
Pro Tip: Replace flexible plastic or foil accordion-style vent ducts with rigid metal duct whenever possible. Rigid duct doesn’t sag or kink, moves lint more efficiently, and is far less likely to harbor dangerous buildups.
Why resetting shouldn’t be your only strategy
Here’s something most how-to articles won’t tell you directly: a dryer reset is a band-aid, not a diagnosis. After more than three decades serving Monmouth County homes, we’ve seen a pattern repeat itself constantly. A homeowner resets the dryer. It works for a week. Then it shuts off again. Then another reset. Then the thermal fuse blows. Then the heating element fails. Then they’re looking at a $350 repair that started as a $0 problem.
The reset is a useful first response, and we always recommend trying it. But the moment your dryer shuts off more than once after a reset, something is telling you it’s not happy. Dryers are fundamentally simple machines. They need power, a spinning drum, and airflow. When something keeps interrupting the cycle, it’s almost always an airflow or component problem, not an electrical ghost that keeps appearing.
The practical homeowner approach is clear: start with the power reset, and if symptoms like repeat shutdowns or no heat keep showing up, stop resetting and start inspecting. Airflow first, then components. Ignoring recurring shutdowns creates three real risks: accelerated part failures that cost more to fix, wasted energy from an inefficient dryer, and in the worst cases, a fire risk from excessive heat and lint.
Think of it this way. If your car’s check engine light came on and turned off every time you restarted it, you wouldn’t just keep restarting it and hope the problem goes away. You’d get it looked at. Your dryer is sending you the same kind of signal.
We also encourage homeowners to explore a broader set of dryer repair techniques so they understand what’s involved at each stage of diagnosis. The more informed you are, the better equipped you’ll be to decide when to handle something yourself and when to call a pro. A reset buys you time. A proper repair buys you safety, reliability, and peace of mind.
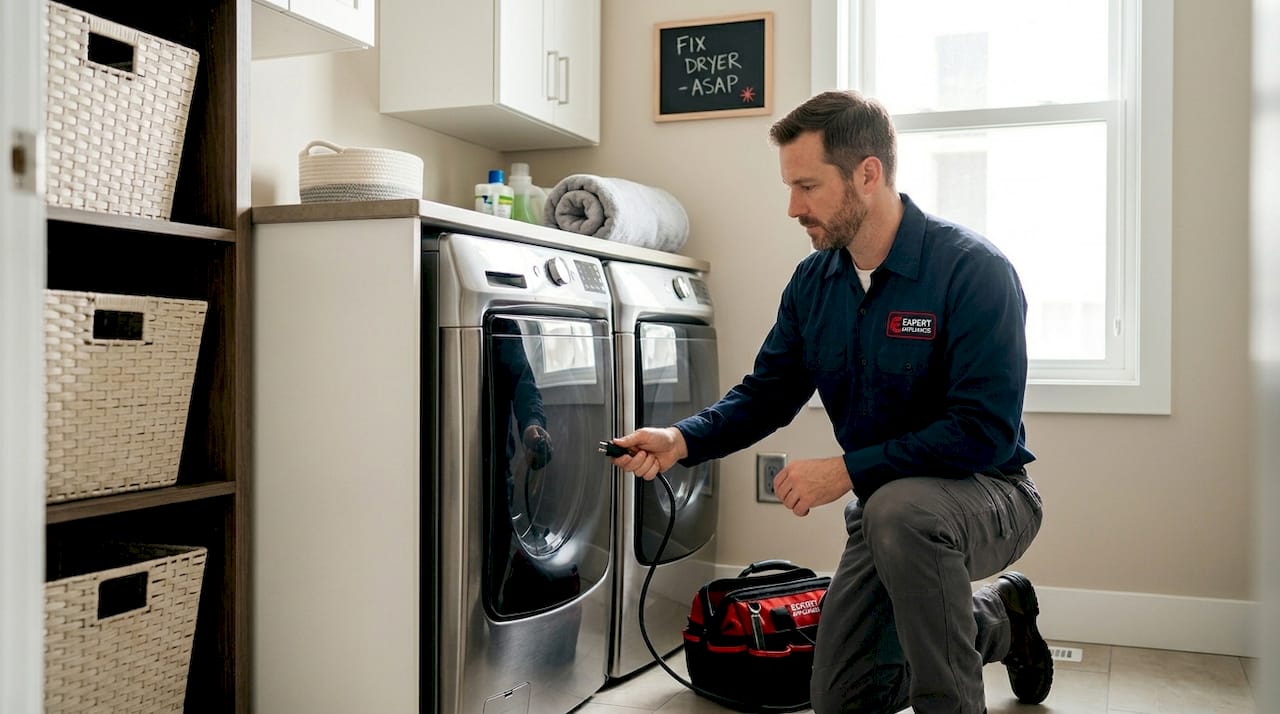
Need same-day dryer repair in Monmouth County?
When you’ve gone through every reset and troubleshooting step and the dryer still isn’t cooperating, it’s time to stop guessing and get professional help. A malfunctioning dryer isn’t just an inconvenience — damp clothes, repeated cycle failures, and unusual heat are signs that something inside needs attention from someone who can actually see and test the components.

Expert Appliance Repair has been serving Monmouth County homeowners since 1988, and we offer same day repair service for dryers and other major appliances across Marlboro, Freehold, Manalapan, Holmdel, and the surrounding area. We work on all major brands — check out the full list of brands we service to confirm yours is covered. If you’re dealing with a dryer that won’t heat, keeps shutting off, or shows warning signs that make you uncomfortable, our emergency appliance help line is available around the clock. Call us and we’ll get your laundry routine back on track today.
Frequently asked questions
What is the first thing I should do if my dryer won’t turn on?
Unplug your dryer, wait a few minutes, and plug it back in to perform a basic reset. Maytag’s reset guidance recommends waiting 1 to 5 minutes before restarting to allow the control board to fully clear.
Do all dryers have a reset button?
Not all dryers have a dedicated reset button, and unplugging the dryer is the most universal reset method. Some models include a reset button on the control panel, but this varies by brand and model.
Why does my dryer keep shutting off after I reset it?
Repeated shutoffs after a reset usually point to a blown thermal fuse or restricted airflow from a clogged vent or heavy lint buildup. Correcting the underlying airflow issue is essential before replacing any parts, or the problem will return quickly.
Can I reset a tripped thermal fuse?
No, a thermal fuse is a one-time safety component and cannot be reset. It must be physically replaced once it has blown, and the root cause (usually a clogged vent) must be fixed at the same time.
What preventive steps help avoid dryer resets and repairs?
Clean the lint trap after every load and inspect the vent duct at least every three months. Restricted airflow from lint buildup is the most common cause of thermal fuse failure and most repeat dryer problems.