
A broken refrigerator or washing machine can disrupt any Marlboro household, especially when every minute counts for food safety or daily chores. For many American families, these major appliances are essential and unexpected malfunctions bring real stress. With over 80 percent of appliance breakdowns happening without warning, knowing how to prepare and what to do next helps you act fast. This guide gives Marlboro homeowners the clear steps and expert tips needed to secure safe, effective repairs from certified technicians.
Table of Contents
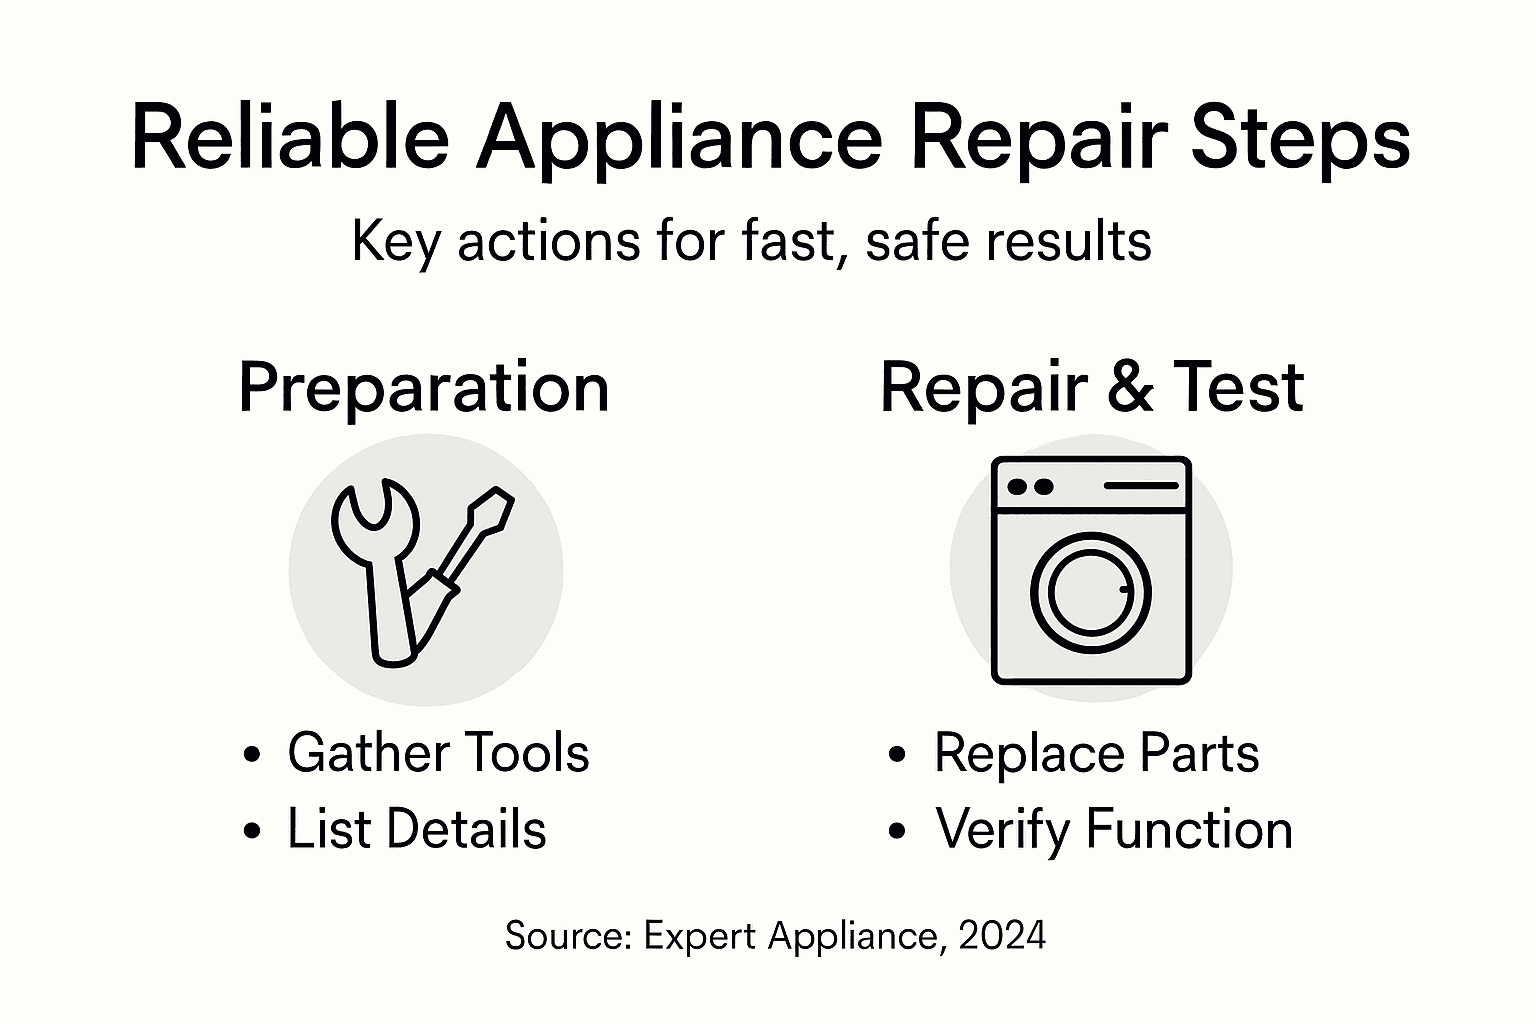
- Step 1: Prepare Tools and Gather Appliance Information
- Step 2: Diagnose Appliance Issues Using Proven Methods
- Step 3: Source Genuine Parts and Secure Needed Materials
- Step 4: Perform Safe and Effective Appliance Repairs
- Step 5: Test Repairs and Verify Appliance Functionality
Quick Summary
| Key Point | Explanation |
|---|---|
| 1. Document Appliance Details | Locate and note the model and serial numbers to assist in troubleshooting and ordering parts accurately. |
| 2. Observe Symptoms Carefully | Track appliance performance issues in detail, noting sounds, error messages, and changes to aid in diagnosis. |
| 3. Use Genuine Replacement Parts | Ensure that you source original parts specific to your appliance model for reliability and safety during repairs. |
| 4. Prioritize Safety Measures | Always disconnect power and wear protective gear before beginning any repairs to minimize injury risks. |
| 5. Test Thoroughly After Repairs | Run the appliance through a full cycle after repairs, monitoring for any unusual behavior or persistent issues. |
Step 1: Prepare Tools and Gather Appliance Information
Preparing for an appliance repair starts with smart planning and gathering the right information and tools. Your goal in this step is to understand your specific appliance and collect everything needed for a successful troubleshooting and repair process.
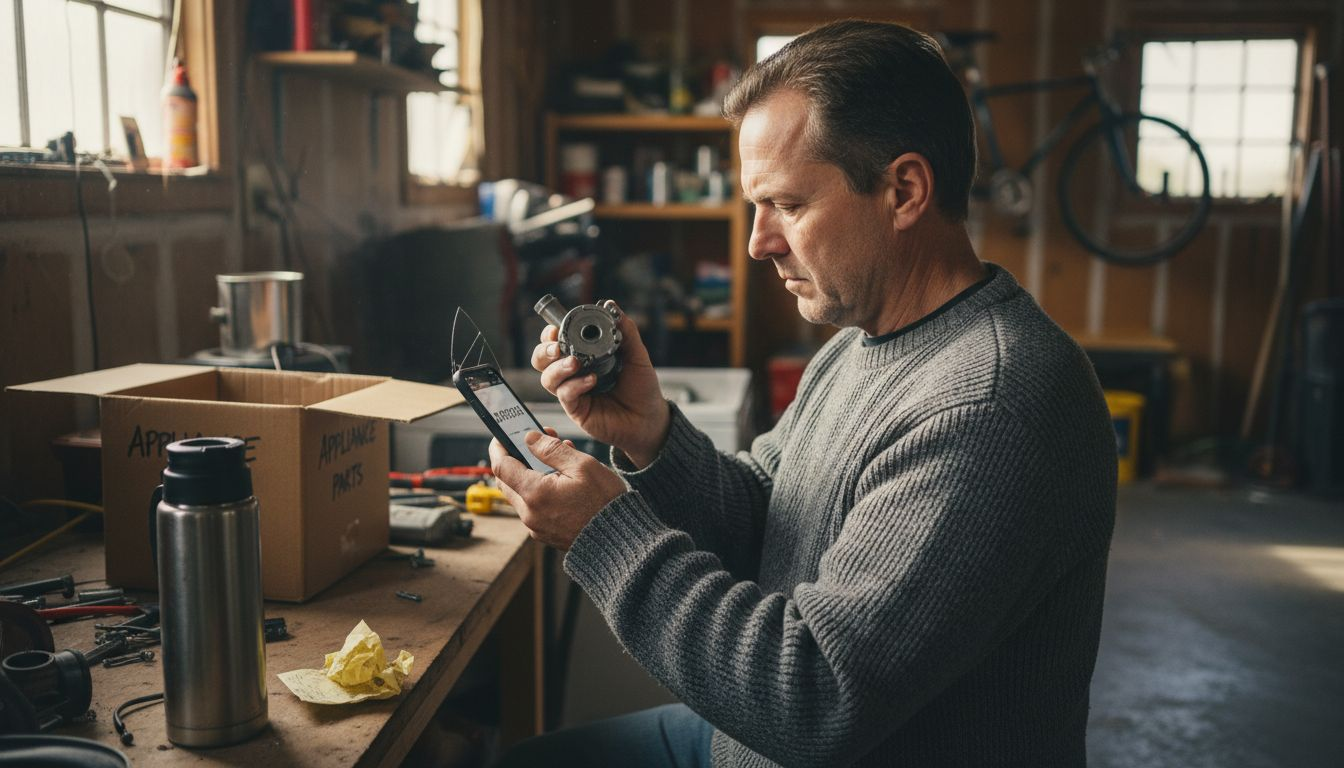
Start by locating your appliance’s model number and serial number. These critical details are usually found on a metal plate or sticker inside the refrigerator door, behind the kickplate of a washing machine, or on the back panel of most major appliances. Community repair spaces recommend documenting these numbers before beginning any repair work. Having this information helps you research specific issues, order correct replacement parts, and understand the exact specifications of your machine.
Next, assemble your repair toolkit. A comprehensive kit should include essential diagnostic tools like a digital multimeter, ratcheting screwdriver with multiple bit attachments, work gloves, flashlight, and needle nose pliers. Organize these tools on a clean workspace before starting your repair to ensure smooth troubleshooting.
Pro Tip: Take a smartphone photo of your appliance’s model number and serial number before beginning repairs to have a quick reference if needed.
Step 2: Diagnose Appliance Issues Using Proven Methods
Diagnosing appliance problems requires a methodical approach that helps you understand the underlying issues without unnecessary guesswork. Your goal is to systematically evaluate symptoms and identify potential causes with precision and confidence.
Begin by carefully observing your appliance’s specific symptoms and performance irregularities. Consumer repair professionals emphasize the importance of detailed symptom tracking. For instance, a refrigerator making unusual noises might indicate compressor problems, while a washing machine that stops mid-cycle could suggest electrical or control board issues. Write down exactly what you notice including sounds, performance changes, error messages, and any recent changes in the appliance’s operation.
Next, consult your appliance manual or systematic diagnostic procedures to cross reference your observed symptoms. Most manuals include troubleshooting sections that map specific problems to potential component failures. Look for visual inspection guidelines that can help you identify obvious issues like frayed wires, burnt connections, or mechanical wear without needing specialized equipment.
Here’s a summary of common appliance problems and related diagnostic tips:
| Appliance Type | Frequent Issue | Diagnostic Focus |
|---|---|---|
| Refrigerator | Unusual noises | Check compressor and fan |
| Washing machine | Stops mid-cycle | Inspect control board and wiring |
| Oven | Uneven heating | Verify heating elements operation |
| Dishwasher | Water leakage | Examine seals and hoses for damage |
Pro Tip: Take clear smartphone photos of any visible damage or unusual components during your diagnostic process to provide accurate reference for potential repair professionals.
Step 3: Source Genuine Parts and Secure Needed Materials
Sourcing the right replacement parts is crucial for successful appliance repair. Your goal is to find authentic components that match your specific appliance model precisely, ensuring optimal performance and safety.
Start by collecting your appliance’s exact model number and serial number from your earlier documentation. Home appliance manufacturers standards recommend using these identifiers to locate genuine replacement parts directly from manufacturer websites or authorized dealer networks. Online parts retailers and local appliance stores can help you match components accurately. Verify compatibility by cross referencing the part number with your specific appliance model to avoid purchasing incorrect materials.
When selecting replacement parts, prioritize quality and authenticity. Product certification programs help verify component safety and performance standards. Look for NSF certified parts or manufacturer approved components that guarantee compatibility and reliability. Compare prices across multiple sources but avoid extremely cheap alternatives that might compromise your appliance’s functionality.
Pro Tip: Take a clear photo of the part you need to replace and bring it with you when shopping to ensure exact matching.
Step 4: Perform Safe and Effective Appliance Repairs
Preparing to perform appliance repairs requires careful planning and strict adherence to safety protocols. Your primary goal is to complete the repair efficiently while protecting yourself and preventing potential damage to the appliance.
Home appliance safety guidelines emphasize the critical importance of power disconnection before beginning any repair work. Unplug the appliance completely or shut off the corresponding circuit breaker to eliminate electrical risks. Wear protective equipment including safety glasses and work gloves to shield yourself from potential sharp edges or electrical components. Organize your workspace with proper lighting and clear any flammable materials from the immediate repair area.
Systematic repair procedures recommend methodical disassembly and careful tracking of each component. Take photographs of the appliance before and during disassembly to help you remember the original configuration. Use appropriate tools matched to the specific repair task and work slowly to avoid unnecessary stress on delicate parts. When replacing components, ensure exact matches for your appliance model and verify compatibility before final installation.
Use this table to quickly reference critical steps for safe and effective appliance repairs:
| Step | Purpose | Key Action |
|---|---|---|
| Disconnect power | Prevent electric shock | Unplug or shut off breaker |
| Organize workspace | Reduce accidents and confusion | Remove clutter, add light |
| Track components | Ensure reassembly accuracy | Take photos, label parts |
| Wear protection | Minimize risk of injury | Use gloves, safety glasses |
Pro Tip: Keep a small container nearby to organize screws and small parts during disassembly to prevent losing critical components.
Step 5: Test Repairs and Verify Appliance Functionality
After completing your appliance repair, thorough testing becomes crucial to confirm your work and ensure the device operates safely and efficiently. Your goal is to validate that all repaired components function correctly and restore the appliance to its full performance capability.
Appliance testing standards recommend systematically checking electrical circuits and mechanical operations. Begin by reconnecting power and running the appliance through a complete operational cycle. Listen carefully for unusual sounds and observe performance indicators like temperature consistency, motor function, and control panel responsiveness. Pay special attention to any systems you directly repaired and verify they interact smoothly with other components.
Comprehensive repair verification involves multiple performance checks. Monitor the appliance during its first few operational cycles for any signs of malfunction such as unexpected noises, irregular movements, or inconsistent performance. Document your observations and be prepared to make additional adjustments if initial testing reveals lingering issues. Test all safety mechanisms and ensure they engage properly to prevent potential future problems.
Pro Tip: Keep a detailed log of your repair process and test results to help diagnose any recurring issues and track the appliance’s performance over time.
Ensure Fast and Reliable Appliance Repairs with Expert Support
Tackling appliance troubles can be overwhelming, especially when you face complex diagnostics, sourcing exact parts, or ensuring safe repairs. This article highlights challenges like identifying precise faults, organizing repair tools, and verifying full appliance functionality. Homeowners in New Jersey deserve peace of mind knowing their appliances will be back to perfect condition quickly and safely.
If you want to avoid the stress of guessing repairs or waiting days for service, turn to Expert Appliance. Our family-owned company has served Marlboro and Monmouth County since 1988 with same-day service and 24/7 emergency support. You get experienced technicians ready to handle refrigerators, washers, ovens, and more using genuine parts tailored to your model’s exact needs.

Discover our wide range of trusted solutions in the Appliance Archives – Expert Appliance and learn about effective maintenance in the Uncategorized Archives – Expert Appliance. Do not wait for a small problem to turn into a costly disaster. Visit Expert Appliance now to schedule your fast, professional repair and restore comfort to your home today.
Frequently Asked Questions
What tools do I need to start the reliable appliance repair process?
To begin the appliance repair process, you need essential tools like a digital multimeter, a ratcheting screwdriver with multiple bit attachments, work gloves, a flashlight, and needle nose pliers. Gather these tools in a clean workspace to ensure smooth troubleshooting and repair.
How can I diagnose appliance issues effectively?
Diagnose appliance problems by observing and documenting specific symptoms and performance irregularities, such as unusual noises or error messages. Systematically refer to the appliance manual’s troubleshooting section to correlate symptoms with possible component failures.
What should I do to ensure I am sourcing the right replacement parts?
To source the right replacement parts, collect your appliance’s model number and serial number, then use this information to find genuine components from authorized dealers. Verify compatibility by cross-referencing part numbers with your specific model to avoid purchasing incorrect or low-quality materials.
What safety precautions should I take during appliance repairs?
Always disconnect power to the appliance by unplugging it or shutting off the circuit breaker before starting repairs. Additionally, wear protective gear like safety glasses and gloves, and organize your workspace to prevent accidents and minimize risk.
How can I test my appliance after completing a repair?
After repairing your appliance, reconnect the power and run it through a complete operational cycle to check for proper functionality and any unusual sounds. Monitor the appliance closely during its first few cycles and document your observations to ensure everything is working as intended.
What steps can I take if the appliance doesn’t perform well after repair?
If the appliance shows signs of malfunction after repair, revisit your diagnostic process to identify any oversights and ensure all replaced components are correctly installed. Keeping a detailed repair log can help you track issues and make necessary adjustments within the first 30–60 days after repair.