Nearly 80 percent of American households experience dryer problems every year, with many waiting days for Marlboro appliance repair services. When every load of laundry counts, those delays and costs can get frustrating fast. By preparing your workspace and using the right tools, you set the stage for safe, effective DIY dryer repair—keeping your routine on track without relying on outside help.
Table of Contents
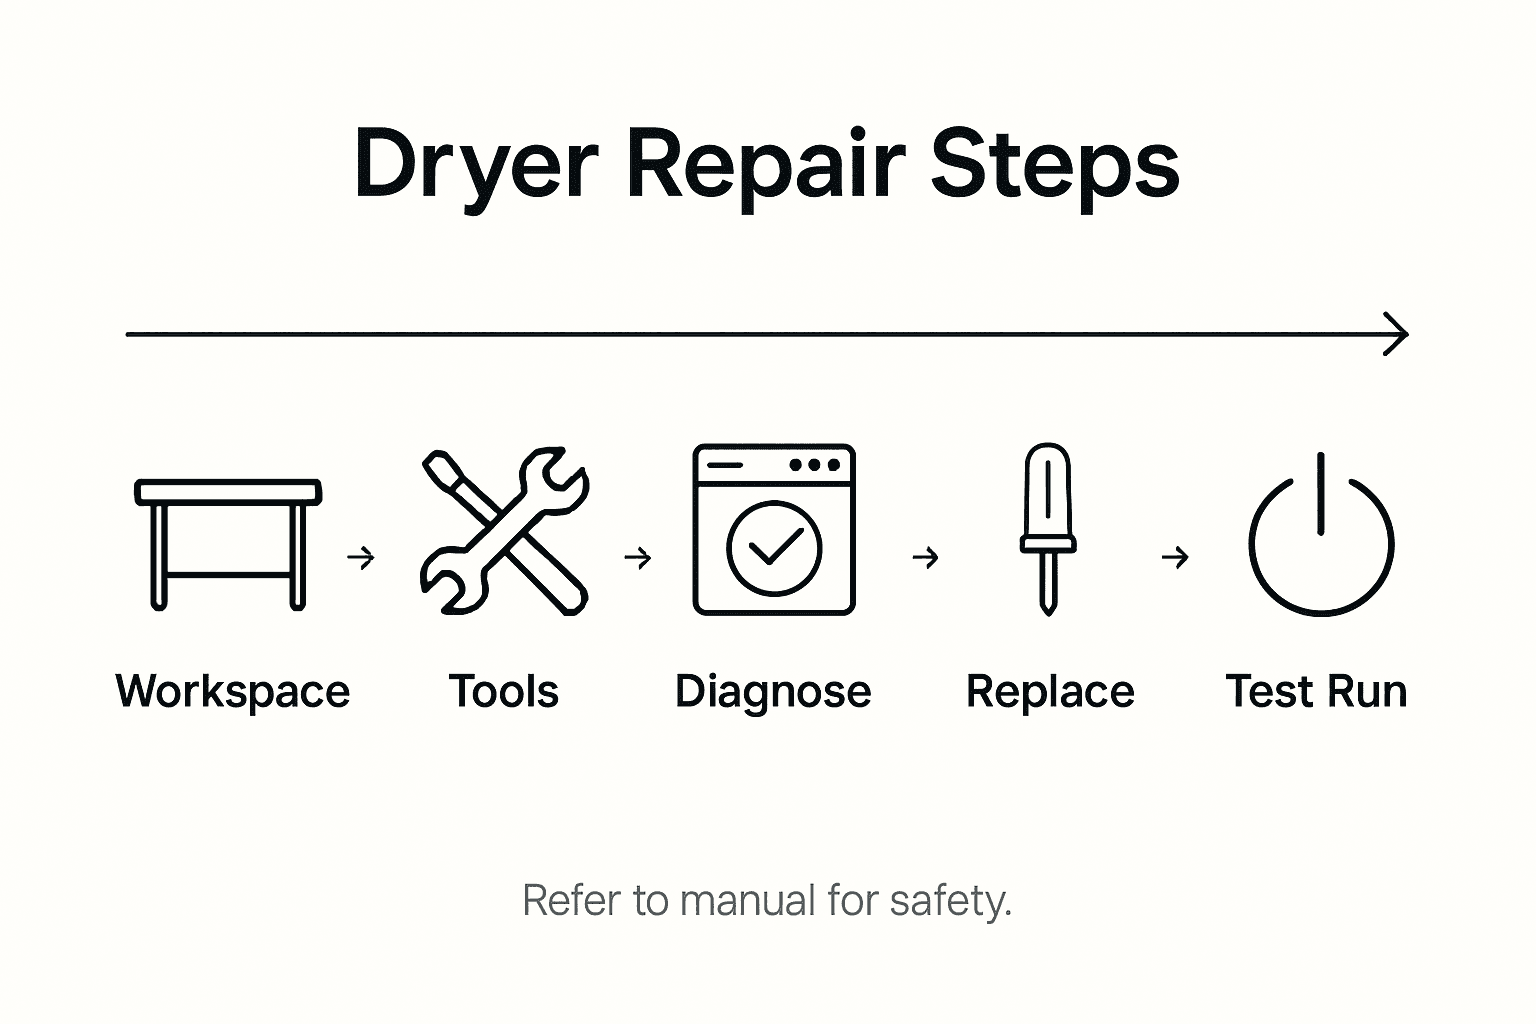
- Step 1: Prepare Workspace And Gather Tools
- Step 2: Diagnose Common Dryer Problems
- Step 3: Disassemble Dryer Safely
- Step 4: Replace Faulty Components
- Step 5: Reassemble Dryer And Test Operation
Quick Summary
| Key Takeaway | Explanation |
|---|---|
| 1. Organize Your Workspace | A clean, well-lit area with tools ready will facilitate repairs. |
| 2. Diagnose Common Issues | Identify problems early to avoid costly repairs and safety risks. |
| 3. Disassemble Dryer Safely | Unplug the dryer and follow safety guidelines while disassembling. |
| 4. Replace Faulty Parts with Care | Use a multimeter to test components; ensure replacements match specifications. |
| 5. Thoroughly Reassemble and Test | Reverse disassembly steps carefully and conduct operational tests to ensure everything works properly. |
Step 1: Prepare workspace and gather tools
Before diving into dryer repairs, you need a well-organized workspace that sets you up for success. Preparing your workspace and gathering the right tools will make your repair process smoother and more efficient.
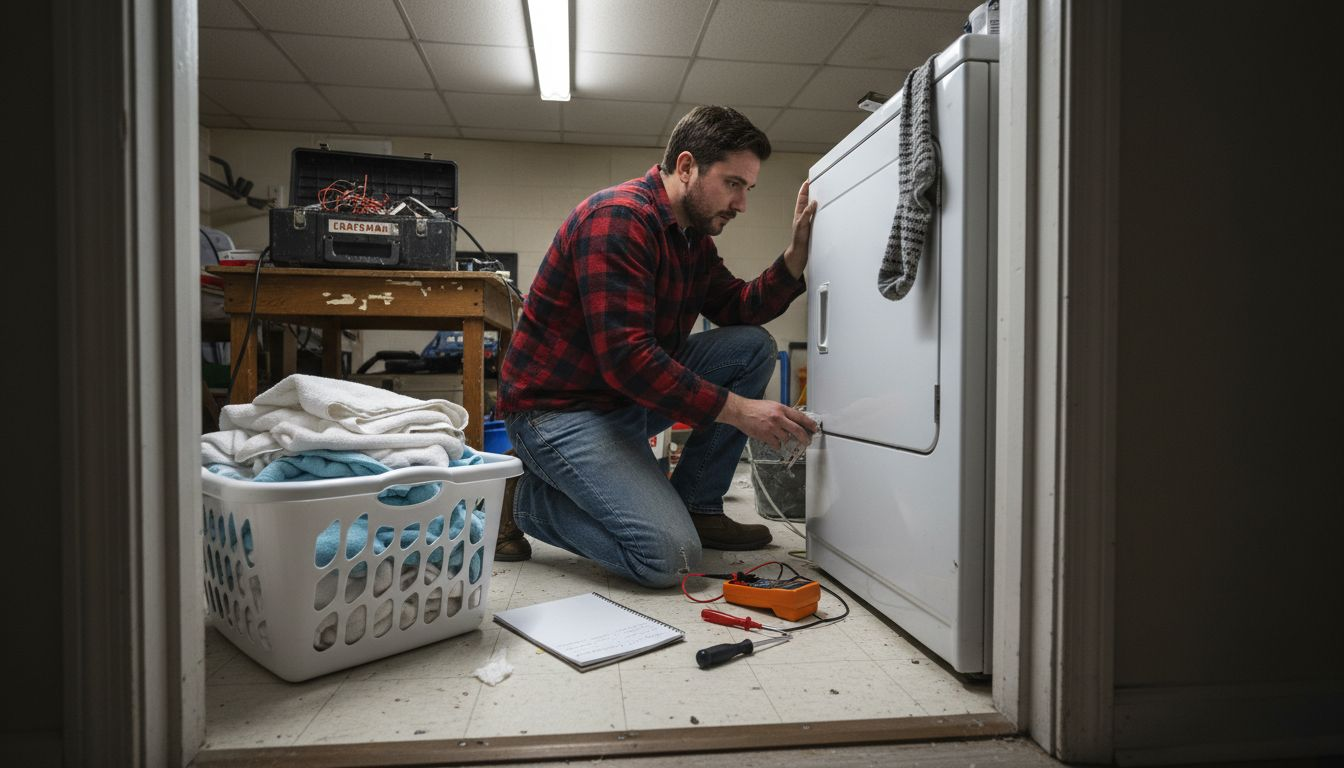
Start by finding a clean, well-lit area near an electrical outlet with enough space to work. Clear a large table or workbench where you can spread out your tools and dryer components. Repair guides recommend creating a clean and organized workspace to prevent losing small parts and ensure a systematic approach to troubleshooting.
Next, collect the essential tools for dryer repair. You will need a multimeter, screwdrivers (flathead and Phillips), adjustable wrench, pliers, work gloves, and safety glasses. Following hand and power tool safety guidelines, inspect each tool for damage before use. Ensure power cords are intact and tools are in good working condition.
Pro tip: Keep a small magnetic parts tray nearby to prevent losing screws and small components during your repair project.
Step 2: Diagnose common dryer problems
Understanding how to diagnose dryer problems is crucial for Marlboro homeowners looking to save time and money on potential repairs. Identifying issues early can prevent more serious malfunctions and potential safety hazards.
Home dryer fires are often caused by lint buildup that restricts airflow, so start your diagnosis by checking the most common problem areas. Listen for unusual sounds, monitor drying performance, and watch for warning signs like excessive heat or longer drying times. Key symptoms to watch include clothes taking significantly longer to dry, the dryer feeling unusually hot during operation, or unexpected shutdowns.
Check the lint filter first, removing and cleaning it thoroughly. Inspect the dryer vent for blockages, ensuring lint and dust are not creating potential fire risks. Look for visible signs of wear on the drum belt, rollers, and heating element. Pay attention to electrical connections and check for any frayed wires or unusual smells during operation.
Here is a quick reference table outlining common dryer problems and the most likely causes:
| Symptom | Possible Cause | Suggested First Check |
|---|---|---|
| Clothes take too long to dry | Blocked vent or lint trap | Clean lint filter and vent |
| Dryer heats but won’t spin | Broken drum belt | Inspect drum belt and rollers |
| Dryer shuts off unexpectedly | Overheating or sensor issue | Check airflow and thermal limiter |
| Dryer does not heat up | Faulty heating element | Test heating element with multimeter |
Pro tip: Keep a maintenance log to track your dryer’s performance and spot potential issues before they become major problems.
Step 3: Disassemble dryer safely
Disassembling a dryer requires careful preparation and precision to ensure your safety and prevent potential damage to the appliance. This step demands your full attention and methodical approach to successfully diagnose and repair your dryer.
Safety guidelines recommend completely unplugging the appliance before beginning any disassembly work. Start by pulling the dryer away from the wall and disconnecting the power cord. If you have a gas dryer, turn off the gas supply valve and ensure the area is well ventilated. Wear protective work gloves to guard against sharp metal edges inside the appliance.
Begin the disassembly process by removing the front or rear panel, depending on your dryer model. Use appropriate screwdrivers to carefully remove screws, keeping them organized in a magnetic parts tray. Inspect the internal components thoroughly while ensuring you maintain a clear workspace free from flammable materials. Take photographs or make notes of the original component placement to help with reassembly.
Pro tip: Create a clean workspace with good lighting and keep all removed parts in order to make your reassembly process smooth and error free.
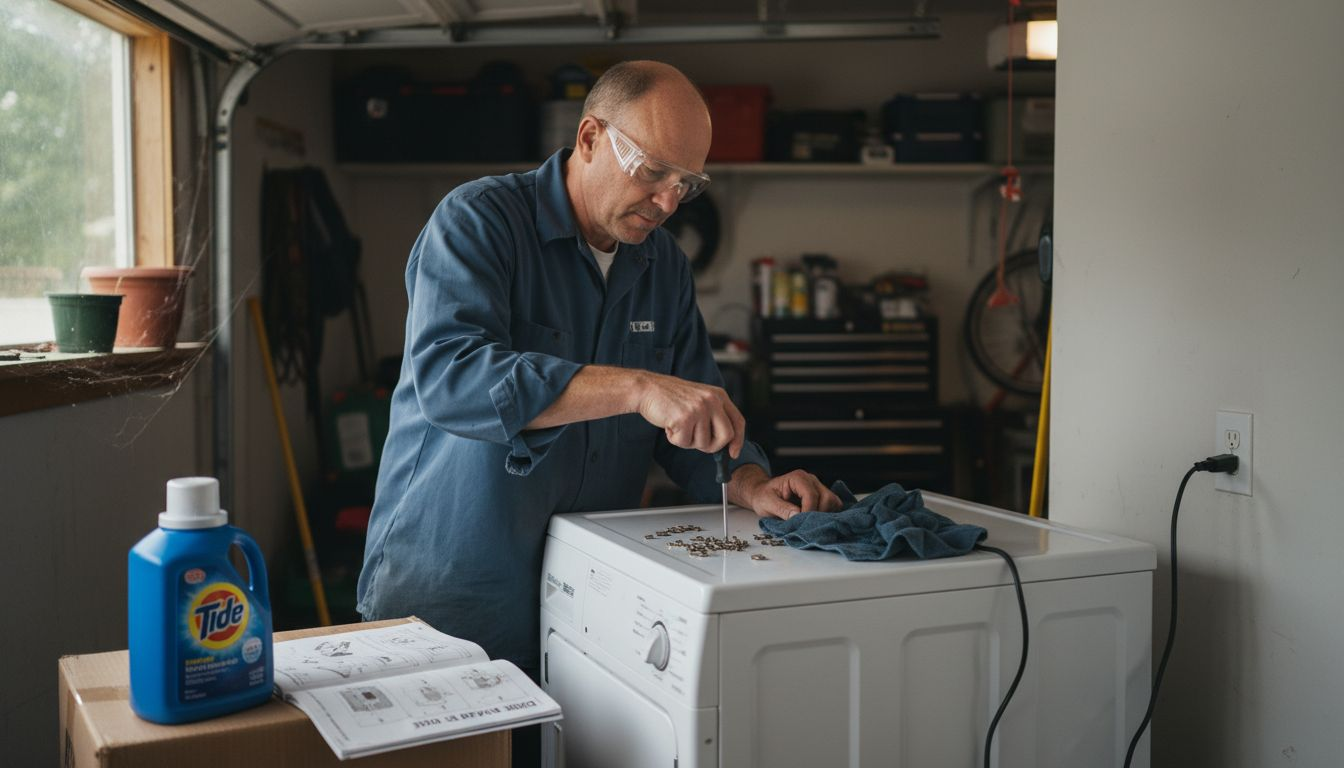
Step 4: Replace faulty components
Replacing faulty dryer components requires precision and careful attention to detail to ensure your appliance returns to optimal working condition. This step is critical for restoring your dryer’s performance and preventing further damage.
Understanding the electrical schematic helps diagnose which specific components need replacement. Start by testing key components like the heating element, thermostat, and thermal limiter using a multimeter to check for continuity. Identify the exact model number of your dryer to ensure you purchase compatible replacement parts. Carefully disconnect electrical connections and remove mounting screws before extracting the faulty component.
When installing new parts, follow the wiring diagram carefully and ensure all connections are secure and correctly positioned. Double check that the replacement component matches the specifications of the original part. Clean the surrounding area thoroughly before installing the new component to prevent dust or debris from affecting performance. Reconnect all electrical connections and secure the component with its original mounting screws.
Pro tip: Take clear photos of the original component placement before removal to serve as a reliable reference during reinstallation.
Step 5: Reassemble dryer and test operation
Reassembling your dryer is the final critical step in your repair process that will determine whether your troubleshooting and component replacement were successful. This stage requires methodical attention to ensure everything is correctly positioned and securely fastened.
Begin by carefully reversing the disassembly steps, aligning each component precisely and reconnecting all wire connections. Start with replacing the panels you removed earlier, ensuring all screws are tightened to their original positions. Double check that no tools or extra parts remain inside the dryer before closing everything up.
Conduct a comprehensive operational test by running the dryer through multiple settings to verify proper function. Listen carefully for any unusual sounds, monitor heating performance, and observe the airflow. Run a full cycle to confirm that the dryer operates smoothly and that the previously faulty components are now working correctly. If any issues persist, you may need to revisit your repair or consult a professional technician.
Pro tip: Keep your repair documentation and photos for future reference in case similar issues arise.
The following table summarizes each key step in safe dryer repair and its primary purpose:
| Repair Step | Main Purpose | Key Safety Focus |
|---|---|---|
| Workspace preparation | Organize area and tools for efficiency | Tool inspection |
| Diagnosing problems | Identify issue source quickly | Lint and wiring checks |
| Disassembly | Access internal components safely | Power/gas disconnection |
| Replace components | Restore proper function with new parts | Secure wiring and fit |
| Reassemble and test | Confirm dryer is operating correctly | Final inspection/testing |
Ready to Resolve Dryer Troubles with Expert Help
Facing a stubborn dryer that takes too long to dry or won’t heat up can be frustrating for any Marlboro homeowner. This detailed guide walks you through diagnosing common problems and replacing faulty parts safely. However, if you want to skip the hassle of tool gathering, disassembly, and testing complex components like heating elements or thermostats, professional assistance is just a call away.

Trust the local experts at Expert Appliance Repair for prompt, reliable dryer repairs in Marlboro, NJ. Benefit from same-day service and 24/7 emergency support to get your appliance working efficiently again. Explore our full range of services on our Appliance Archives – Expert Appliance page and let our family-owned business, serving the community since 1988, provide the skilled help your home deserves. Don’t wait until the problem worsens. Visit Expert Appliance Repair now to schedule your repair with confidence.
Frequently Asked Questions
What tools do I need for dryer repair?
You will need a multimeter, screwdrivers (both flathead and Phillips), an adjustable wrench, pliers, work gloves, and safety glasses. Gather these tools before starting the repair to ensure efficiency and safety.
How can I diagnose common dryer problems?
Start by checking the lint filter and vent for blockages, as these are common issues. Listen for unusual sounds and monitor drying times, which can help identify whether the problem lies with the heating element or another component.
What safety precautions should I take when disassembling my dryer?
Always unplug the dryer before disassembly to avoid electric shock. If you have a gas dryer, also turn off the gas supply and wear protective gloves to safeguard against sharp edges.
How do I replace faulty dryer components?
Begin by testing components like the heating element and thermostat with a multimeter to confirm they need replacing. Carefully disconnect and remove the faulty part, then install the new component, ensuring all electrical connections are secure and in the correct position.
What should I do after reassembling my dryer?
Run the dryer through multiple settings to test its operation. Listen for any unusual sounds and check that it heats properly to ensure your repairs were successful and the appliance functions correctly.