More than half of American households deal with a vacuum breakdown every year, yet most repairs can be handled at home with a few basic steps. Having a strategy to organize your workspace and tools saves time and prevents lost parts. Whether you want to avoid an expensive service call or just keep your home running smoothly, this guide walks you through safe, effective repair from setup to testing.
Table of Contents
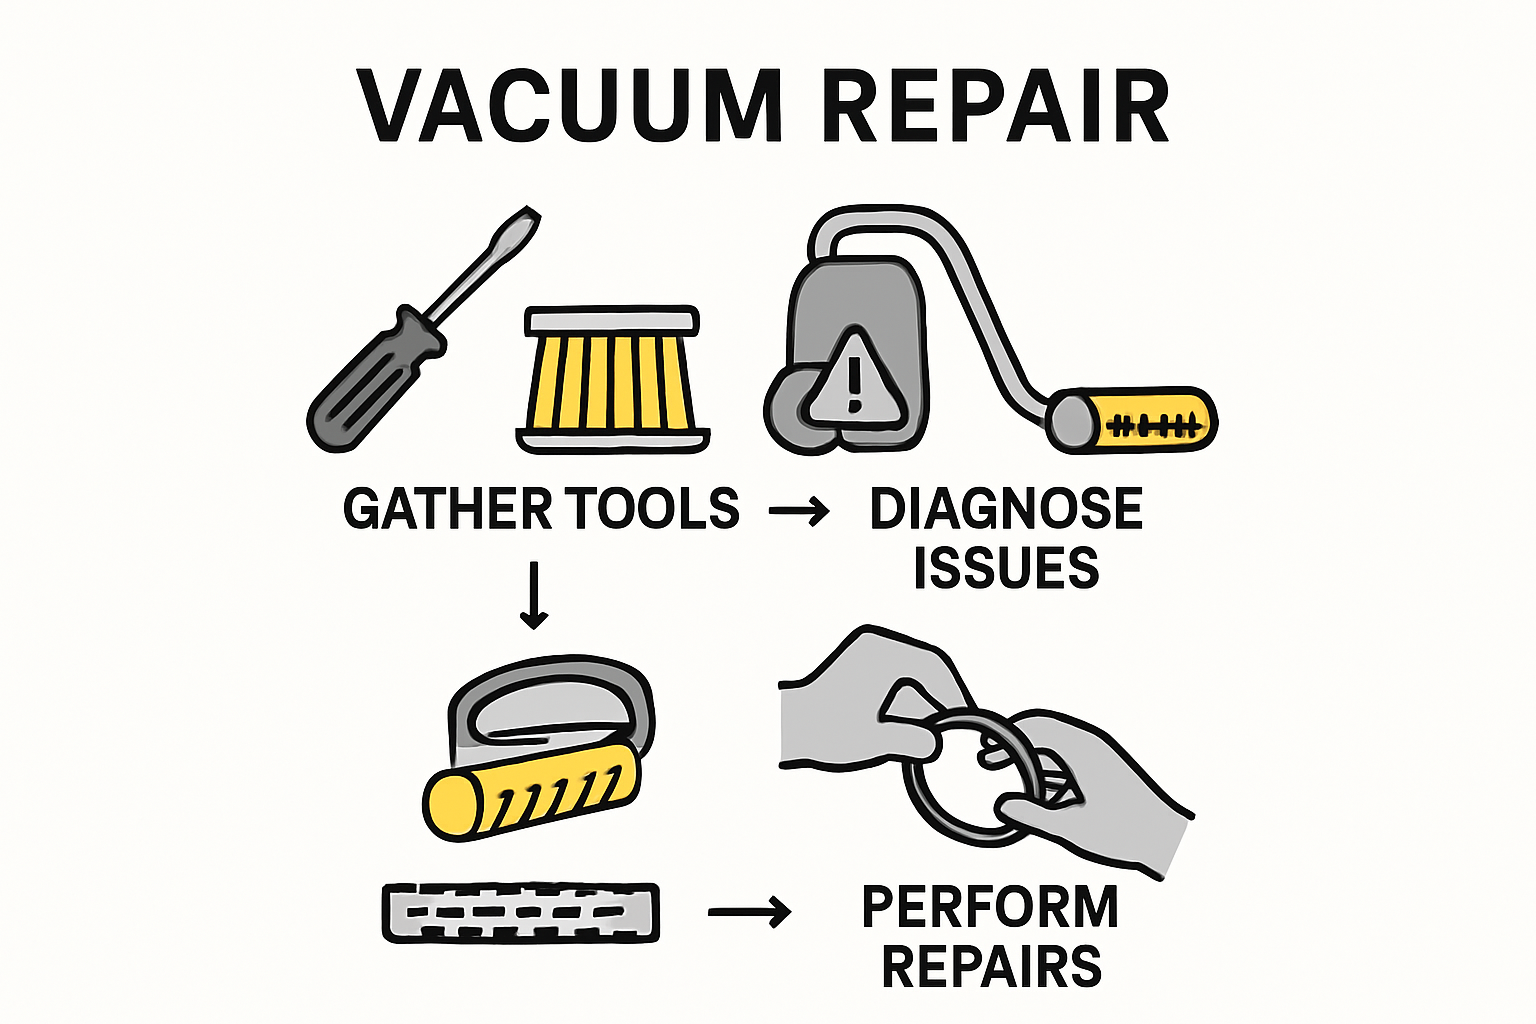
- Step 1: Prepare Your Workspace and Gather Tools
- Step 2: Diagnose Common Vacuum Issues
- Step 3: Disassemble the Vacuum Safely
- Step 4: Replace or Repair Faulty Components
- Step 5: Reassemble and Test for Proper Operation
Quick Summary
| Key Point | Explanation |
|---|---|
| 1. Organize Your Workspace Effectively | A clean, well-prepared area enhances efficiency, helping to keep track of small parts and tools during vacuum repair. |
| 2. Diagnose Common Vacuum Issues Systematically | Conduct a thorough inspection for visible damages or performance issues to identify problems needing repair. |
| 3. Follow Safe Disassembly Procedures | Carefully take apart your vacuum, documenting component placement to avoid damage and ensure proper reassembly. |
| 4. Replace Faulty Components Precisely | Identify and replace damaged parts with compatible replacements to restore vacuum functionality effectively. |
| 5. Test Thoroughly After Reassembly | Run a complete test cycle to ensure all components work properly and address any issues detected during this phase. |
Step 1: Prepare Your Workspace and Gather Tools
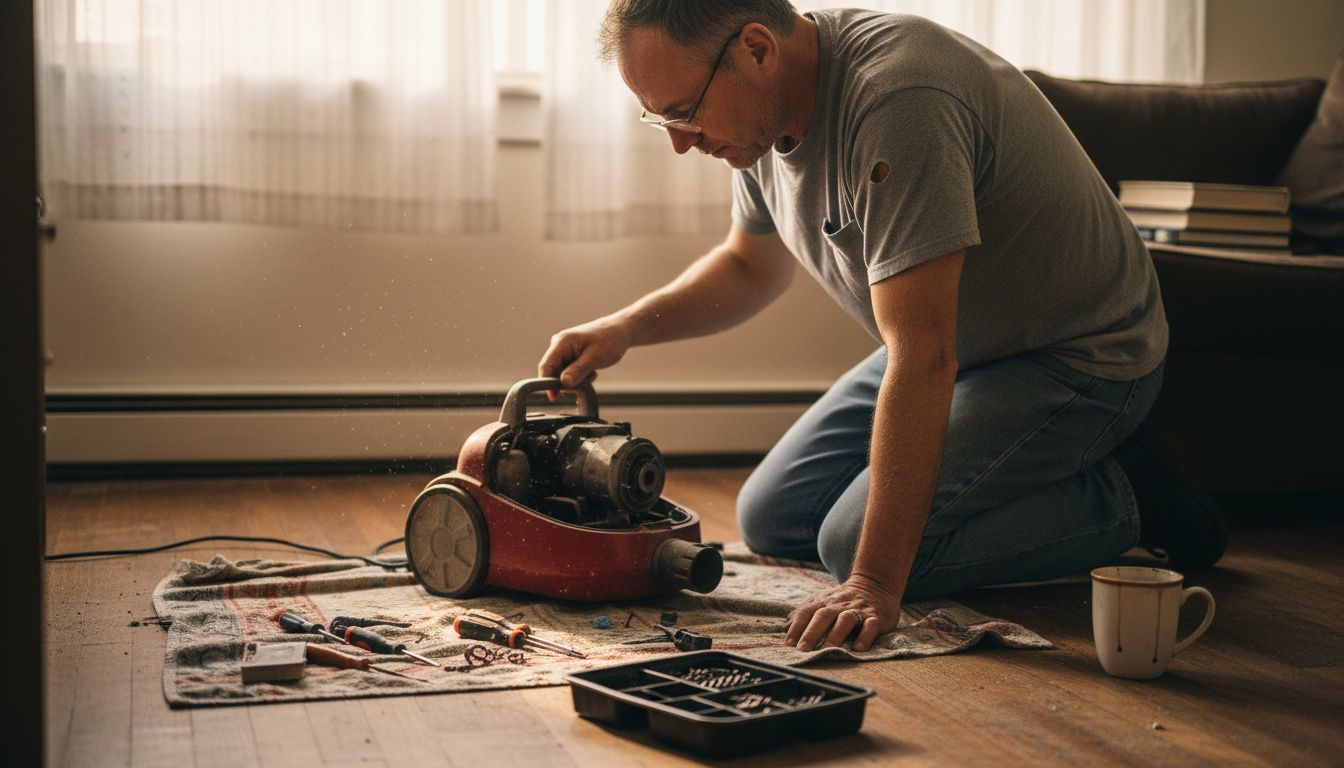
Before diving into vacuum repair, creating an organized and clean workspace will dramatically improve your efficiency and success. A well-prepared area helps you track small parts, keep tools accessible, and maintain a systematic approach to troubleshooting your vacuum cleaner.
Start by finding a flat, clean surface like a workbench or sturdy table with good lighting. Clear the space of any unnecessary items and create a dust-free workshop environment that protects both your workspace and the vacuum components. You will want to lay down a clean white cloth or mat to help you see small screws and parts easily.
Gather the essential tools before beginning your repair. Your toolkit should include:
- Flathead and Phillips head screwdrivers in multiple sizes
- Needle nose pliers
- Compressed air canister
- Soft cleaning cloths
- Lubricating oil
- Multimeter (optional but helpful)
A well-organized toolkit with portable storage bins can make your repair process smoother and more professional. Pro tip: Use small containers or magnetic trays to keep screws and tiny components organized and prevent losing them during disassembly.
With your workspace prepared and tools assembled, you are now ready to begin diagnosing and repairing your vacuum cleaner.
Step 2: Diagnose Common Vacuum Issues
Before attempting any repairs, you need to identify the specific problems plaguing your vacuum cleaner. Systematic troubleshooting will help you pinpoint issues quickly and determine whether a simple fix or more comprehensive repair is necessary.
Start by performing a comprehensive visual and functional inspection. Carefully inspect your vacuum accessories like nozzles, filters, and hoses for potential blockages or visible damage. Listen for unusual sounds, check suction power, and observe any performance irregularities. Common issues include:
- No suction or weak airflow
- Strange noises during operation
- Overheating or burning smells
- Electrical problems or motor issues
- Belt wear or breakage
- Clogged filters or brush rolls
Each symptom indicates a different potential problem. Weak suction might suggest a clogged filter or blocked hose, while unusual sounds could point to mechanical component failures. When preparing your vacuum for potential repairs, ensure you have a clean workspace and proper diagnostic tools to accurately assess the vacuum’s condition.
Pro tip: Always unplug your vacuum before conducting any detailed inspections to prevent electrical accidents. If you cannot confidently diagnose or repair the issue, consider consulting a professional appliance repair technician who can provide expert assessment and service.
Step 3: Disassemble the Vacuum Safely
Carefully taking apart your vacuum requires patience and methodical attention to detail. Your goal is to expose internal components without causing additional damage or losing critical parts during the disassembly process.

Proper vacuum disassembly follows specific safety procedures that protect both you and the appliance. Begin by removing the dust container or bag carefully. Unscrew the exterior panels using appropriate screwdrivers and organize screws immediately to prevent losing them. Work systematically from the exterior toward the interior components.
Key steps for safe disassembly include:
- Disconnect power cord completely
- Remove dust collection container
- Carefully separate exterior panels
- Take photos or make notes about component placement
- Place screws in magnetic trays or labeled containers
- Handle electrical components with extreme caution
Pro tip: Before completely disassembling your vacuum, take clear photographs of the internal configuration. These images will serve as a valuable reference when reassembling the device and help you remember exact component placements. If at any point you feel uncertain about the disassembly process, stop and consult a professional technician who can guide you through the specific repair needed.
Step 4: Replace or Repair Faulty Components
After carefully diagnosing your vacuum’s issues, you will now systematically address and replace the specific components causing performance problems. This critical stage requires precision and careful component selection to restore your vacuum’s functionality.
Refurbishing vacuum components demands strategic approach and careful selection of replacement parts. Start by identifying the exact components needing replacement such as belts, filters, motor brushes, or electrical connections. Compare the existing parts with potential replacements to ensure perfect compatibility.
Potential components to inspect and potentially replace include:
- Drive belts
- Electric motor brushes
- Power switches
- Electrical cords
- Filters
- Brush rolls
- Suction mechanisms
Essential tools for DIY vacuum maintenance will help you successfully complete these repairs. Carefully remove damaged parts and install new components using appropriate screwdrivers and gentle pressure. Test each replaced component individually to confirm proper installation and functionality.
Pro tip: Always consult your vacuum’s specific user manual for precise replacement instructions. If you encounter complex electrical or mechanical issues beyond simple part replacement, consider seeking professional repair services to prevent potential damage to your appliance.
Step 5: Reassemble and Test for Proper Operation
With all repairs completed, you now face the critical task of carefully reassembling your vacuum cleaner and verifying its full functionality. Precise reconstruction ensures all components work together seamlessly and safely.
Proper reassembly follows specific procedures that protect the vacuum’s internal mechanisms and prevent potential future issues. Begin by systematically replacing each component in the reverse order of disassembly. Ensure all screws are tightened securely but not over-tightened which might damage plastic components or create undue stress on the casing.
Key steps for successful reassembly include:
- Replace all internal components in original configuration
- Align electrical connections precisely
- Secure motor housing carefully
- Verify belt tension and alignment
- Check that all external panels fit smoothly
- Ensure no loose screws or components remain
Comprehensive testing procedures help confirm the vacuum operates correctly after repairs. Plug in the vacuum and run a complete test cycle. Listen for unusual sounds, check suction power, and monitor performance across different surfaces. If any irregularities persist, carefully review your reassembly or consider professional assistance.
Pro tip: Take photos during disassembly to use as a reference during reassembly. If you encounter any challenges or feel uncertain about the final configuration, do not hesitate to consult a professional technician who can ensure your vacuum is restored to optimal working condition.
Need Fast and Reliable Vacuum Repairs in Marlboro NJ
If you found the step-by-step vacuum repair guide helpful but feel overwhelmed by diagnosing or replacing faulty parts, you are not alone. Attempting repairs without the right tools or experience can lead to frustration and wasted time. Expert Appliance Repair understands the pain points of clogged filters, broken belts, and mysterious motor issues that keep your vacuum from working properly.

Take the stress out of vacuum maintenance with trusted local professionals. Serving Marlboro and Monmouth County since 1988, we offer same-day service and 24/7 emergency support for your vacuum and all major appliances. Discover why so many homeowners rely on our expertise by visiting our Vacuums Archives – Expert Appliance. Ready for hassle-free repairs and upfront pricing? Contact us today at https://expertapplianceinc.com and get your vacuum running like new again. Learn how our full range of appliance services can keep your home running smoothly at Appliance Archives – Expert Appliance.
Frequently Asked Questions
How do I prepare my workspace for vacuum repair?
To prepare your workspace, find a clean, flat surface with good lighting and remove any unnecessary items. Lay down a clean cloth to help see small parts clearly and gather essential tools like screwdrivers and pliers, ensuring an organized environment for efficient repairs.
What are common issues I should look for when diagnosing my vacuum?
Common vacuum issues include no suction, strange noises, overheating, and clogged filters. Begin troubleshooting by inspecting hoses, filters, and nozzles for blockages or damage, and listen for abnormal sounds during operation to pinpoint potential problems.
What steps should I follow for safely disassembling my vacuum?
To disassemble your vacuum safely, unplug it completely and remove the dust container first. Then, work methodically, unscrewing exterior panels, organizing screws in containers, and taking notes or photos of the internal layout for easier reassembly.
What components should I consider replacing during vacuum repairs?
When repairing your vacuum, consider replacing parts like drive belts, filters, and motor brushes, which are commonly worn or damaged. Verify compatibility with your vacuum model and ensure precise installation for optimal performance after repair.
How can I test my vacuum after reassembly?
After reassembling your vacuum, plug it in and run a full test cycle. Listen for unusual sounds and check suction across different surfaces to confirm that all components are functioning properly, addressing any irregularities that arise.
What should I do if I cannot diagnose or repair the vacuum issues?
If you’re unable to diagnose or repair your vacuum, it’s best to consult a professional technician for assistance. They can provide expert assessment and repair services to ensure your vacuum is restored to its optimal condition.
Recommended
- What Is Vacuum Repair and Why It Matters Locally – Expert Appliance
- Washing Machine Repair Workflow for Fast, Reliable Service – Expert Appliance
- Vacuum Repair | Vacuum Cleaner Repair | Appliance Repair Service
- How to Repair Refrigerator: Step-by-Step Guide for Fast Results – Expert Appliance
- Was ist Akku-Reparatur? Vollständiger Leitfaden 2025 – accu.blog
- How to Minimize Downtime: Efficient Diesel Injection Repairs – My WordPress